Monthly Archives: September 2011

California Fig Jam

wpid-DSC_0460-2011-09-8-15-02.jpg

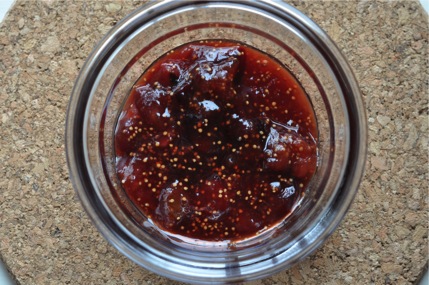
I might as well call this California Fig Jam – both the figs and I are from and currently residing in CA. I’m very proud to say that this is the first thing I’ve preserved without a recipe (gasp!). Some may find that frightening, but fear not. I know the key ingredients and important steps for successful, safe canning. Let this jam serve as evidence!

This was not in the plan for today. I was driven to make it by the impending deadline to send out some jars for a jam exchange that Steph put together. Somewhere in the back of my mind I knew the date was coming up. I fretted about my meager preserving efforts this summer but continued to procrastinate. Finally, I checked the due date this morning. September 10th! I had to mail my jams by September 10th! That’s day after tomorrow! Whew, at least I realized that in time and happened to have a recently purchased more figs than a girl and her fig-hating husband can eat.

So, with this very basic, spontaneous canning outline from Food In Jars, I started chopping. My figs were perfectly, perfectly ripe. The timing could not have been better. I would have liked to use honey in this recipe but I don’t have any. I used brown sugar instead, hoping for the deep, caramelized sweetness it provides. A splash of lemon juice was the only other thing I needed to create this simple spread.
wpid-DSC_0478-2011-09-8-15-02.jpg

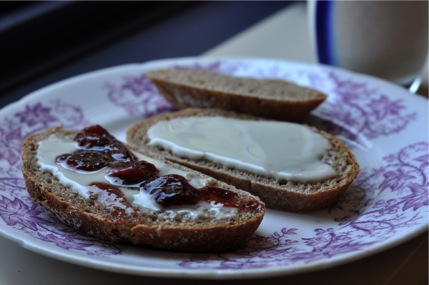
On fresh-baked bread with coconut butter (or off side of the pan when my jars were filled), this stuff is amazing. For my taste, it turned out a little on the sweet side. I erred on the side of caution with the sugar and took into account that most people like things sweeter than I do.

Simple Fig Jam

Approximately 3 cups chopped fresh figs
1 cup packed brown sugar
juice from 1 lemon

Combine ingredients in a medium-sized saucepan or large skillet and bring to a boil.
Reduce heat and simmer for about half an hour, or until the mixture thickens and does not immediately flow back together then you scrape a spatula across the bottom of the pan (here’s a great demonstration of this)
When the jam is ready, process it using your preferred method. You can read all about canning from this USDA source.
Don’t forget to heat your pot of water for processing the jars! I forgot that today but fortunately my pressure cooked boils water super fast!

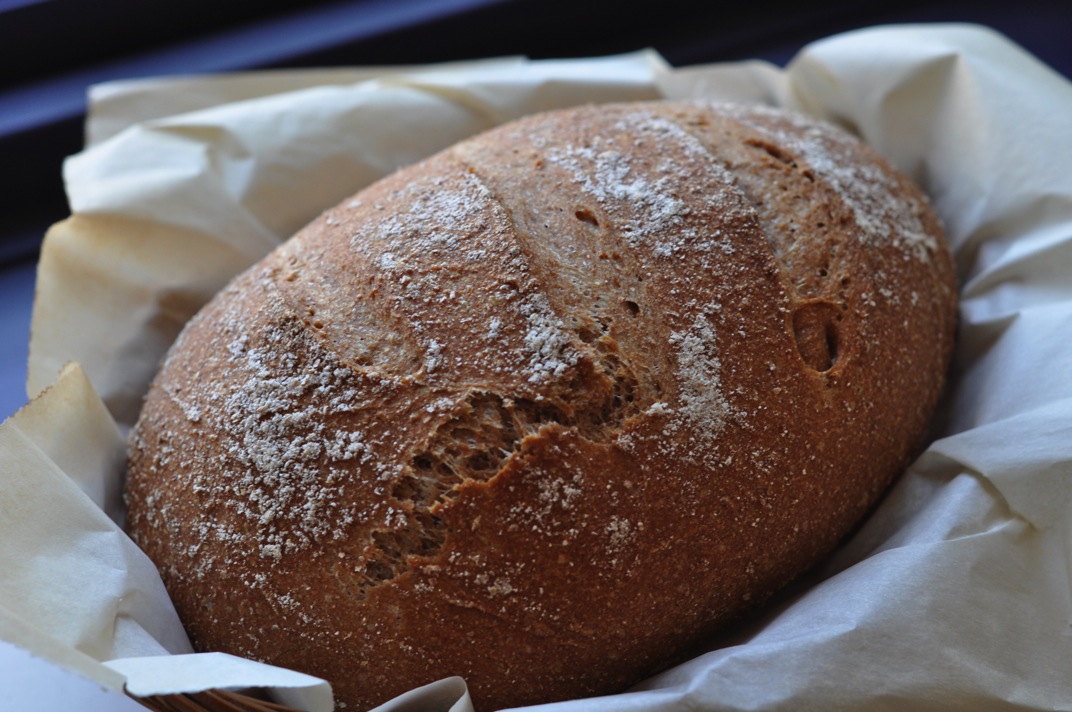
As you may have gathered, I also made bread today. This was not just any bread, it was my first loaf from the Master Recipe in Healthy Bread in Five Minutes a Day. I bought the book a couple months ago when I saw it on sale a book store. I had been wanting a copy ever since it came out. I read and heard so many raves about Jeff Hertzberg, Zoe Francois and Mark Luinenburg’s first book, Artisan Bread in Five Minutes a Day. Some friends of mine took to baking their own bread all the time after receiving this book as a wedding present. I tried their bread. It was very, very good.
wpid-DSC_0474-2011-09-8-15-02.jpg

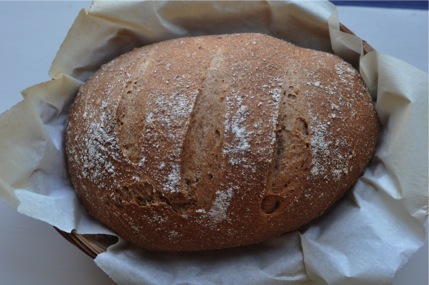
Francois and Luinenburg’s version, concentrating on healthful bread recipes, promises to be a much-used cookbook in my kitchen now that I’ve tried the first recipe. The dough was easy to mix and their whole bread making process made sense to me. The loaf I made today really did come together very quickly. I got it ready to put in the oven while my jam cooked and had fresh bread by lunch time! The flavor is awesome and I think I’m finally getting a hold of the oven-steaming crust procedure.

Bread, I love you, the making and the eating too. (Did I just write a poem about bread! Ha!)
wpid-DSC_0470-2011-09-8-15-02.jpg

11 Comments

Filed under condiments

Here a donut, there a donut, wait, isn’t that a muffin?

wpid-DSC_0414-2011-09-6-11-39.jpg

Among the many kitchen goodies I acquired thanks to our wedding gift card bounty was a mini doughnut pan. I’d seen the baked doughnut hype all over the blogosphere and I wasn’t about to miss out on the fun! You don’t need a doughnut pan to bake versions of these traditionally fried goodies. There are plenty of yeast-raised recipes out there that call for cutting out doughnut shapes and baking them on a cookie sheet. That variation is next on my list of doughnuts to make!

I opted for a mini doughnut pan because I was afraid full-sized doughnuts would just be too much. If you must know, I haven’t eaten a doughnut in…years, and the thought of one, even a baked one, kind of sends me over the edge. I figured that mini doughnuts would be slightly less scary and allow for easier portion control. Plus, their cute!

wpid-DSC_0417-2011-09-6-11-39.jpg

I perused many doughnut recipes to christen my pan but in the end the one on the package seemed like a logical starting place. I’d start simple. The batter game together easily and none of the ingredients were that extreme (a tiny amount of butter and reasonable amount of sugar). I used whole wheat pastry flour and it worked beautifully. I also ditched the vanilla glaze called for on the package in favor of simple cinnamon and sugar, which was by far my favorite doughnut topping back in the day.

Batter mixed, pan oiled, oven pre-heated – I was ready! Wait, how am I supposed to get the batter into these tiny doughnut molds?

I spooned in batter a tiny bit at a time, quickly discovering that getting the stuff in there was a time consuming task if I didn’t want to just glop batter over what was supposed to form the hole in my doughnuts. Along the way, I also realized that I was totally overfilling the molds. Oh well, I thought, we’ll just see what happens.

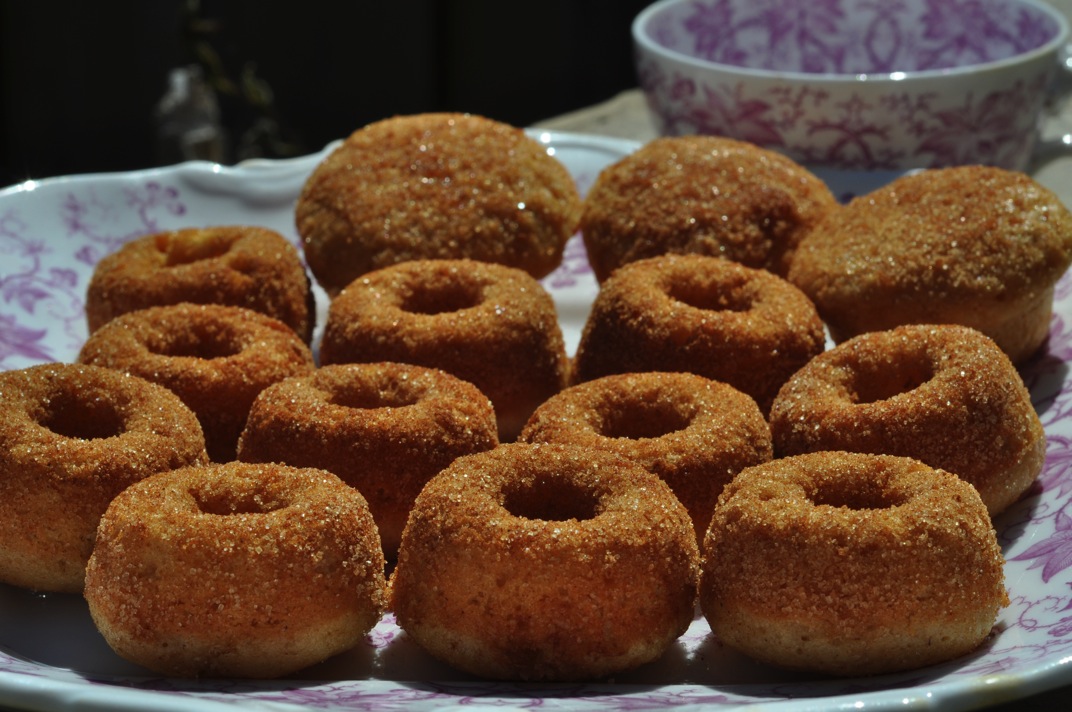
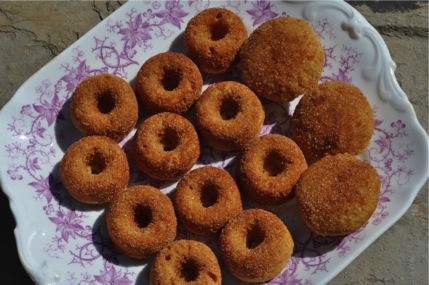
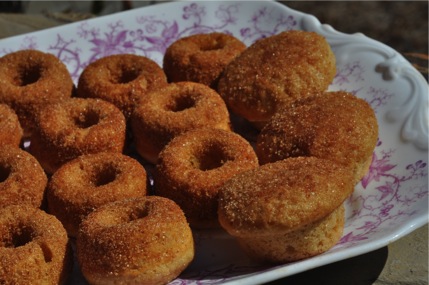
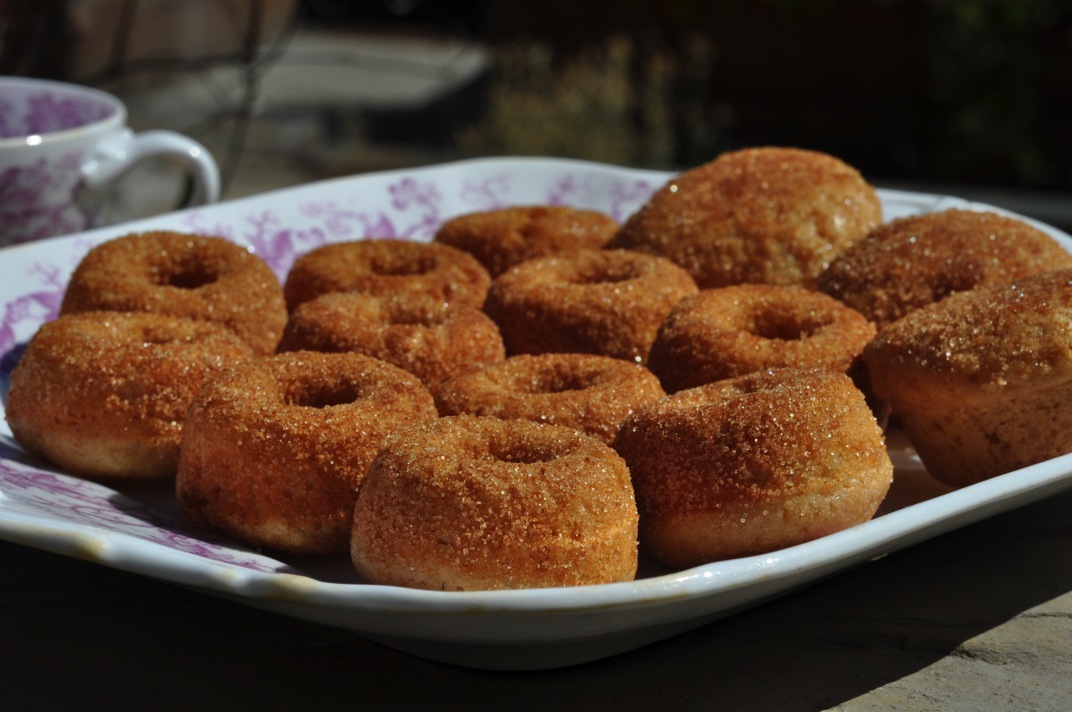
What do you think happened? I made mini muffins with holes in the bottom! Yay! They were certainly cute, especially with cinnamon sugar on top, but they were certainly not doughnuts.

wpid-DSC_0419-2011-09-6-11-39.jpg

Okay, mini doughnuts, take two: I had a little less than half the batter left so I scaled back on my mold filling. This time it looked like a more reasonable amount. I also tried dusting the tops of a couple doughnuts with cinnamon sugar before baking.

The result? Donuts! When removed the doughnuts from the pan they were still a little over-puffed and fat on top (what I made the bottom) but I dredged them in topping and sampled some. I give the doughnut taste and texture an 8 out of 10. The nutmeg, the spongy cake, the spic, sweet topping – it’s all there. While my doughnuts may be a little asymmetrical, they are hard to resist!

Based on my mixed experience with my mini doughnut pan I have this advice:

  1. Buy a regular sized doughnut pan unless you really, really want tiny, tiny doughnuts for some reason.
  2. If you insist on going small, get two mini doughnut pans. Then you can make a full recipe (this recipe was supposed to make 24 doughnuts) without having to refill the same pan.
  3. Consider using a pastry bag to squeeze your batter into the doughnut molds. This would really, really help but I don’t have one.
  4. Do not over-fill your molds! They really only need about 1 to 1.5 teaspoons to end up the proper shape.
  5. This recipe says it makes 24 doughnuts but really it would make 24 mini muffins with doughnut bottoms. Consider halving the recipe if you only have one pan.
  6. If you spray the doughnut molds with oil (which you should), then the part that was in the mold will stick to sugar toppings without additional butter dredging, as is often called for.
  7. Make doughnuts, whatever shape they are and however you make them. They are GOOD!

wpid-DSC_0424-2011-09-6-11-39.jpg

Baked Mini Cake Doughnuts (From Wilton Mini Doughnut Pan)
Makes 24 mini doughnuts

1 1/4 cups cake flour, sifted
1/2 cup granulated sugar
1 1/4 teaspoon baking powder
1/8 teaspoon ground nutmeg
3/4 teaspoon salt
1/2 cup buttermilk
1 egg, lightly beaten
1 1/2 tablespoons butter, melted

Preheat oven to 425 degrees F.
Spray Mini Doughnut pan with nonstick cooking spray

In a large mixing bowl, sift together flour, sugar, baking powder, nutmeg, and salt.
Add buttermilk, egg, and butter.
Stir until just combined.
Fill each doughnut cup approximately half full.

Bake 4-6 minutes, of until the tops of the doughnuts spring back when touched.
Let cool in pan 4-5 minutes before removing.
Finish with topping of your choice (glaze + sprinkles or cinnamon sugar, or something else!). You may need to brush a little butter on your doughnuts to get sugar to stick.

I didn’t use this glaze but here’s the recipe in case you want to try it.

Vanilla Glaze ( also from Wilton Mini Doughnut Package)

1 cup confectioners sugar
1 tablespoon milk
1/2 teaspoon vanilla extract

Stir all ingredients together until sugar is completely dissolved.
Use immediately to glaze doughnuts.

5 Comments

Filed under other goodies