Monthly Archives: February 2012

Peanut Butter & Jelly Granola Bars

Anyone who knows me really well is familiar with my love for peanut butter and jelly. I could eat a PB&J sandwich every day. If it weren’t for all the other wonderful nut butters in the world I probably would. My fridge is always stocked with at least two, more likely three or four, different kinds of nut or seed butters. Right now I have a GIANT jar of PB, a tub of tahini, and a jar of T.J.’s sunflower seed butter. I’ve been on a serious open-face, forget-the-jelly, nut butter on toast sandwich kick lately. That and toast with avocado, smoked sea salt, and pepper are my lunchtime obsessions.

Back to the peanut butter and jelly. I used to find peanut butter kinda scary. It was sooo high-calorie and so high-fat! I tried to get away with spreading as little of it as possible on my sandwiches and, consequently, never savored that peanut butter’d up sticky mouth feeling.

Nowadays, no one can tell me to use less peanut butter, or any nut butter for that matter. Those are healthy fats and useful calories, especially for a vegetarian! The same goes for baking with nut butters. I purposely bought a two-pack of giant PB jars at Costco so I could bake with it. Otherwise, one PB-containing recipe can use up most of a jar!

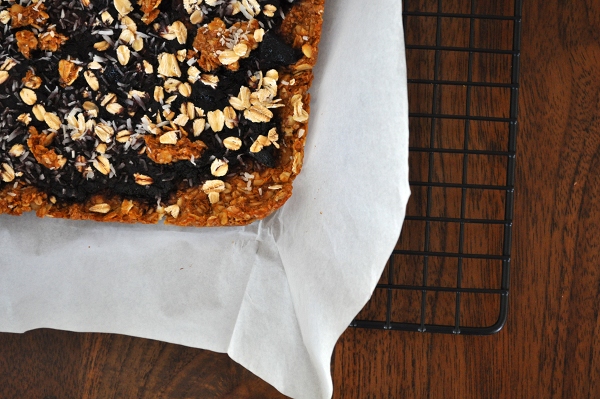
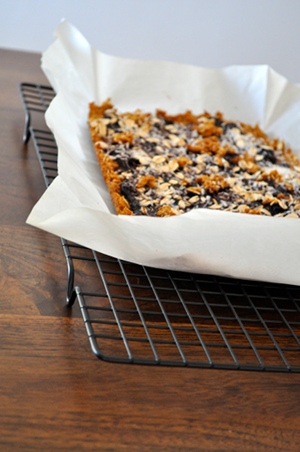
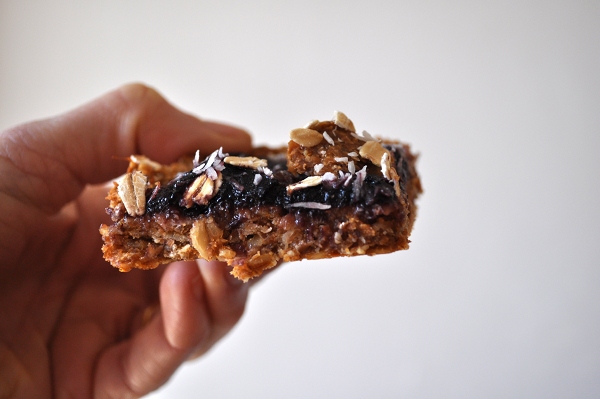
Determined to bake something other than 5-minute-a-day bread last week, I broke out the giant peanut butter jar, some grape jam, and some oats for a batch of granola bars. It’s been quite a while since I made granola bars last and I’ve never found a recipe that I really, really love. This one comes close. The bars held together. They’re fully on the healthy side of the spectrum (in my opinion) and they’re beautiful to look at!

After a sample, I carried these over the hill to Lee’s work, where hungry engineers promptly devoured them. This was my second walk of the day with Doc, who was thrilled to go on a granola bar delivery. The weather in San Francisco was summer-like for a couple of days last week and I did not let it go to waste. Come to think of it, isn’t there something about summer weather, PB&J, and granola bars that fits together? It’s like a deconstructed childhood memory centered around summer camp lunchboxes and snacks eaten on the grass.

I couldn’t make these bars without including an unusual ingredient. I think they owe at least some of their deliciousness to the leftover sweet potato I mashed into the mix.

Peanut Butter & Jelly Granola Bars

Ingredients

  • 1 1/2 cup rolled oats
  • 1/2 cup wheat bran (or wheat germ, or oat bran, if you prefer)
  • 1/2 a baked sweet potato, peeled (about 1/2 cup)
  • 1/2 cup natural peanut butter
  • 1/4-1/3 cup honey (more if you like things sweeter)
  • 1 "flax egg" (2 tablespoons flax seed meal + 4 tablespoons water)
  • About 1/3 cup grape jam
  • Additional 1/4 cup oats for topping
  • 2 tablespoons unsweetened, dried coconut for topping

Instructions

  1. Preheat oven to 350 degrees F.
  2. Line a square or rectangular baking dish with parchment paper.
  3. In a small bowl, stir together flax seed meal and water, set aside.
  4. In a larger bowl, mash sweet potato.
  5. Add honey, peanut butter, and "flax egg" to sweet potato, mixing well.
  6. Add oats and wheat bran, stirring until mixture is evenly moist.
  7. Spread peanut butter-oat mixture into prepared pan, flattening it with a spatula or spoon.
  8. Spoon jam on top and and spread evenly over peanut butter-oats.
  9. Sprinkle reserved oats and coconut over the jam.
  10. Bake at 350 for 15-20 minutes, or until firm and starting to brown at the edges.
  11. Remove pan from oven, lift bars out with parchment paper and cool on a wire rack.
  12. When bars are partially cool, place them on a cutting board (parchment and all) and cut into squares.
  13. You can put the bars back on the rack to cool, with or without the parchment. I kept mine on the parchment for easy transport and cleanup.
http://blog.muffinegg.com/2012/02/27/peanut-butter-jelly-granola-bars/

11 Comments

Filed under other goodies

Roasted Banana Breakfast Cookies

I was lolling around the house this afternoon, trying to talk myself into productivity, when I realized it was time for a cookie. True, I call these gems “Breakfast Cookies” in the title of this post but what’s to keep me from eating them at all hours of the day? It’s not like I respect food-related social norms when it comes to regular breakfast (I like toast for lunch and pancakes for dinner).

I made these cookies yesterday and was disappointed in them as soon as I started mixing the batter…or rather dough. Truthfully, this started as a banana bread recipe. I’ve made the recipe before and remember it being on the bready side for my banana bread taste. It was good, though, and I like the recipe’s simplicity. It seemed like a good testing around for my roasted bananas.

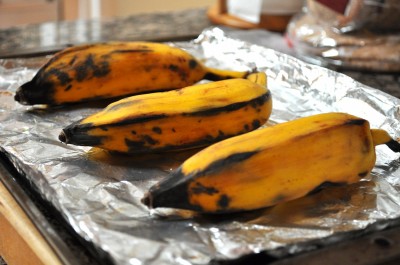
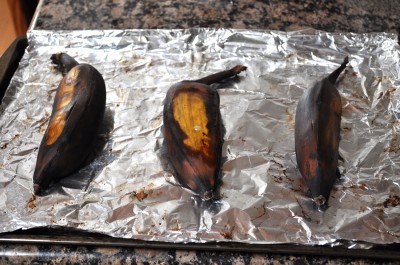
Did I say bananas? I meant apple bananas. You can see from the picture that these short, stubby fruit don’t look like normal bananas. That’s because they came from a little grocery store down the street that sells Latin American products. I used to buy bananas like these when we were sailing in the Bahamas. Apparently they’re called apple bananas and their flavor can resemble that of apple or strawberries when they are very ripe, which they pretty much have to be to be sweet enough.

I thought some roasting might do these three some good and I was right! It was all I could do to keep from eating the hot, gooey banana goodness before baking the bread, er, I mean cookies.

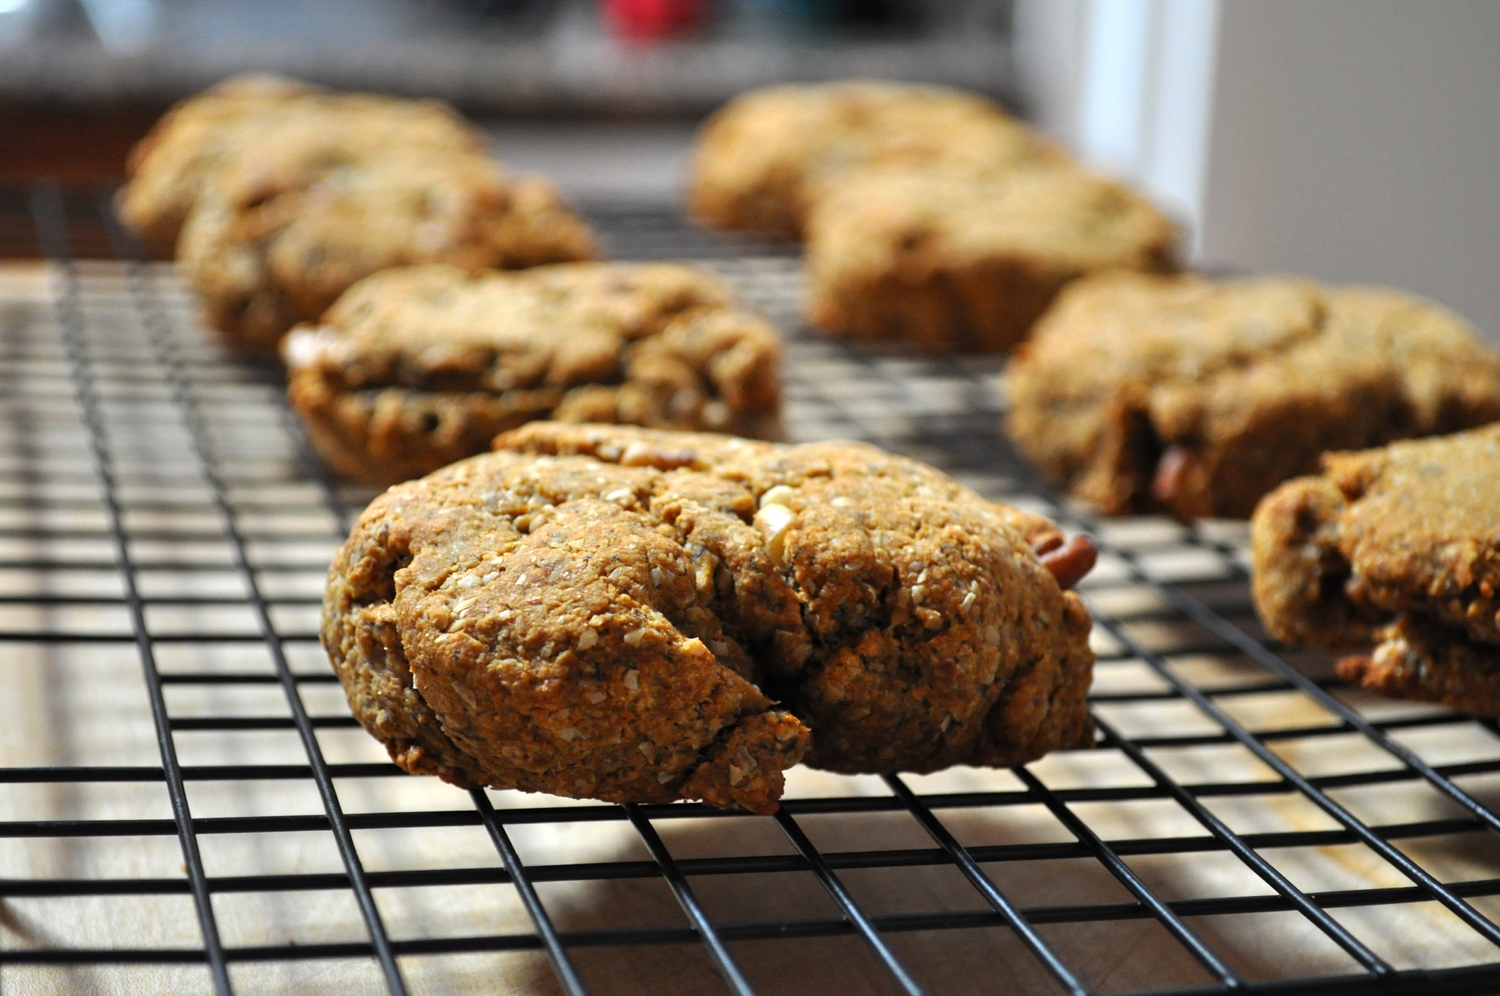
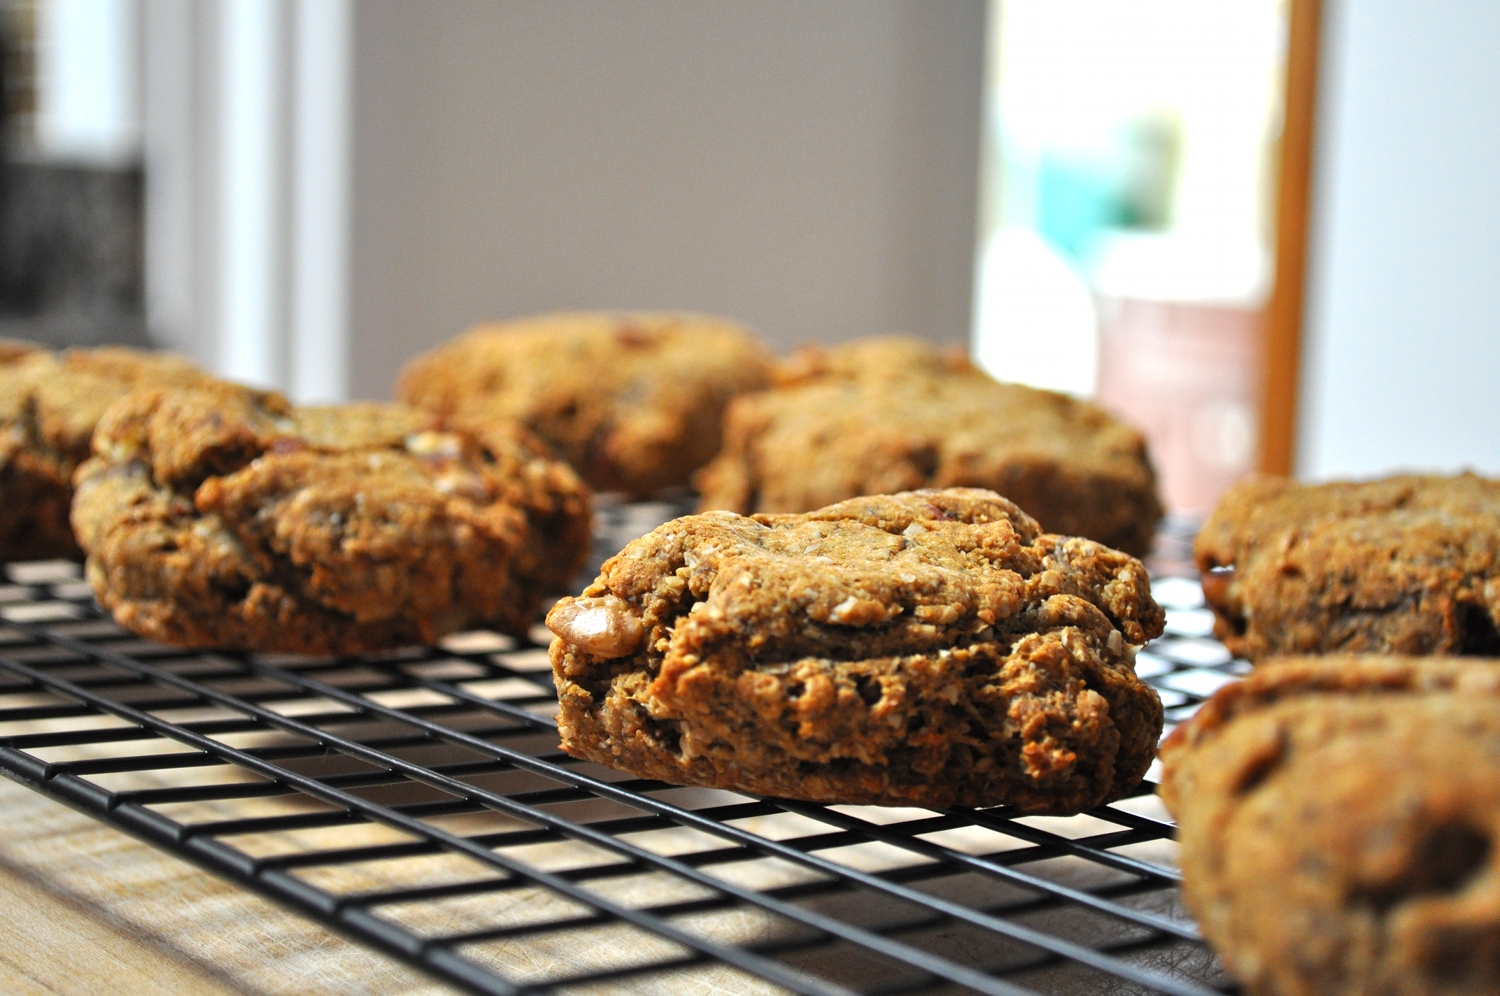
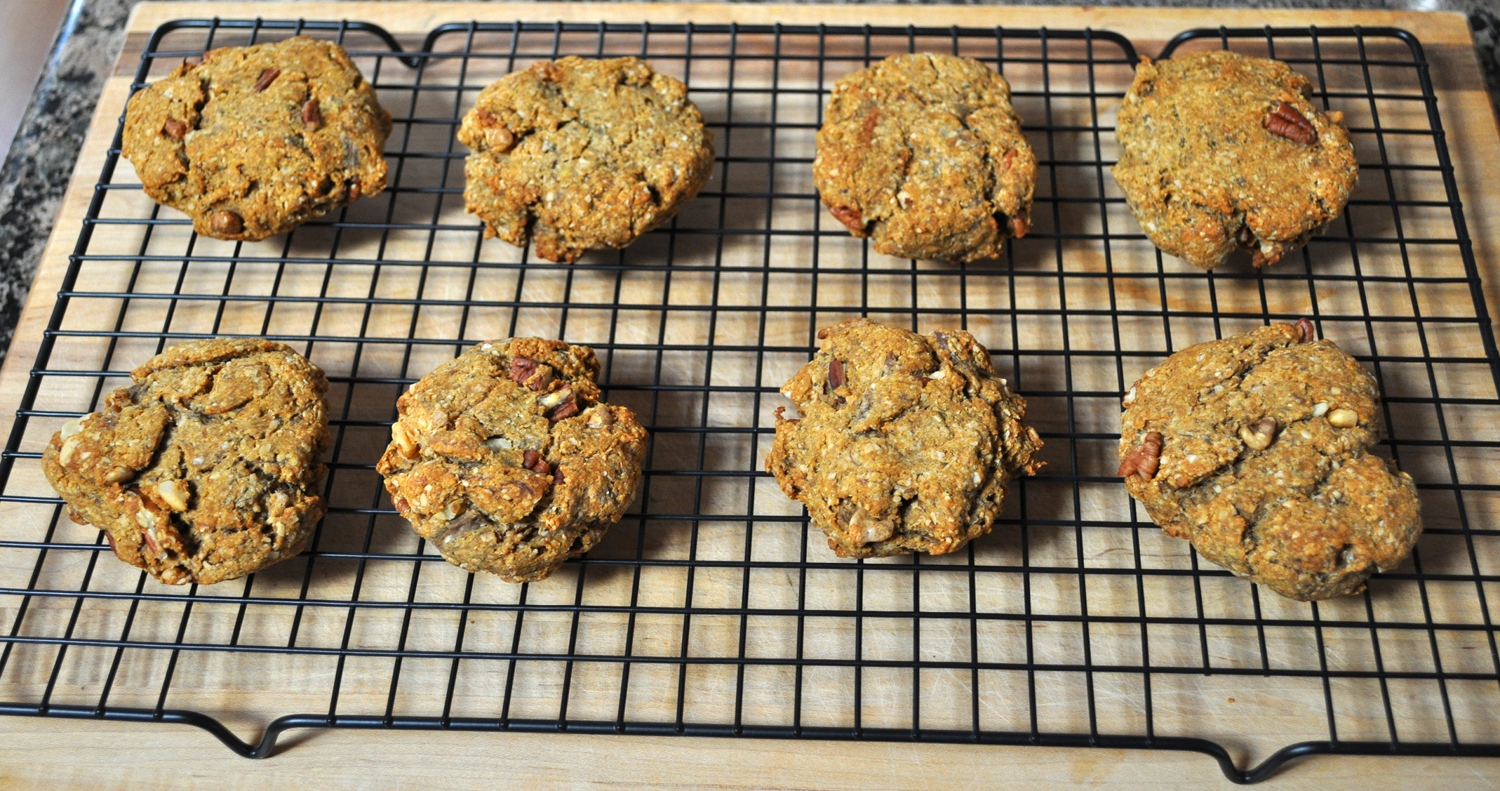
Back to my disappointment upon mixing my ingredients. The intended bread batter was more like a dough – thick and threatening to dry out upon baking. I thought I struck out with yet another recipe (I’ve been doing that a lot lately) but I decided to shape the dough into giant cookies and bake it anyway. The smell while the cookies baked alone was worth it and the result was a huge surprise.

These babies stayed moist and soft after baking and the roasted banana flavor did not disappoint. Even with only a scant amount of honey these cookies, as I’ve become more and more comfortable calling them, are perfectly sweet. The nuts seem to have roasted as the cookies baked and taste better than any nut I’ve ever had in a cookie before.

Since yesterday I’ve staved off evening munchies with a cookie, refueled after a run with yet another cookie, and will probably quell my dessert cravings with another cookie tonight.

This recipe is adapted from the Banana Bread in The Yoga Cookbook

Roasted Banana Breakfast Cookies

Ingredients

  • 3 very ripe apple bananas or regular bananas
  • 1/2 cup whole wheat flour
  • 1/2 cup barley flour (or another flour of your choice)
  • 1/2 cup oat bran
  • 1/2 teaspoon salt
  • 1 teaspoon baking soda
  • 1/ teaspoon each nutmeg and cardamom
  • 1/3 cup honey
  • 3 tablespoons butter, melted, or oil
  • 1/2 cup chopped nuts (I used walnuts and pecans)

Instructions

  1. Preheat oven to 350 degrees.
  2. Line a baking sheet with foil (this could get messy) and place bananas, peel on, onto the foil.
  3. Prick peels with a knife to avoid explosions.
  4. Bake at 350 for 12-15 minutes.
  5. Remove bananas from oven and allow to cool.
  6. Meanwhile, combine flours, oat bran, salt, baking soda, and spices in medium bowl.
  7. Place butter in a heatproof dish and put it in the oven to melt.
  8. When bananas are cool, peel them and mash them in a large bowl.
  9. Add honey and mash thoroughly to combine.
  10. Add dry ingredients and butter, mixing completely.
  11. Divide mixture into 8-12 equal pieces, depending on how large you would like your cookies to be.
  12. Arrange them on an oiled or otherwise nonstick baking sheet and bake at 350 for 20 minutes, or until golden brown
http://blog.muffinegg.com/2012/02/18/roasted-banana-breakfast-cookies/

3 Comments

Filed under other goodies, Uncategorized

Wild Rice, Mushroom, and Tempeh Dressing

In my family, dressing is serious business. It breaks into our conversations and then onto our dinner table every holiday season but it will never be the same as my grandmother’s Cornbread Dressing.

Truthfully, Helen’s cornbread dressing was never the same from year to year. I hear it started out in her Texan family with giblets, hard-boiled eggs, and celery in it. None of those ingredients remained by the time I came around. The key to Helen’s dressing was the cornbread and biscuits she would make several days ahead of time and crumble in a paper bag to dry. Lots of butter, salt, and onion went into the final product. It was simple but it was good.

This dressing never went in a bird. Helen always baked it separately in a Pyrex dish and it took on the consistency of dense coffee cake when cool (must have been the butter). She often made two dishes worth for Thanksgiving so we could eat the leftovers with gravy for days afterwards. I think leftover dressing might be my dad’s favorite breakfast.

I immediately thought of Cornbread Dressing when I saw this month’s recipe for the Burwell General Store Recipe Swap. Over the past few months, this swap has become my favorite blog activity. I love the wacky inspiration we bloggers get from the recipes Christianna sends!

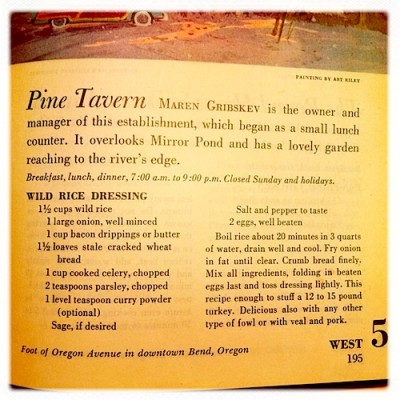
With very specific taste and high standards as far as dressing goes, I set out to make something that was neither the original Wild Rice Dressing from the Pine Tavern in Bend, Oregon, nor Helen’s Cornbread Dressing (I’ll make that for you some other time). I thought about what I might do with this recipe on-and-off for a month. Then yesterday came around and I realized I needed to make something, asap!

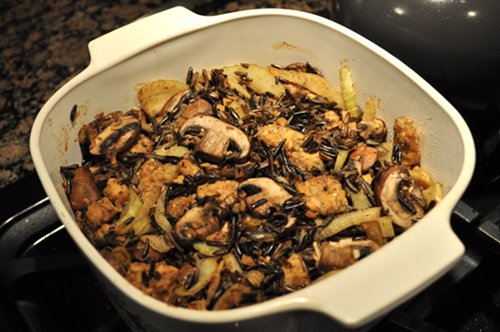
I bought wild rice. I bought tempeh. I had baby bella mushrooms in my fridge and a lonely fennel bulb. I knew I would not be including a cup of bacon drippings, as the Pine Tavern did. Although, I have had bacon-brain ever since the side of Brussels sprouts I ordered in a Napa restaurant arrived smelling strongly of the bacon grease they had obviously been cooked in (I ate them and boy were they tasty). Slip-ups in my vegetarianism aside, I knew I could make a delicious, meat-free dressing for any winter night.


I used a pressure cooker for my rice so the recipe below provides instructions for that method. For other wild rice cooking instructions, check this website.

Wild Rice, Mushroom, and Tempeh Dressing

Ingredients

  • 1 cup wild rice, uncooked
  • 1 1/2 cups water (for cooking rice in pressure cooker)
  • 12 oz sliced baby bella mushrooms
  • 1 fennel bulb, sliced
  • 2-3 cloves garlic, chopped
  • 1 package tempeh, chopped into 1/2 inch cubes
  • 1 teaspoon seasoning of choice (I used an organic, salt-free, all-purpose seasoning but lots of things would be good!)

Instructions

  1. To cook the rice in a pressure cooker, place rinsed rice and water in a heatproof bowl and cover bowl tightly with aluminum foil.
  2. Place bowl on trivet inside pressure cooker. Make sure there is about 1 cup of water in the pressure cooker itself.
  3. Secure lid on pressure cooker, place weight on top of lid, and heat over high heat until weight begins to rock.
  4. Reduce heat slightly so weight rocks gently and start timer for 22-25 minutes.
  5. While rice is cooking, saute garlic, fennel, tempeh, mushrooms, and seasoning in a large skillet. I added them to the skillet in that order.
  6. Turn off heat and set skillet aside.
  7. Preheat the oven to 375 degrees and lightly oil the inside of a large baking dish.
  8. When time is upon the rice, remove cooker from heat and allow pressure to come down on it's own.
  9. Remove lid, remove inner bowl, and add rice to ingredients in skillet. (You could just eat it now but I baked mine for a little while to crisp up the top a little...and keep it warm till Lee got home)
  10. Pour or scoop dressing into baking dish and place in oven for 15-20 minutes.
  11. Remove from oven and heap dressing onto plates.
http://blog.muffinegg.com/2012/02/05/wild-rice-mushroom-and-tempeh-dressing/

15 Comments

Filed under Uncategorized