Author Archives: Rachel

Spicy banana bran scones (vegan!)

wpid-cimg2424-2010-10-22-15-51.jpg

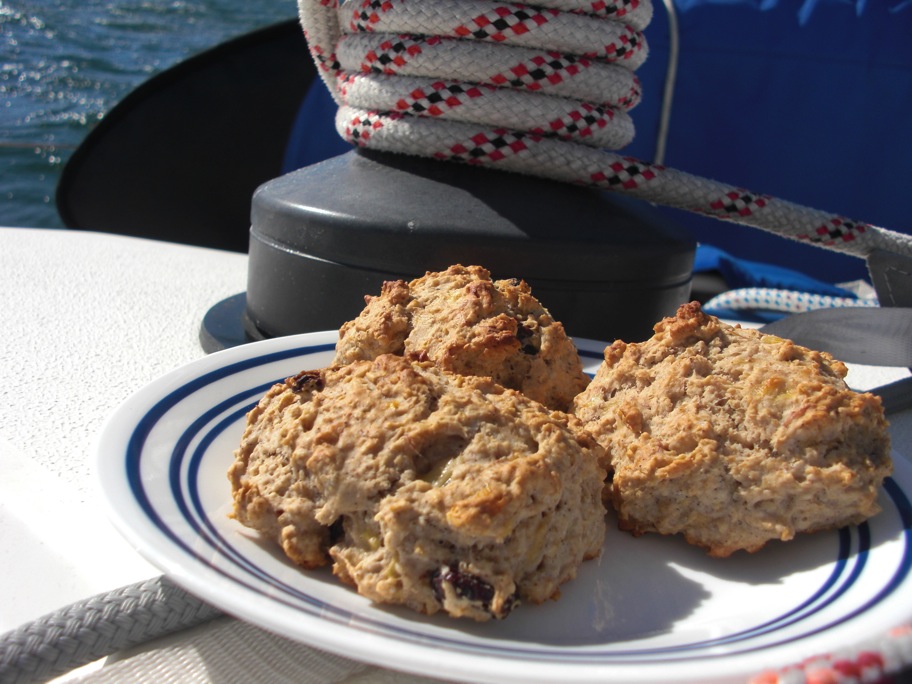
Just some scones, hangin out on deck.

wpid-cimg2425-2010-10-22-15-51.jpg

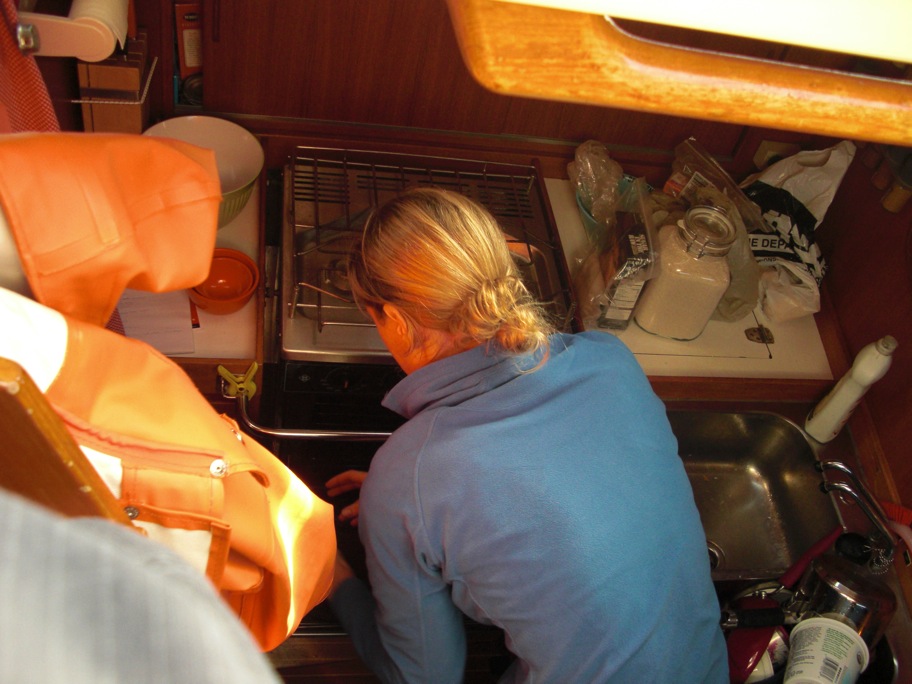
After my oven difficulties while baking muffins the other day, I had to give baking on the boat another go as soon as possible. This morning, as we pitched and rolled at anchor in choppy Newport harbor, I searched for inspiration in my cookbooks and recipe notes.
What had I been meaning to bake before we left? Oh yeah, scones! Now where was that recipe? Hmmm, kinda boring. How could I spice these up? Some spices, perhaps? I looked to one of my favorite unusual cookie recipes for ideas. I’m sure I’ll be posting about these cookies eventually. They’re vegan oatmeal cookies that use banana and all kinds of yummy spices, making them taste a bit like indian food in oatmeal cookie form.
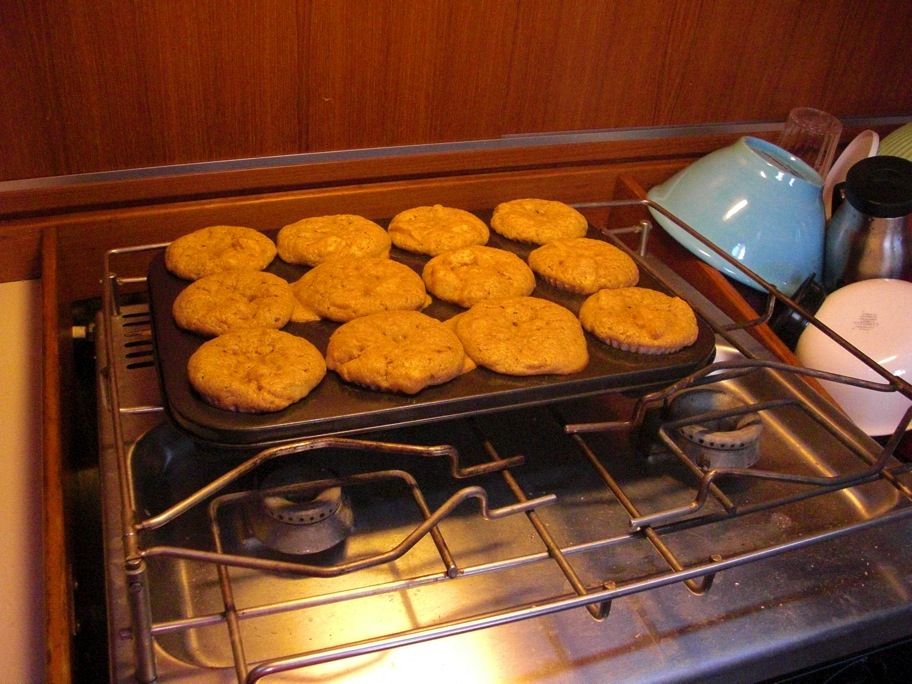
The recipe I wanted to spice up was for Banana Bran Scones. I love the idea of incorporating banana into a scone and oat bran is a breakfast staple in my kitchen. Without messing with those two ingredients, I played around with the recipe to make it a little more exciting! Unlike my last oven experiment, the result was not disappointing. (To be fair, the Pear Ricotta Muffins were really, really tasty after they’d firmed up a bit and I will be making them again!)
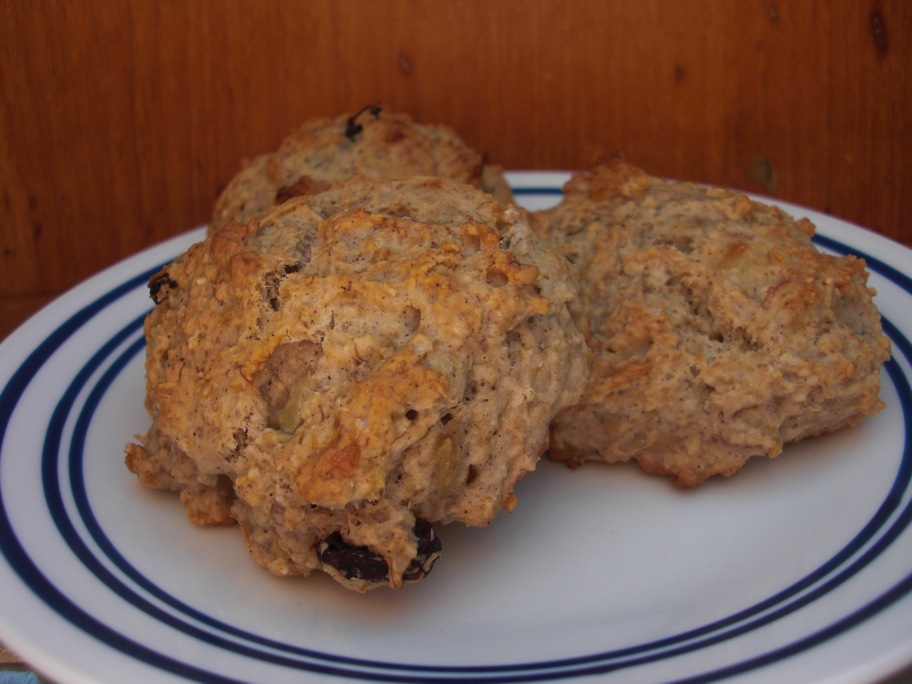
These scones are so much better than I expected them to be. I’m kind of in love with them. They’re just the right amount of sweet for a scone. They’re hearty without being dense and buttery, as scones can be. The banana is incredible. Using a really ripe banana makes the flavor so strong and sweet it almost seems artificial. I love the little flecks of un-mashed fruit here and there. Then there’s the spices! I added most of the repertoire from my favorite oatmeal cookies. I think cinnamon, nutmeg, allspice, and ginger go really well with banana and raisins. which I threw in at the last minute. This was also an opportunity to give coconut oil another try. I’ve been experimenting with it and I’m really happy with how it worked in this recipe. There is a hint of coconut flavor in the baked scones and they maintain their scone texture without the butter.

wpid-cimg2431-2010-10-22-15-51.jpg

Do yourself a favor and make a double batch. They go fast!

Featured on Baking is Hot

Spicy Banana Bran Scones
Adapted from Cooking Light
Makes 8 scones

1 cup all-purpose flour
1/2 cup oat bran
2 tablespoons coconut oil
1 teaspoon baking powder
1/4 teaspoon baking soda
1/4 teaspoon salt
1/4 teaspoon cinnamon
1/8 teaspoon each of nutmeg, ginger, and allspice*
1 tablespoon powdered soy milk
2 tablespoons coconut oil (or butter/margarine)
3/4 cup mashed, ripe banana
1 tablespoon turbinado sugar
3 tablespoons water
1/4 teaspoon vinegar
A handful of raisins

Preheat oven to 450 degrees F (I used the oven timer this time to make sure it heated up!)

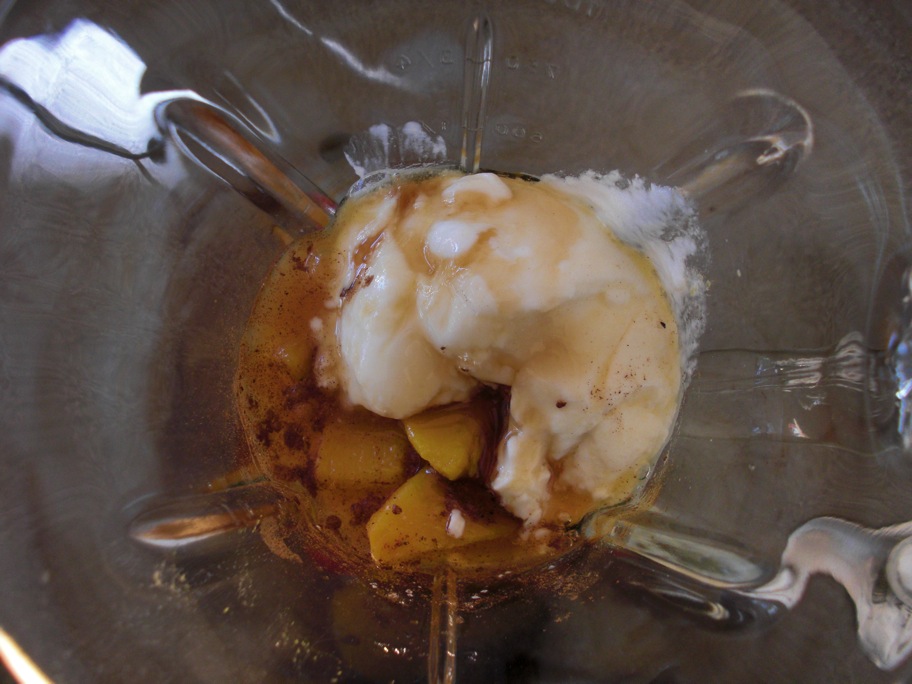
Mash banana and sugar together in a small bowl. Let stand while you prepare other ingredients.
In a large bowl, sift together flour, oat bran, baking soda, baking powder, salt, spices, and powdered soy milk.
Melt coconut oil in a saucepan over very, very low heat. You can also submerge the jar of oil in hot water to soften it or use whatever softening method you prefer.
Allow the oil to cool slightly, then pour it into the flour mixture, blending with a pastry blender, 2 knives, or a whisk (a whisk worked great for me).
Add vinegar and water to the banana.
Make a well in the center of the flour mixture.
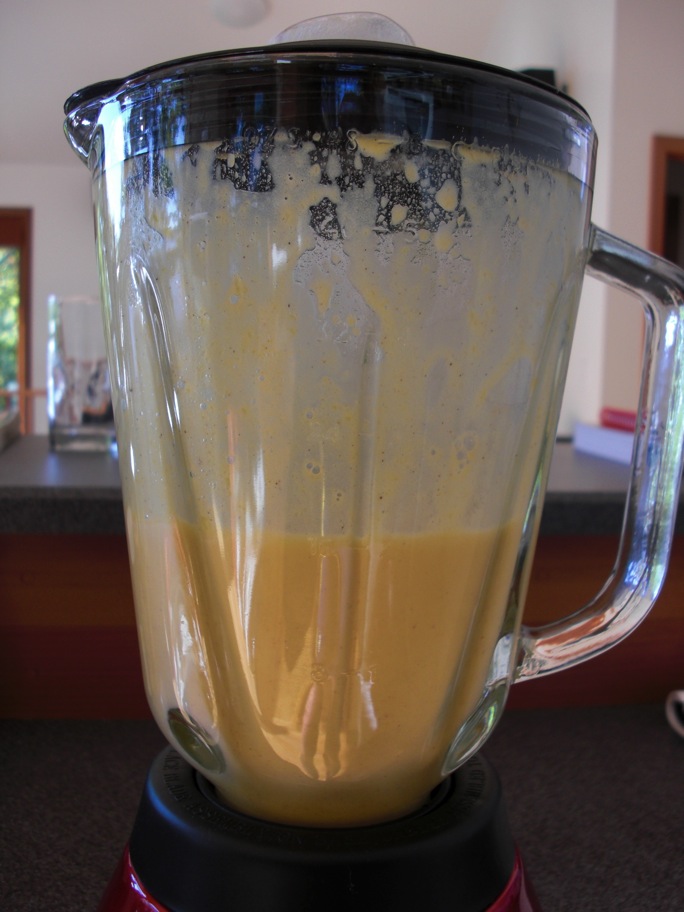
Pour banana into flour mixture and stir vigorously to combine, adding the handful of raisins as you do. Dough will be more like a batter than a biscuit dough.
Place dough, in approximately 1/3 cup scoops, on an oiled or otherwise nonstick cookie sheet. You may want to flatten and shape each scoop into round, biscuit-like shapes.
Bake at 450 for 15 minutes.

*I wanted to use cardamom, since I think it’s actually the star spice in the oatmeal cookies, but I couldn’t find it. I must have hidden it away in the boat somewhere. I subbed allspice but use cardamom if you have it!

11 Comments

Filed under Uncategorized

Pear ricotta muffins and a little extreme baking

wpid-cimg2382-2010-10-19-20-07.jpg

        I have a confession to make: I engage in extreme baking. What is extreme baking? Well, my definition involves limited tools, only the ingredients I have on hand, confined spaces, and lots of water. When you live on a sailboat, that sort of becomes the routine. It’s a routine I’ve been out of for the past few months since Lee and I have been staying with his parents in Maine while we got our boat ready for the grand voyage South to the Caribbean. Before that though, we lived on the boat in Rhode Island all last winter, sailed down to the Chesapeake Bay in the spring and summer, and then sailed up to Maine. I know. What a life!
        I won’t go into to much detail about the whole boat thing here; this is my cooking blog and this is my sailing blog. I will, however, be cooking on the boat and blogging about it because I think it’s as much of an adventure as the sailing itself!

        Finally, on to the muffins! After 30 hours or so of high winds, bouncy seas, and really, really, really cold everything I was ready for some good food. We’d been living on cold hot dogs, apples, and PB&J sandwiches because I was afraid to heat up a pot of soup on our pitching stove. Things had calmed down a little so I went below, dug out some ingredients, and started into a recipe that had been brewing in my head.
        Pear and ricotta cheese go together like, well, peanut butter and jelly. They are perfect for each other, delicious, and simple. I often ate pears and ricotta with my lunch last fall and winter. When I saw this recipe for muffins with ricotta cheese in them I immediately thought “But why are there no pears?”. Something had to be done.
        I salvaged a few very ripe pears from the house in Maine and padded them down with scrunched up plastic bags for their boat ride. They survived nicely.
        I made a few modifications to the recipe I started with to accommodate for the pears and my healthy taste. I wish I knew how they would have turned out if everything had gone according to plan. There was, however, a little problem with the oven. The boat oven is tiny. It has one rack and a burner on the bottom that I have to light by hand. When I started working on the muffins the other day, I lit the stove and set the temperature to 176 degrees C, or 350 F (the boat is Finnish so the temperature is in Celsius). I mixed all my ingredients, poured the batter into the muffin pan, and popped it in the oven. The oven was probably preheating for 15 minutes before I put the pan in. I set a timer for 20 minutes and when I checked the muffins at the end of that time they were still liquidy!
        The only explanation is that the oven wan’t preheated when I started baking. There is no thermometer in it but I used a removable one when I first started cooking on the boat last year. After I determined that it heated up to the right temperature I stopped using the thermometer. I guess I forgot how long it takes to heat up the other day though.
        I put the muffins back in, turned up the temp just to be sure, and baked them for another 20 minutes, checking them often. Then I pretty much gave up and declared them done. They were mostly done and they solidified a bit as they cooled.
        Lesson learned? Use the oven thermometer! I also think the batter was a bit too liquidy. I will not rest till I get this recipe right! Next time I’ll use a little less buttermilk and probably less pear as well. The good news is, even with their slightly soggy centers, these muffins are DELICIOUS! They are cheesy, sweet, and protein packed. Lee’s dad, who sailed with us for this passage, loves doughy things so he really liked these.

wpid-cimg2393-2010-10-19-20-07.jpg
Lee enjoying a muffin as we approached Newport.

Sorry for the unglamorous pictures. Food photography underway will take practice.

wpid-cimg2391-2010-10-19-20-07.jpg

This is also my recipe for Fall Fest, which I am really enjoying. Visit A Way to Garden to find out more.

wpid-fall-fest-logo-ruled-2010-10-19-20-07.jpg

Pear Ricotta Muffins
Adapted from Cherry Ricotta Muffins from Mollie Katzen’s Sunlight Cafe.

1 cup part skim ricotta cheese
2 eggs
1 cup buttermilk
1 tablespoon vanilla extract
4 tablespoons pumpkin puree (or butter, melted and cooled)
2 cups flour (I used about 3/4 whole wheat pastry – all I had left – and 1/4 whole wheat)
3/4 cup brown sugar
1 1/2 teaspoons baking powder
1/8 teaspoon baking soda
1/2 teaspoon salt
1/4 teaspoon allspice
2 very ripe pears, chopped very small

Preheat oven to 350 degrees F.
In a large bowl, beat the eggs into the ricotta one at a time.
Add the buttermilk, pumpkin, sugar, and vanilla.
In a separate bowl, combine flour, baking powder, baking soda, salt, and allspice.
Slowly stir dry ingredients into wet until barely mixed.
Fold in pear.
Spoon batter into 12 muffin cups with liners or greased with a little oil. Cups will be very full (you could also make more like 16 muffins with less in each cup).
Bake at 350 for 20-25 minutes, or until the tops are brown and a toothpick inserted in the center of a muffin comes out clean.

You might want to cut down on the liquids and/or pear. Using butter instead of pumpkin might also help. As I said, I’ll be experimenting with this recipe and I’ll post an update on my success.

6 Comments

Filed under muffins

Not so sweet but nice and crunchy granola

wpid-cimg2330-2010-10-15-13-07.jpg

wpid-cimg2336-2010-10-15-13-07.jpg

        I’ve been on the hunt for a good granola recipe for a long time. Maybe it would be more accurate to say I’ve been looking for the right granola recipe for a long time. There are tons of really good ones out there but I am looking for something very specific in my granola. Of course it needs to be healthful and tasty. I prefer it to be made with the most basic, whole ingredients (homemade granola made with store-bought cereal makes very little sense to me). Nuts are good, but not too many. I’d consider dried fruit but I always add fresh fruit to my cereal when I eat it anyway. Finally, too much oil and sugar moves granola from a healthy breakfast or snack into the realm of candy.
        With all the granola recipes I’ve been wanting to make filed away for reference, I set out to come up with my own mix this morning. I was inspired by Steph Chows Mixed Berry Sucanat Granola to use applesauce as a replacement for oil. Now what about the sugar? My favorite brand of granola, Nature’s Path Hemp Plus, is hardly sweet at all. It’s lumpy, crunchy, light, and very satisfying. This morning I threw a few things in a bowl to try to recreate those characteristics. I was also just trying to use up the dregs of various ingredients in my pantry.

wpid-cimg2338-2010-10-15-13-07.jpg

Not So Sweet Granola

2 cups thick cut rolled oats
1/2 cup quick-cooking oats
2 cups wheat bran
1/4 cup flax seed meal
1/4 cup slivered almonds – or more if you’re more nutty than I am!
1/2 teaspoon cinnamon
*1 cup applesauce
optional sweetener: 1/3 cup sucanat, maple syrup, agave, or honey

Preheat oven to 325 degrees F.

Mix all the dry ingredients together in a large bowl.
Add the applesauce and optional sweetener.
Mix until all dry ingredients are coated.
Spread evenly on a cookie sheet lightly coated with oil or lined with parchment/a silicone mat. (It helps if the cookie sheet has rims around the edge so the granola doesn’t go sliding off.)
Bake at 325 for about 45 minutes, checking and stirring things around a couple times during baking.
Cool completely on the cookie sheet and then store in an airtight container, adding dried fruit at this point if you’d like.

*I used one small container of unsweetened applesauce and one of sweetened cinnamon applesauce because that’s what I had left.

wpid-cimg2324_2-2010-10-15-13-07.jpg

        For this batch (lets call it Granola #1) I didn’t use any sweetener. I wanted to see what granola made with just applesauce would taste like and if it would even work. Well, it worked and it tastes great! It’s not sweet at all but it tastes pleasantly nutty from the flax and almonds and it’s very crunchy. The applesauce holds everything together nicely. So far I’ve just snacked on Granola #1 plain but I’m looking forward to trying it with some vanilla greek yogurt and a banana tomorrow morning! Next time I’ll try adding some maple syrup to see how that compares.

7 Comments

Filed under other goodies

Squash Smoothie

wpid-cimg2313-2010-10-13-10-33.jpg

        Winter squash has got to be one of the most versatile vegetables out there. Sweet or savory, it pushes any dish into the extreme yumminess zone. You can roast it, puree it, chop it, stuff it, throw it in a stew, a salad, or a cake. What’s not to love?
        I’ve been putting pumpkin in my cereal for breakfast every morning for a couple weeks now. It doesn’t replace my usual banana but it adds creaminess and makes every morning really taste like fall. When I saw that this week’s Fall Fest theme was pumpkin or winter squash I immediately thought “I want to do something with squash that I’ve never done before.” Before long, inspiration came from one of my favorite newly acquired kitchen gadgets: my blender! I made smoothies like crazy all summer and have kept it up this fall. Lee and I both like protein shakes after workouts and I love experimenting with different flavor combinations.
        Originally, I wanted to use something like an Acorn squash or the cute little Delicatta squash I got from Beth’s last week. Alas, my schedule didn’t allow for a trip to Beth’s this week so I went with the only squash I had: a pie pumpkin I’ve been working up the courage to cook. I don’t think I’ve ever started with a real, whole pumpkin to cook before. The canned stuff is just too easy! This year, though, I saw a tutorial on Baking Bites on how to make your own pumpkin puree and I decided it was time to give it a try. It’s a great post if you’re thinking about taking on a pumpkin! The only part I had difficulty with was peeling. After cutting the pumpkin in half and scooping out the seeds, I found it easier to peel if I cut each half into even smaller chunks (each half into about 8 pieces).
        Here it is, my Fall Fest Squash smoothie. I just caught onto fall fest a few weeks ago, For more information, visit A Way to Garden to find out more.

wpid-fall-fest-logo-ruled-2010-10-13-10-33.jpg

Squash Smoothie (serves 1)

1 to 1 1/2 cups cooked squash chunks – any squash, except maybe spaghetti, works!
3/4 cup vanilla yogurt (such as a 6oz yogurt cup)
1/2 cup apple cider*
1/8 teaspoon nutmeg
1/4 to 1/2 teaspoon cinnamon
optional: 1 teaspoon maple syrup (if you want it sweeter)

wpid-cimg2307-2010-10-13-10-33.jpg

wpid-cimg2308-2010-10-13-10-33.jpg

wpid-cimg2309-2010-10-13-10-33.jpg

wpid-cimg2310-2010-10-13-10-33.jpg

wpid-cimg2311-2010-10-13-10-33.jpg

Place all ingredients in a blender. I like to start with the chunks.
Don’t forget to put the lid on the blender!
Blend on a low setting for 30-45 seconds, or until all the squash has been pulverized.
Pour into a nice, tall glass and enjoy! (I like sipping smoothies through straws)

*Use milk or your favorite non-dairy milk if you prefer more protein and creaminess. This will make the smoothie less sweet but you can always add the maple syrup! Use applesauce or soy yogurt to make this vegan.

10 Comments

Filed under Uncategorized