Category Archives: Bread

Baking out of Season

I get annoyed with myself when I make something wintery in the summer or something summery in the winter. Out-of-season ingredients tend to make me cringe and I feel guilty for not making use of the bounty available. Sometimes, though, you just have to have pumpkin pie in July.
wpid-DSC_0121-2011-08-15-17-41.jpg

Okay, so I didn’t make pumpkin pie. I made applesauce bread. There was a jar of applesauce in the fridge that needed to be used…and there’s still a little left in that jar. There is also still half a carton of heavy cream left after I tried to use it up in this recipe. Guess I’ll just have to bake more!

I like this recipe. I’m surprised that I like it, actually, since Paula Deen’s style is usually a little too heavy for me. I like that she only calls for 1/4 cup of sugar but, in retrospect, I think that’s because she meant for me to use sweetened applesauce. I don’t remember when I last bought sweetened applesauce.
wpid-DSC_0123-2011-08-15-17-41.jpg

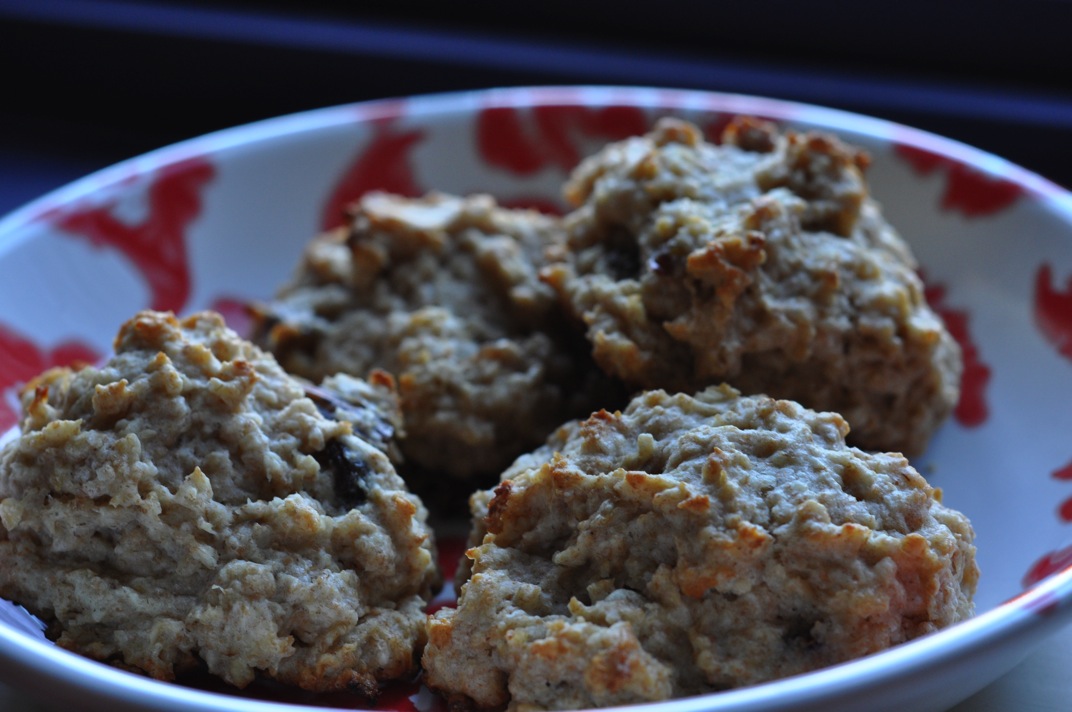
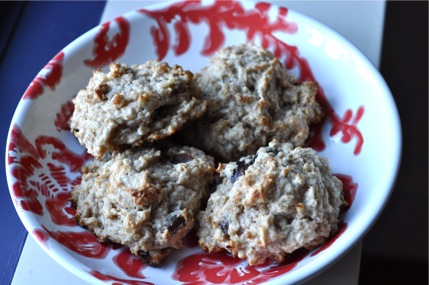
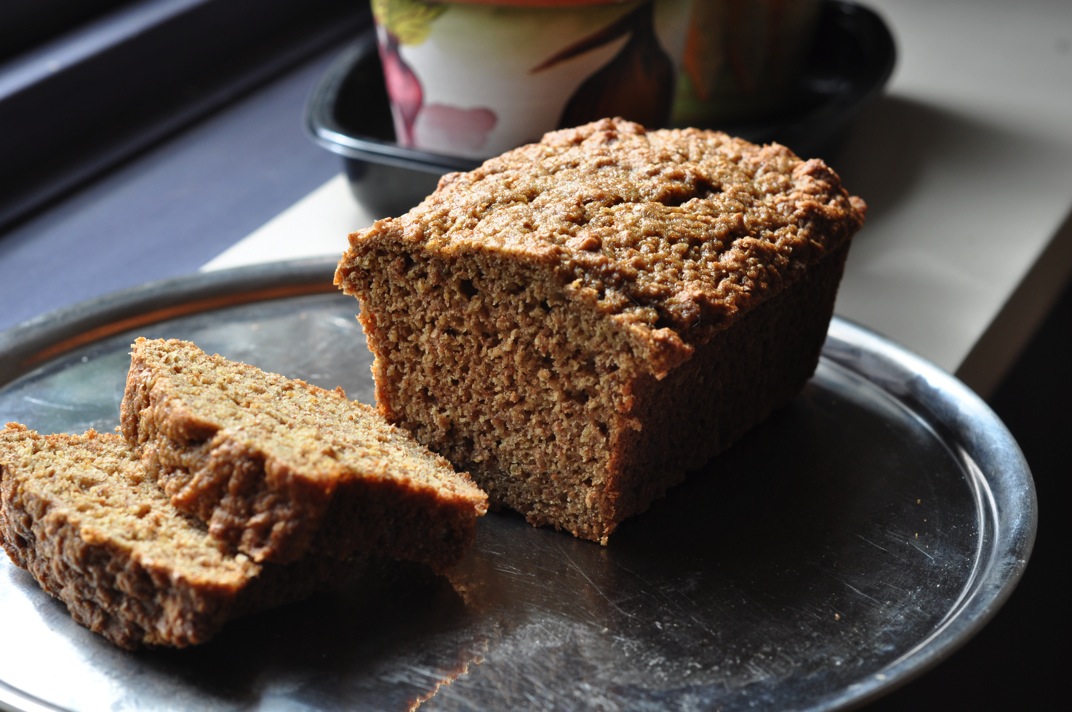
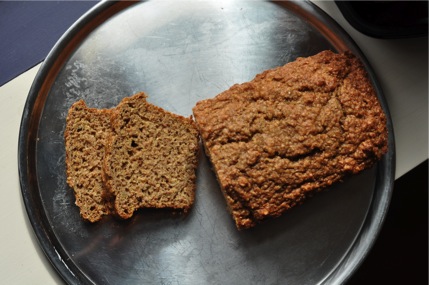
With only 1/4 cup of brown sugar this bread is not at all sweet. It’s spicy and fruity, though, and I was happy to find that the heavy cream added plenty of richness. It was a perfectly adequate substitute for butter, and hey, compared to butter, cream is light!

Other than throwing in my needed-to-be-used cream, I also healthified the flour in this recipe. I tried graham flour, something I had only read about until I found it in the bulk bins at my local co-op. Graham flour + wheat germ turned out a grainy bread with a crumby, crunchy crust. I approve! If you don’t have graham flour, whole wheat will make a fine substitute

wpid-DSC_0126-2011-08-15-17-41.jpg

Applesauce Bread
Adapted from Paula Deen

1/2 cup heavy cream
1/4 cup brown sugar (add more if you want sweet!)
1 1/2 cups graham flour
1/2 cup wheat germ
1 teaspoon baking powder
1 teaspoon baking soda
1/2 teaspoon salt
1 teaspoon ground cinnamon
1 teaspoon allspice
1 teaspoon vanilla extract
1 cup unsweetened applesauce
2 large eggs
optional: 1 cup raisins, 1/2 cup chopped walnuts

Preheat oven to 350 degrees F.

In a medium bowl, blend flour, wheat germ, baking powder, baking soda, salt, and spices.
In a separate, larger bowl, beat cream and sugar together until sugar dissolves.
Add eggs, beating well, then add applesauce and vanilla extract. Stir until fully combined.
Pour dry mixture into wet. Stir until well blended but do not over mix.
Fold in nuts and raisins, if using.
Pour into greased and floured 8x4x3 inch loaf pan or some combination of smaller pans (I used 2 mini loaf pans and 2 mini Bundt pans).
Bake at 350 for 60-65 minutes if using larger pan or 30 minutes for smaller pans.

Ahhh, smells like fall!

1 Comment

Filed under Bread

Buttery Buttermilk Scones and Sourdough Disasters

wpid-DSC_0033-2011-07-21-11-52.jpg

Given the choice, I usually like to start with the bad news. I won’t bore you with my sad story, though, so today I’ll start with the good stuff!

See those little brown peaks on the surface of these scones? Those are crispy mountains of buttery flavor and beneath them are melt-in-your-mouth soft, crumbly centers. All that texture and flavor came from only a small amount of butter and a generous glug of buttermilk!

I don’t know what inspired me to buy buttermilk the other day but once it was in the fridge I had to find something to do with it. While scones may not be the obvious application I think they are my new reason to buy buttermilk. As a bath for chew oats and the main liquid ingredient in the scone batter, buttermilk is a winner with all it’s tangy richness.

This was a totally spontaneous baking foray and I’m very happy with how it turned out. I think I’ll be making these scones over and over again with different mix-in combinations. Cherry chocolate chip is on the horizon!

wpid-DSC_0032-2011-07-21-11-52.jpg

Buttermilk Scones with Dates

3/4 cup all purpose flour
1 cup whole wheat flour
1 cup rolled oats
2 tablespoons baking powder
1/4 teaspoon salt
1/3 cup butter, softened
1 1/4 cup buttermilk
2-4 tablespoons agave nectar
About 6 medjool dates, chopped

Combine oats and buttermilk in a medium-sized bowl and leave in the fridge for at least one hour.

Preheat oven to 425 degrees F.
Thoroughly mix dry ingredients in a large bowl.
Add butter in small pieces and cut it into the flour mixture using a pastry blender (two knives or a wire whisk work too).
Stir chopped dates and agave (to taste, for desired sweetness) into the buttermilk and oats (you could also add the dates at the beginning of the soak time to soften them up).
Add liquid ingredients to dry ingredients and stir until just blended. You might need to add a splash of milk to moisten things up (I did).
Spoon the batter onto a greased cookie sheet.
Bake at 425 F. for 12-15 minutes, or until your scones have little brown peaks on top.

I highly recommend eating one of these as soon as you take them out of the oven for the maximum buttery goodness!

And now for the tragedy.

wpid-DSC_0027-2011-07-21-11-52.jpg

I had a major screw up in my baking few mornings ago. I blame it on the 6 am body pump class that exhausted me to the point that I could not function normally for the rest of the day. I returned from class, ate a hearty cereal, yogurt, and fruit breakfast (of course there was coffee involved too), and prepared to make something with my happy, well-fed sourdough starter.

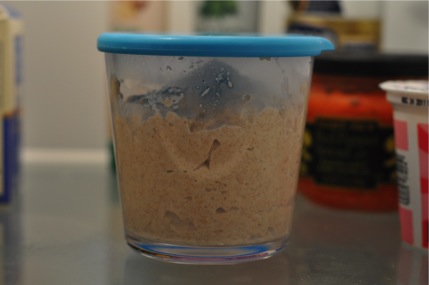
I have been feeding my starter the night before baking with it. I mix up the sour contents of the jar in the back of my fridge and pour them into the GIANT bowl (with quite a history that I’ll get to later). Then, per my starter’s parent’s directions, I add a cup of all-purpose flour and a cup of water. After mixing thoroughly with a whisk, plastic wrap and a tea towel go on top of the bowl and I stash it away in a corner of the kitchen for the night. In the morning a cup of this mixture goes towards baking and the rest (or whatever fits in the jar) goes back in the fridge. This method has been working well for me.

I fed my starter properly on the night before the incident but the next morning I skipped a step. I was so absorbed in weighing my flour and testing the water temperature that I completely forgot to remove all but one cup of the starter to save for future baking. My entire batch of starter was half-blended with white, wheat, and rye flour plus a dash of olive oil and some water before I realized what I’d done. It’s a good thing no one was around to hear me cry.

wpid-DSC_0030-2011-07-21-11-52.jpg

I woefully slopped some dough in my starter jar, just in case it was salvageable. So far, that dough hunk’s future looks promising. I fed it a cup of water and half a cup of all purpose flour, then filled my jar and used the rest to make pizza crust last night. The crust rose beautifully and tasted fantastic! I’m crossing my fingers for my starter’s future.

3 Comments

Filed under Bread, other goodies

Banana-Berry Fig Bread

wpid-DSC_0011-2011-07-14-10-45.jpg

Food lingo is interesting. I’m trying to learn the language of bread baking, much of which is French and therefore somewhat comprehensible to me since I took many years of French in school. Assigning names to dishes has it own peculiarities, though.

This bread, for example, contains one too many fruits (or maybe one too many syllables worth of fruit names) to include all of them in a nice-sounding title. Strawberry Banana Fig Bread just doesn’t sound right to me. How many ingredients is too many to include in a dish’s name, anyway? I would say 4. I can’t think of any name that lists more than 3 primary ingredients.
Then there’s the arrangement of those fruit names. Whenever strawberries and bananas are involved, strawberry banana forces itself into our brains.

Strawberry Banana Fig is the preferred order
Banana Strawberry Fig sounds wrong
Fig Strawberry Banana sounds very wrong

Chop the straw- off of strawberry and Banana – Berry (or even Berry-Banana) becomes acceptable.

I can’t really explain any of this. I remember just enough linguistics from school to get all dorky about it every once in a while but not enough to really give an informed explanation for what I find so fascinating.

wpid-DSC_0013-2011-07-14-10-45.jpg

I promise this bread makes any naming confusion totally worth it. I was giddy with excitement at the one over-ripe banana I managed to hide from myself this week. It hung out with the other bananas on the counter (I really need a fruit bowl) until enough other ingredients presented themselves and the right recipe came along. The California figs I bought at Costco needed to go into something, asap. I’ve been keeping strawberries on hand at all times since returned to California (t’is the season!).

I’m not out to make fat-free baked goods, believe me. Any whole food is fine with me in moderation and healthy fats are definitely a must. That said, there are several ways to make a quick bread, muffin, cake, or cookie moist and delicious without copious amounts of butter or oil. Banana certainly helps, plus it adds sweetness. Applesauce is another good oil substitute. Yogurt is quite possibly my favorite. I always have a tub of some kind of plain yogurt in the fridge. This week I happen to have Trader Joe’s Plain Goat’s Milk Yogurt. YUM! It my sound weird but if you like goat cheese you must try goat’s milk yogurt. The taste is subtle and the yogurt is creamy without being overly rich. The bread I made today doesn’t taste like goat’s milk yogurt but I like knowing it’s in there.

wpid-DSC_0014-2011-07-14-10-45.jpg

Banana-Berry Fig Bread

Adapted from The Daily Garnish

1 cup all-purpose flour
1/2 cup whole wheat flour
1/2 cup wheat germ
2 teaspoons baking powder
1/2 teaspoon salt
1/2 cup brown sugar
2 eggs
1/2 cup plain yogurt
1 teaspoon vanilla extract
1 ripe banana
1 cup ripe figs, quartered
1/2 cup strawberries, diced

Combine flours, wheat germ, baking powder, and salt in a large bowl.
Peel the banana and mash it in a separate bowl.
Add the figs and mash them as well (they don’t have to be completely liquified – you can leave some fig hunks)
Beat the eggs into the banana-fig mixture
Add the brown sugar, yogurt, and vanilla. Stir until completely combined.
Pour the wet ingredients into the dry ingredients, stirring gently until barely mixed.
Fold in the strawberries.
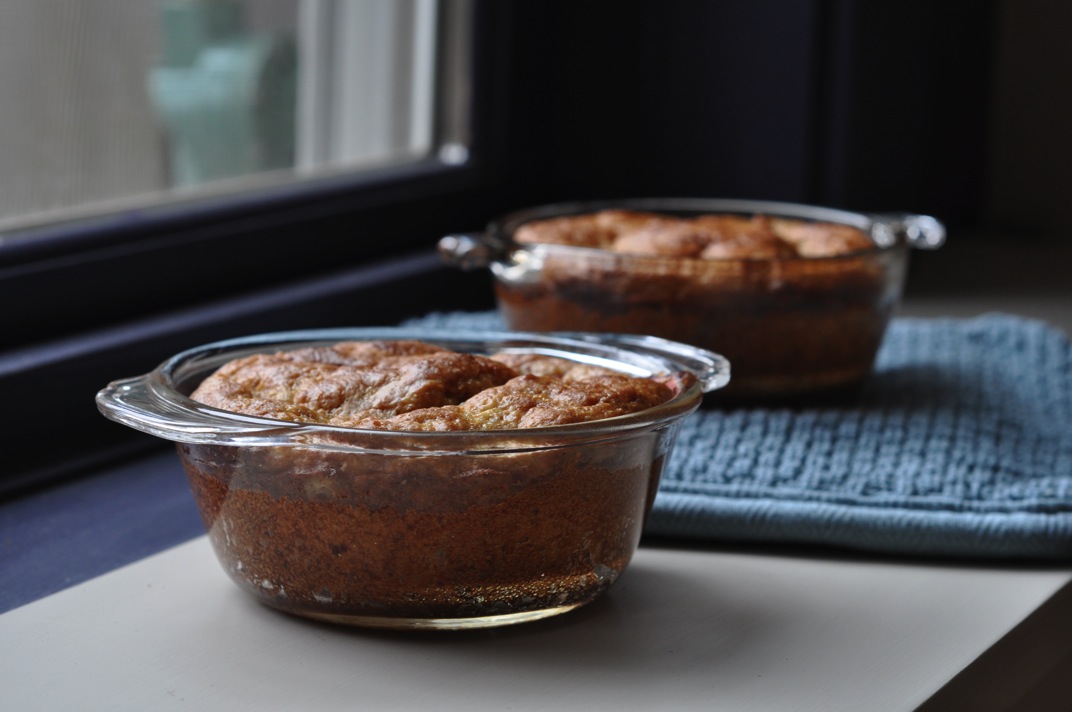
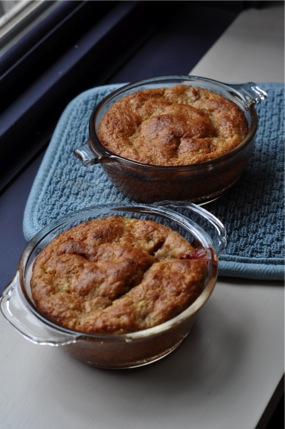
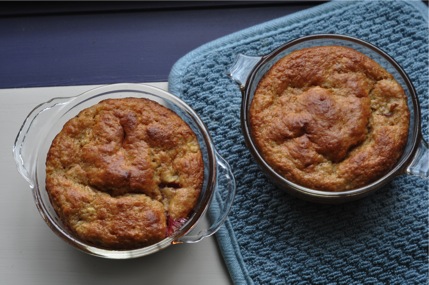
Pour the batter into one large loaf pan or 4 small loaf pans (I used 2 small loaf pans and 2 tiny baking dishes from my grandmother’s kitchen)

Bake at 350 for 45 min. (small loaves) to 1 hour (large loaf) or until lightly browned on top.
Cool on a wire rack, remove from pans, slice, and devour!

3 Comments

Filed under Bread

Sourdough English Muffins

wpid-DSC_0997-2011-07-9-15-58.jpg

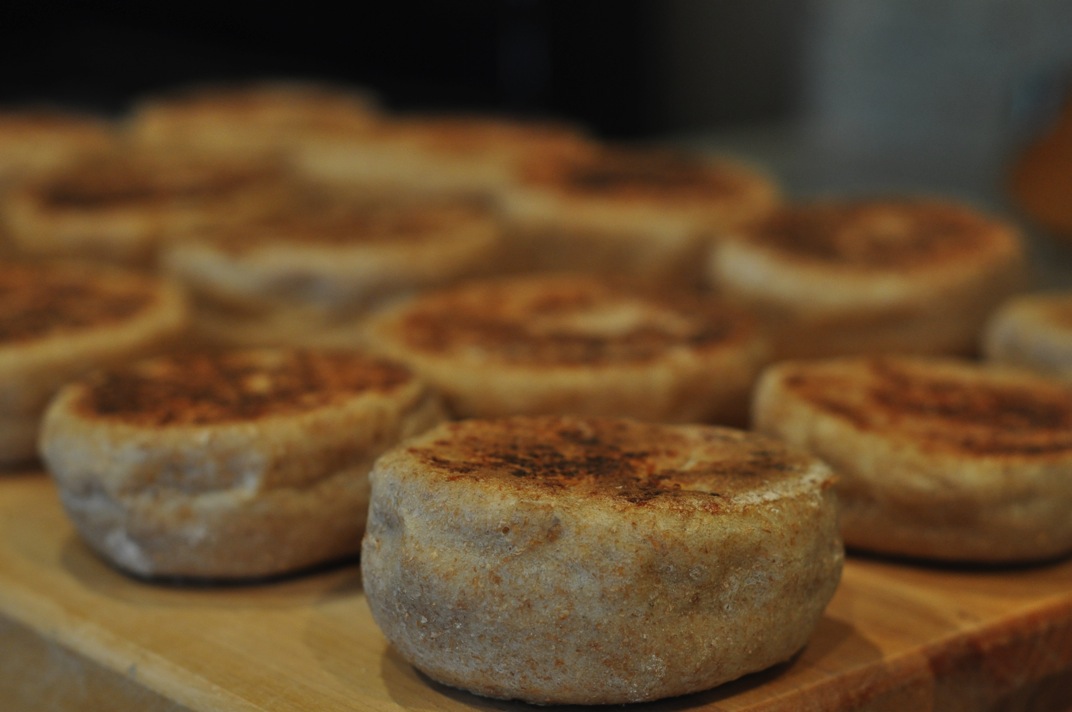
Mmmmmmmuffins warm from the griddle.

My sourdough starter has done a lot of traveling since I received it as a gift last month. It came with me from Anacortes to Seattle and then survived the two day road trip from Seattle to Napa. In Napa, my started mostly hung out in the fridge. I knew I should be baking with it about once a week so I made a batch of improv loaves. They were tasty: tangy and spongy like sourdough! Then last weekend my starter moved to the city with Lee and me! It took up residence in a new fridge and waited patiently for me to have time to bake.

I didn’t know where to start with sourdough. I still don’t. I feel like my improv loaves didn’t count and these English muffins were a specialty recipe so I have yet to bake real bread with my starter. There is so much I don’t understand about bread baking. I get really, really overwhelmed when I read a bread cookbook that uses all kinds of fancy terms to describe artisan bread. I am ready and willing to learn, though, and I have to start somewhere!

Really, English muffins were a great place to start. This recipe came from a regular cookbook devoid of bread jargon. Cooking Emuffins’s is a simple process that I can control on the griddle. They’re also the perfect breakfast (or any time) bread to make sour. That extra flavor and chewy texture take an English muffin from good with butter and jam to great with butter and jam…and peanut butter, honey, marmalade, goat cheese, you name it!

I carried out the initial steps a little bit differently from what the recipe calls for. I had already grown my started with 1 cup water and 1 cup all-purpose flour so I just put away the amount that fits in my starter container and used the rest for the muffins. That meant I probably used more like a generous cup of starter rather than 3/4 cup. I therefore ended up with more dough (and possibly wetter dough since I don’t know if this recipe was written for a liquid starter like mine or a more solid one). None of that seemed to matter, though, which is a testament to just how easy this recipe is! If you have a starter in your fridge you have no excuse for not making these muffins!

wpid-DSC_0995-2011-07-9-15-58.jpg

Sourdough English Muffins
From Horn of the Moon Cookbook by Ginny Callan

Makes about 15 muffins

First day. The sponge:

3/4 cup sourdough starter (after removing the starter you will be using, feed the remaining starter with 1/2 cup water and 1/2 cup unbleached flour)
1 1/2 cups milk
1 1/2 cups whole wheat bread flour (I used regular whole wheat)
3/4 cup unbleached white flour

Mix all sponge ingredients together and beat for 100 strokes.
Cover and leave mixture out overnight if the room is cool or refrigerate after a few hours if the room is warm.

Second day. The dough:

1 1/2 teaspoons baking soda
1 1/2 teaspoons baking powder
1 1/2 teaspoons salt
1 1/2 tablespoons honey
2 cups unbleached white flour, or as needed (I used about half white, half wheat)
1 tablespoon vegetable oil
2 tablespoons cornmeal

Mix the baking soda, baking powder, and salt and stir this directly into the sponge.
Allow the mixture to sit for a few minutes until it begins to bubble.
Stir in enough flour (about 1 1/2 cups) to make a non-sticky dough.
Knead in the remaining flour on a floured surface, adding more if the dough remains sticky.
Cover dough and allow to rise for 1/2 hour.

Oil two cookie sheets and sprinkle them with cornmeal.
Roll dough out to 1/2-inch thickness on a lightly floured board.
Cut rounds about 3 1/2 inches in diameter (an empty, clean tuna can works well for this).
Re-roll the dough and cut more rounds, placing them on the cookie sheets, until you run out of dough.
Cover the cookie sheets with towels and leave the muffins to rise for about 1 hour. (They won’t rise much)

wpid-DSC_0993-2011-07-9-15-58.jpg

Preheat a cast-iron griddle or pan over low heat (do not oil it).
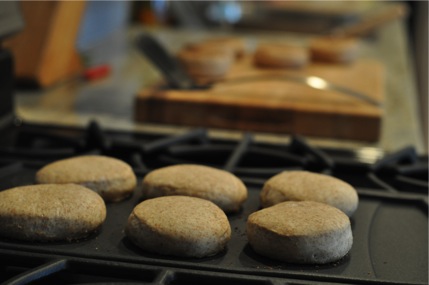
Place as many muffins as you can on the griddle (I put mine cornmeal side down initially) and allow them to bake undisturbed until the bottoms are nicely browned (8-10 minutes).
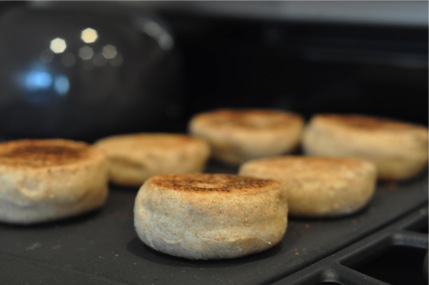
Flip muffins and cook until the other sides are brown. This should take less time than the first side. (When cooking both sides, the muffins will puff up a lot. It’s fun to watch!)
When browned, place on wire racks to cool and continue cooking remaining muffins.

wpid-DSC_0988-2011-07-9-15-58.jpg

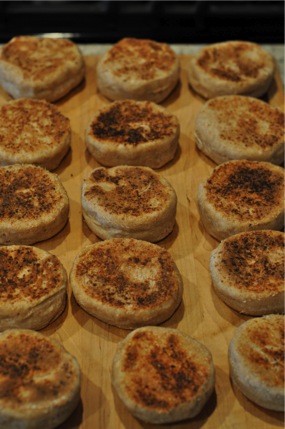
I ended up with 21 muffins (20 after I sampled one!).
Hey, English muffins aren’t just for breakfast! Last night I made vegetarian chili specifically so we could eat buttered muffins with dinner. Today Lee had egg sandwiches on two Emuffins for breakfast and I had one slathered with crunchy peanut butter for lunch.

7 Comments

Filed under Bread, muffins