Category Archives: Uncategorized

Cranberry conserve – bright, crunchy, stowed away for winter

wpid-cimg2473-2010-10-26-19-08.jpg

Provisioning the boat always leads to a few impulse purchases, usually of treats to pull out of a locker at a later date. On one shopping trip for this sail, though, I ended up with a bag of Maine cranberries. I couldn’t resist them. I don’t think I’ve ever cooked with fresh cranberries and they marked a transition from Maine summer produce to fall and winter foods.
That bag of cranberries has been shuffling around the boat’s fridge since we left. I had a plan for it, though. I found a recipe for Cranberry Conserve in my canning cookbook that sounded like a perfect way to preserve my impulse-buy cranberries and give us something festive to enjoy around the holidays.
The Ball Complete Book of Home Preserving defines conserve as “luscious combinations of fresh and dried fruit and nuts, cooked to create a thick, sweet spread with a varied texture.” Yum! I know. It sounded like a winner to me.
I halved the recipe, since I have a limited supply of jars and there weren’t quite enough cranberries to make a full batch. My half batch was a bit too much for two, 8 oz jars, maybe because I didn’t let enough water evaporate by leaving the lid off early in the cooking process. I opted for almonds as my nut.
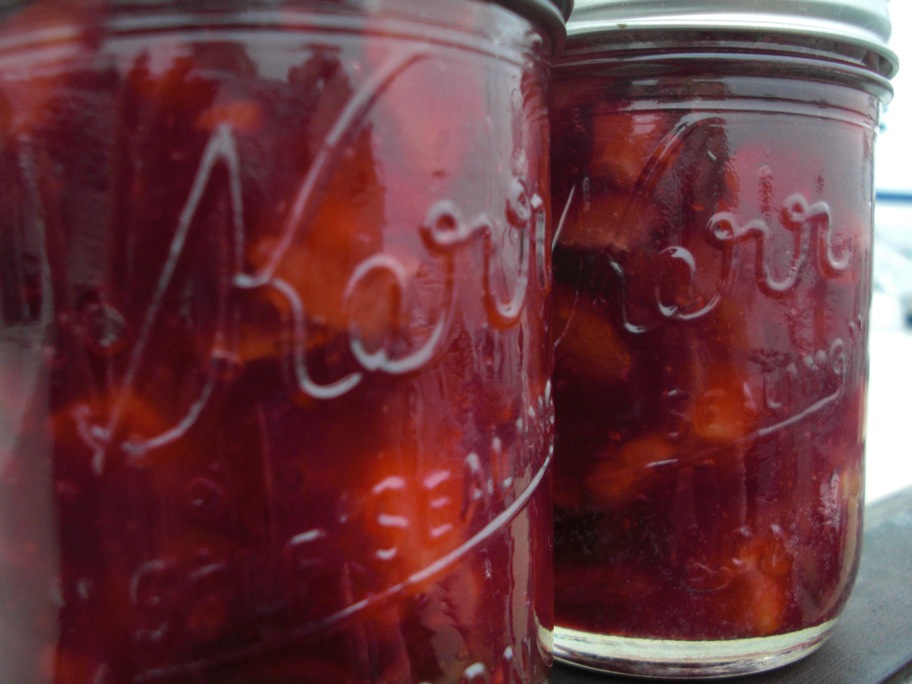
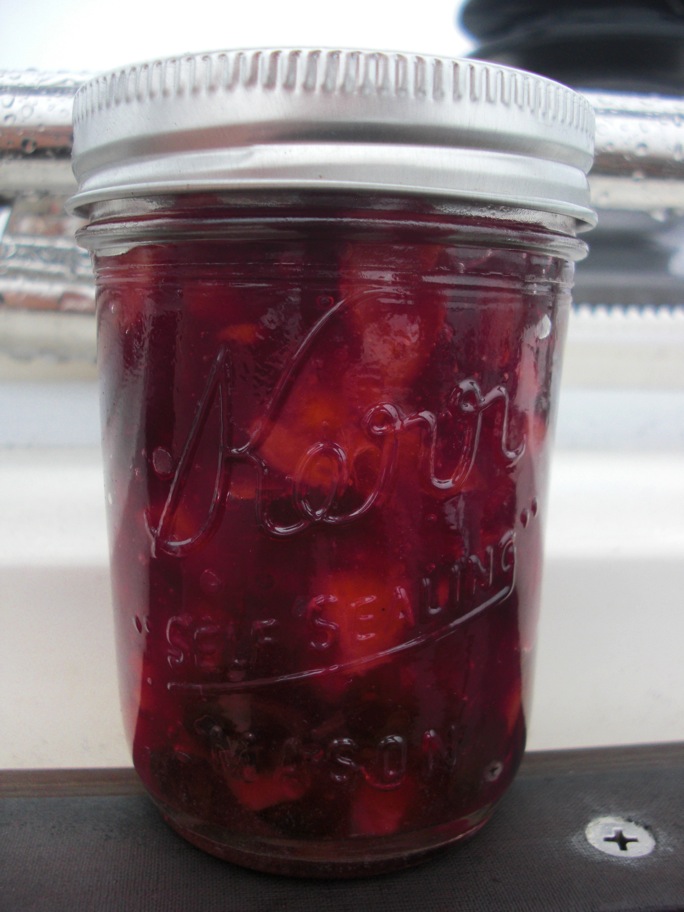
This conserve has a gorgeous, bright cranberry color and the orange peel and almonds add festive colors to the jars. The spread is definitely sweet and tastes similar to cranberry sauce. It has a slight citrus flavor from the orange and fun crunch from the almonds. The texture is very thick – perfect for spreading – or, as Lee did this morning, plopping on top of your oatmeal.
wpid-cimg2469-2010-10-26-19-08.jpg

This is my Fall Fest recipe for todays celebration of “The mad stash”. Visit A Way to Garden to find out more.

wpid-fall-fest-logo-ruled-2010-10-26-19-08.jpg

wpid-cimg2462-2010-10-26-19-08.jpg

Cranberry Conserve
From the Ball Complete Book of Home Preserving
Makes about 4 8-ounce jars

1 orange (un-peeled), seeded and finely chopped
2 cups water
4 cups cranberries
1/2 cup raisins
1 cups granulated sugar
1/2 cup chopped nuts

Prepare canner jars and lids.
Combine orange and water in a large saucepan and bring to a boil over high heat.
Cover partially, and boil gently until the peel is tender (5 min. or so).
Add cranberries, raisins, and sugar, stirring until sugar dissolves.
Return to a boil over medium-high heat and boil hard, stirring frequently, until the mixture thickens (10-15 minutes).
Stir in nuts and cook, stirring constantly, for another 5 minutes.
Remove from heat and test gel. If the mixture gels, skim off foam.

Ladle hot conserve into hot jars, leaving 1/4 inch headspace.
Remove air bubbles and adjust headspace.
Wipe rims, center lids on jars, and tighten to fingertip-tight.
Place jars in canner, covering them completely with water. Bring to a boil and process for 15 minutes.
Remove canner lid, wait 5 minutes, then remove jars and leave them to cool completely.

6 Comments

Filed under Uncategorized

Spicy banana bran scones (vegan!)

wpid-cimg2424-2010-10-22-15-51.jpg

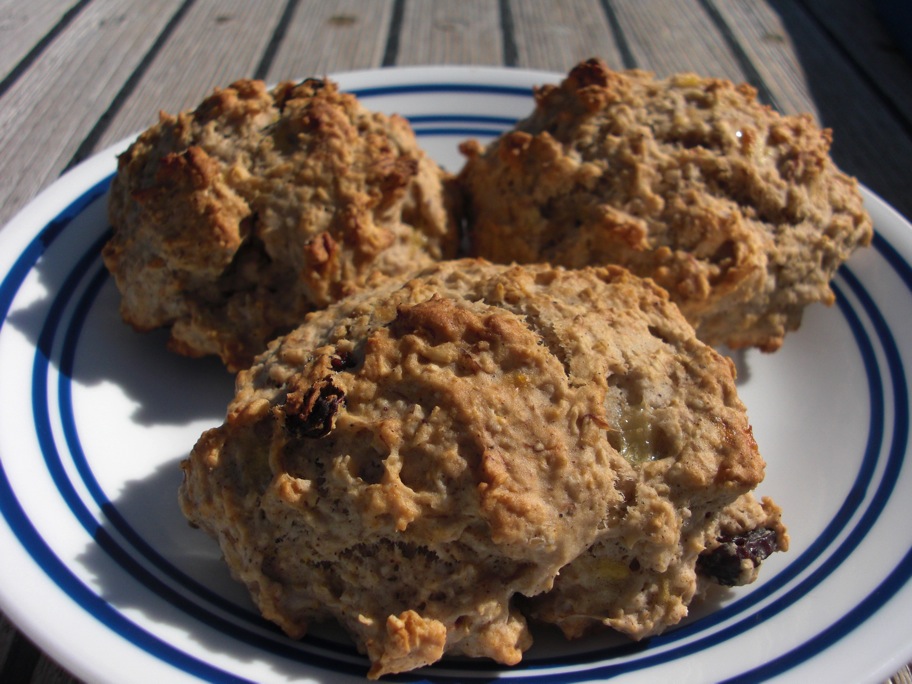
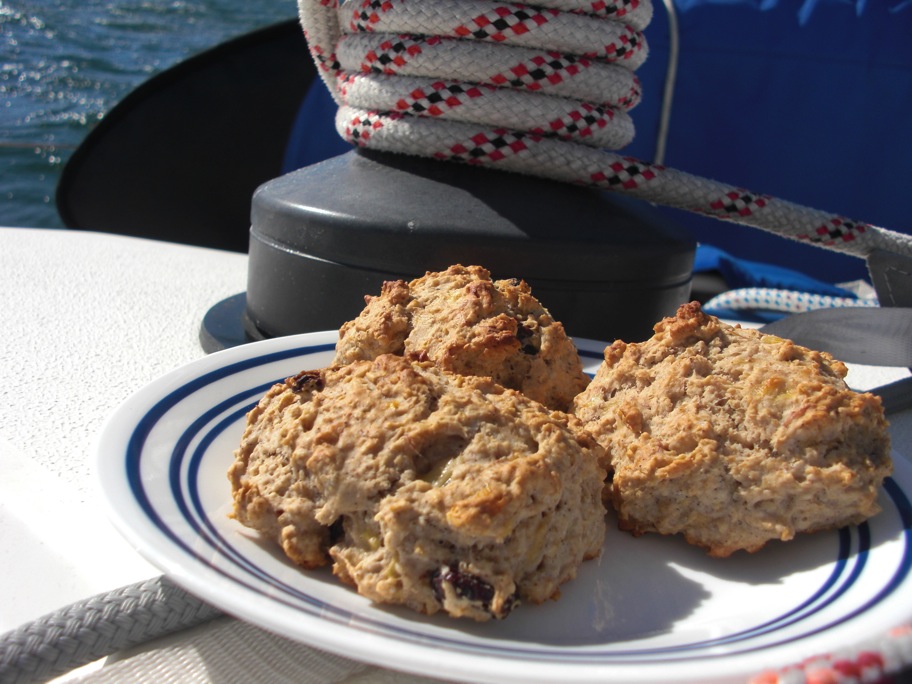
Just some scones, hangin out on deck.

wpid-cimg2425-2010-10-22-15-51.jpg

After my oven difficulties while baking muffins the other day, I had to give baking on the boat another go as soon as possible. This morning, as we pitched and rolled at anchor in choppy Newport harbor, I searched for inspiration in my cookbooks and recipe notes.
What had I been meaning to bake before we left? Oh yeah, scones! Now where was that recipe? Hmmm, kinda boring. How could I spice these up? Some spices, perhaps? I looked to one of my favorite unusual cookie recipes for ideas. I’m sure I’ll be posting about these cookies eventually. They’re vegan oatmeal cookies that use banana and all kinds of yummy spices, making them taste a bit like indian food in oatmeal cookie form.
The recipe I wanted to spice up was for Banana Bran Scones. I love the idea of incorporating banana into a scone and oat bran is a breakfast staple in my kitchen. Without messing with those two ingredients, I played around with the recipe to make it a little more exciting! Unlike my last oven experiment, the result was not disappointing. (To be fair, the Pear Ricotta Muffins were really, really tasty after they’d firmed up a bit and I will be making them again!)
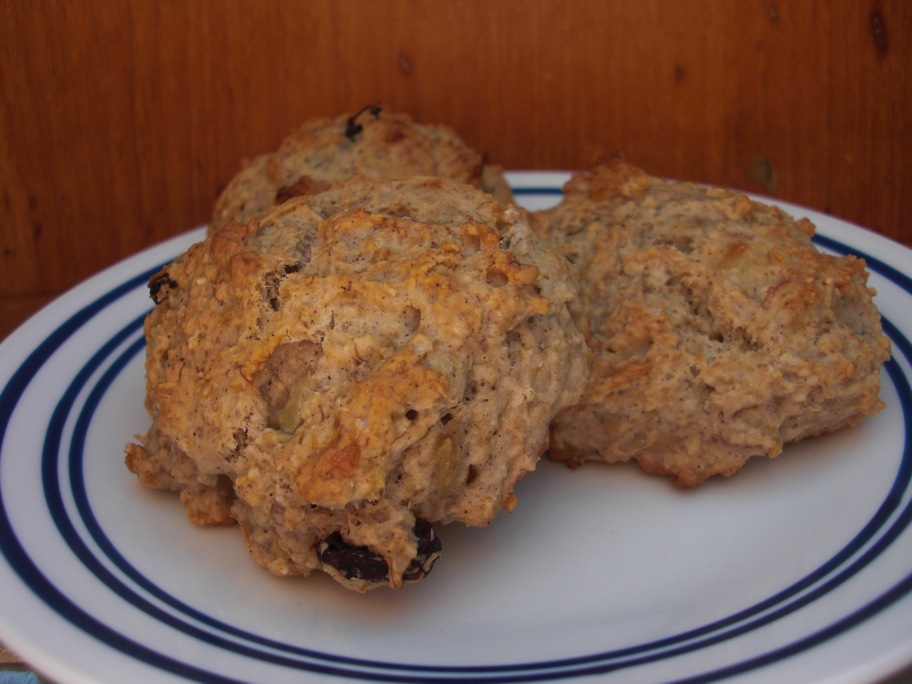
These scones are so much better than I expected them to be. I’m kind of in love with them. They’re just the right amount of sweet for a scone. They’re hearty without being dense and buttery, as scones can be. The banana is incredible. Using a really ripe banana makes the flavor so strong and sweet it almost seems artificial. I love the little flecks of un-mashed fruit here and there. Then there’s the spices! I added most of the repertoire from my favorite oatmeal cookies. I think cinnamon, nutmeg, allspice, and ginger go really well with banana and raisins. which I threw in at the last minute. This was also an opportunity to give coconut oil another try. I’ve been experimenting with it and I’m really happy with how it worked in this recipe. There is a hint of coconut flavor in the baked scones and they maintain their scone texture without the butter.

wpid-cimg2431-2010-10-22-15-51.jpg

Do yourself a favor and make a double batch. They go fast!

Featured on Baking is Hot

Spicy Banana Bran Scones
Adapted from Cooking Light
Makes 8 scones

1 cup all-purpose flour
1/2 cup oat bran
2 tablespoons coconut oil
1 teaspoon baking powder
1/4 teaspoon baking soda
1/4 teaspoon salt
1/4 teaspoon cinnamon
1/8 teaspoon each of nutmeg, ginger, and allspice*
1 tablespoon powdered soy milk
2 tablespoons coconut oil (or butter/margarine)
3/4 cup mashed, ripe banana
1 tablespoon turbinado sugar
3 tablespoons water
1/4 teaspoon vinegar
A handful of raisins

Preheat oven to 450 degrees F (I used the oven timer this time to make sure it heated up!)

Mash banana and sugar together in a small bowl. Let stand while you prepare other ingredients.
In a large bowl, sift together flour, oat bran, baking soda, baking powder, salt, spices, and powdered soy milk.
Melt coconut oil in a saucepan over very, very low heat. You can also submerge the jar of oil in hot water to soften it or use whatever softening method you prefer.
Allow the oil to cool slightly, then pour it into the flour mixture, blending with a pastry blender, 2 knives, or a whisk (a whisk worked great for me).
Add vinegar and water to the banana.
Make a well in the center of the flour mixture.
Pour banana into flour mixture and stir vigorously to combine, adding the handful of raisins as you do. Dough will be more like a batter than a biscuit dough.
Place dough, in approximately 1/3 cup scoops, on an oiled or otherwise nonstick cookie sheet. You may want to flatten and shape each scoop into round, biscuit-like shapes.
Bake at 450 for 15 minutes.

*I wanted to use cardamom, since I think it’s actually the star spice in the oatmeal cookies, but I couldn’t find it. I must have hidden it away in the boat somewhere. I subbed allspice but use cardamom if you have it!

11 Comments

Filed under Uncategorized

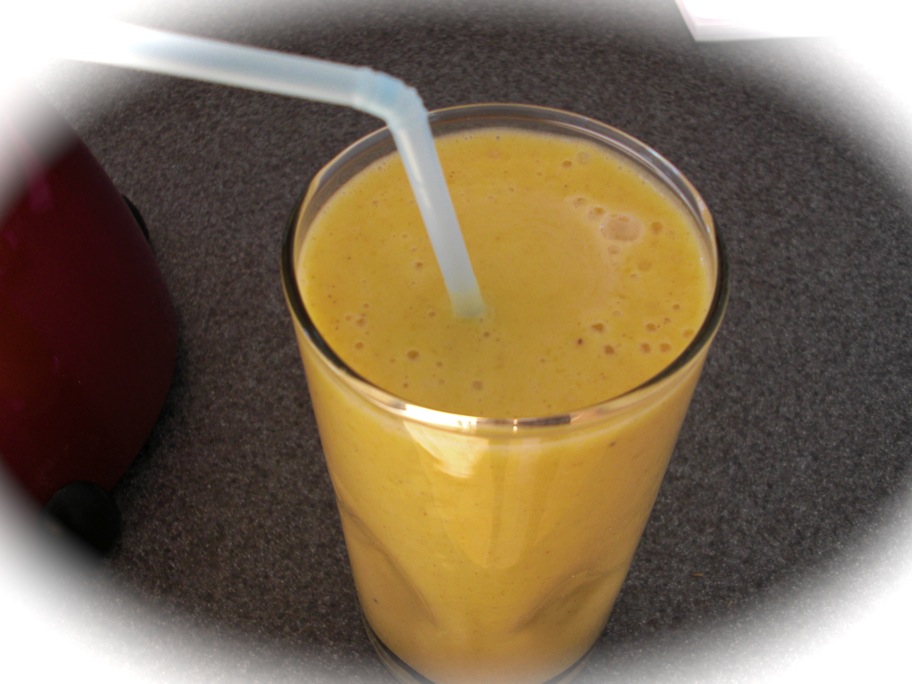
Squash Smoothie

wpid-cimg2313-2010-10-13-10-33.jpg

        Winter squash has got to be one of the most versatile vegetables out there. Sweet or savory, it pushes any dish into the extreme yumminess zone. You can roast it, puree it, chop it, stuff it, throw it in a stew, a salad, or a cake. What’s not to love?
        I’ve been putting pumpkin in my cereal for breakfast every morning for a couple weeks now. It doesn’t replace my usual banana but it adds creaminess and makes every morning really taste like fall. When I saw that this week’s Fall Fest theme was pumpkin or winter squash I immediately thought “I want to do something with squash that I’ve never done before.” Before long, inspiration came from one of my favorite newly acquired kitchen gadgets: my blender! I made smoothies like crazy all summer and have kept it up this fall. Lee and I both like protein shakes after workouts and I love experimenting with different flavor combinations.
        Originally, I wanted to use something like an Acorn squash or the cute little Delicatta squash I got from Beth’s last week. Alas, my schedule didn’t allow for a trip to Beth’s this week so I went with the only squash I had: a pie pumpkin I’ve been working up the courage to cook. I don’t think I’ve ever started with a real, whole pumpkin to cook before. The canned stuff is just too easy! This year, though, I saw a tutorial on Baking Bites on how to make your own pumpkin puree and I decided it was time to give it a try. It’s a great post if you’re thinking about taking on a pumpkin! The only part I had difficulty with was peeling. After cutting the pumpkin in half and scooping out the seeds, I found it easier to peel if I cut each half into even smaller chunks (each half into about 8 pieces).
        Here it is, my Fall Fest Squash smoothie. I just caught onto fall fest a few weeks ago, For more information, visit A Way to Garden to find out more.
wpid-fall-fest-logo-ruled-2010-10-13-10-33.jpg

Squash Smoothie (serves 1)

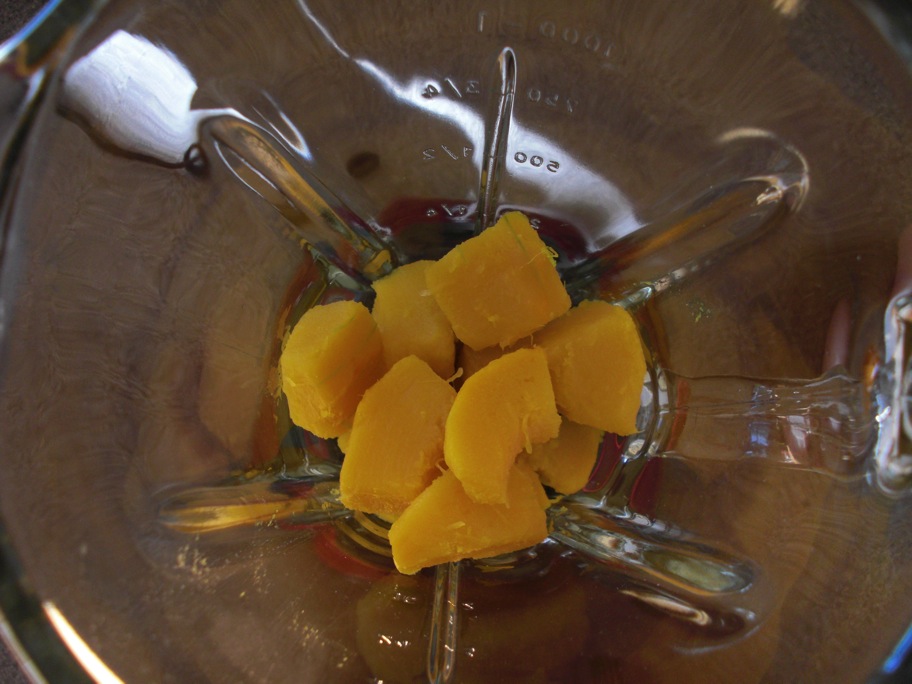
1 to 1 1/2 cups cooked squash chunks – any squash, except maybe spaghetti, works!
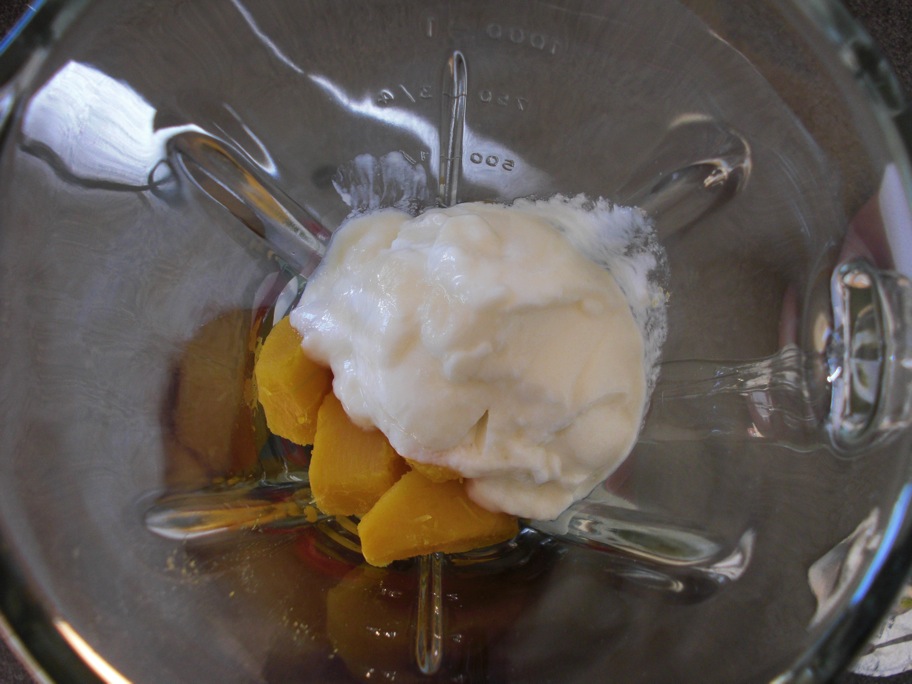
3/4 cup vanilla yogurt (such as a 6oz yogurt cup)
1/2 cup apple cider*
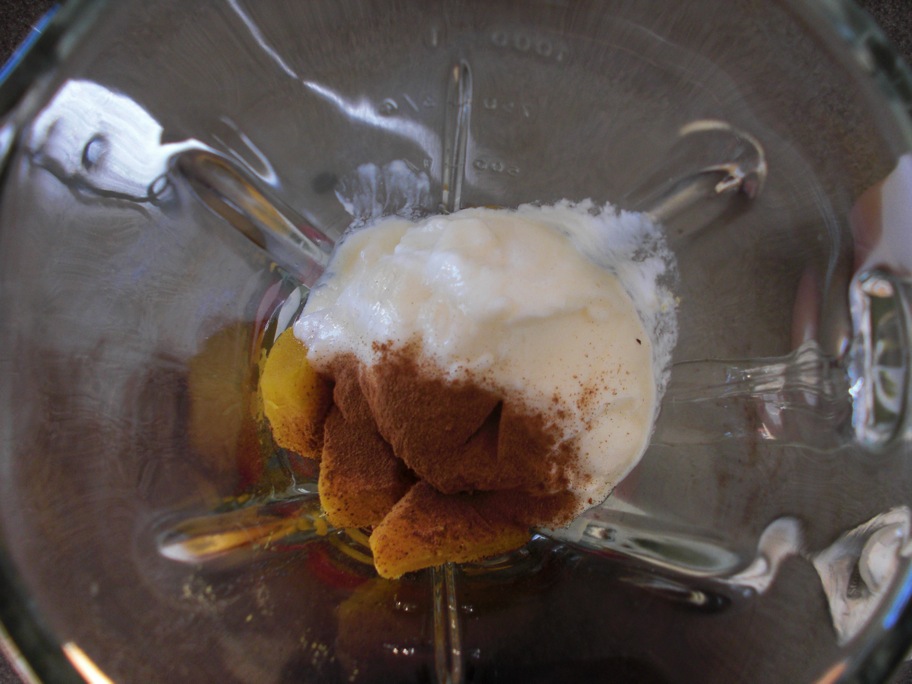
1/8 teaspoon nutmeg
1/4 to 1/2 teaspoon cinnamon
optional: 1 teaspoon maple syrup (if you want it sweeter)

wpid-cimg2307-2010-10-13-10-33.jpg

wpid-cimg2308-2010-10-13-10-33.jpg

wpid-cimg2309-2010-10-13-10-33.jpg

wpid-cimg2310-2010-10-13-10-33.jpg

wpid-cimg2311-2010-10-13-10-33.jpg

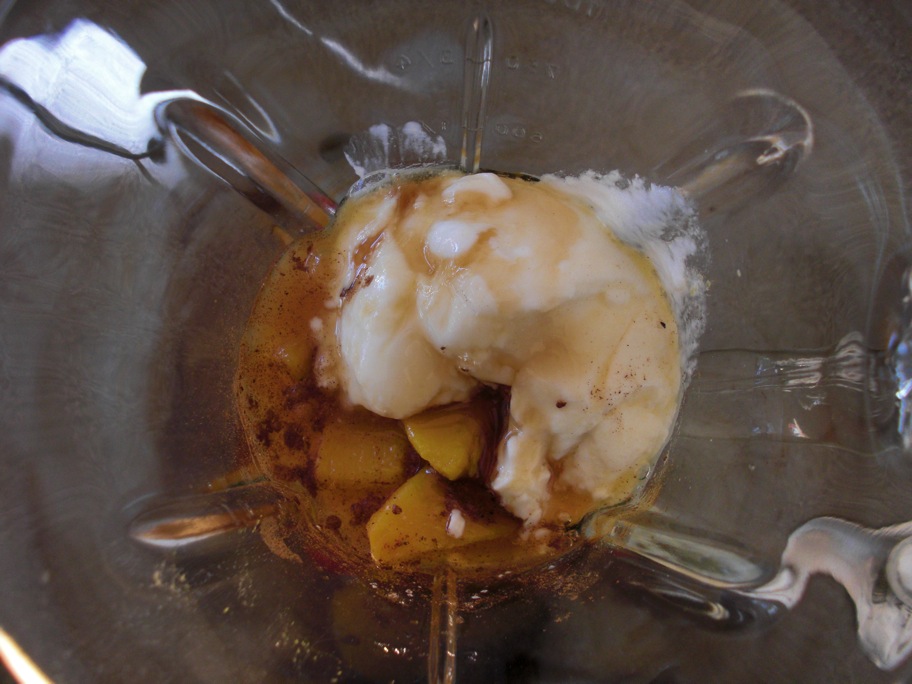
Place all ingredients in a blender. I like to start with the chunks.
Don’t forget to put the lid on the blender!
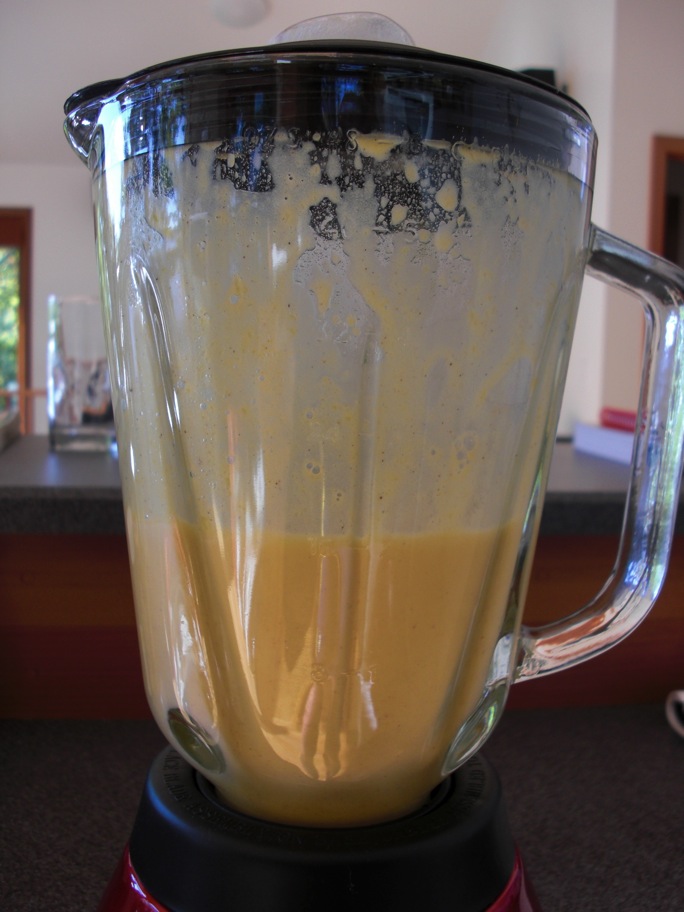
Blend on a low setting for 30-45 seconds, or until all the squash has been pulverized.
Pour into a nice, tall glass and enjoy! (I like sipping smoothies through straws)

*Use milk or your favorite non-dairy milk if you prefer more protein and creaminess. This will make the smoothie less sweet but you can always add the maple syrup! Use applesauce or soy yogurt to make this vegan.

10 Comments

Filed under Uncategorized

Grandmother's Ginger Cookies

wpid-cimg2296-2010-10-11-20-14.jpg

        I love old things: old clothes, inherited jewelry, old books, pictures, letters, and of course recipes. Recipes are a special kind of inheritance. They pass among family members, across generations, and through history. Special recipes become legendary, especially when the written record is lost. The dish may acquire amazing qualities in memory that outlive it’s physical presence on the family table.
        These cookies are part of my culinary family tree. If I have my stories, grandmothers, and cookie legends right, these were my grandfather’s favorite cookies. My father and grandfather always raved about a certain ginger cookie that my great-grandmother used to make. She was quite a baker. I also hear she made seriously over-the-top amazing cinnamon rolls and the kitchen table was covered with her marble slab for candy making long after she was gone. I remember standing in that kitchen listening to my parents and grandparents try to remember what the cookies were like and figure out where the recipe was. My grandmother always swore she had it somewhere but could never find it.
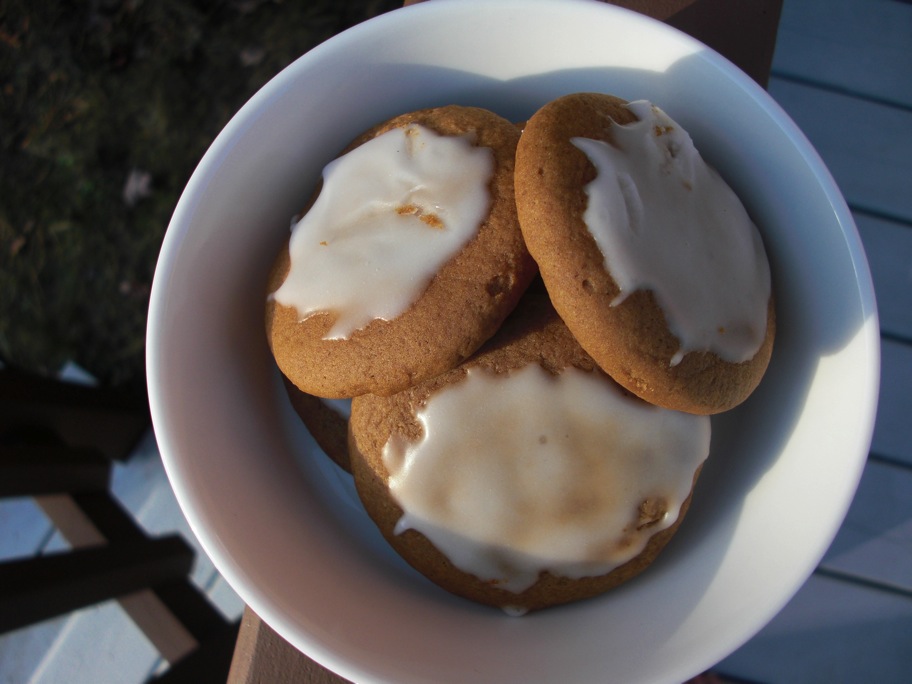
        This is what they said about the cookies: They were like ginger snaps…but not snappy. They were soft. They were also like molasses cookies…but not the dense, sugary molasses cookies you would expect. The cookies had white frosting. I think I also remember my parents and grandparents saying the recipe was not my great-grandmother’s. It actually came from my grandfather’s family but his mother in law made the cookies because he liked them so much (I might be making this part up, memory’s a bit fuzzy!).
        Anyway, a cousin of my dad’s contacted me a few weeks ago and said she had some old family recipes I might want to try. Of course I wanted to try them! She copied the recipes and shipped them off the old-fashioned way. When it arrived, I opened the envelope with excited anticipation, hoping it would contain the legendary ginger cookies. They were in there, along with several gems from my great aunt and a version of my grandmother’s cornbread dressing. The recipe in question was titled “Ginger cookies from RA”. What’s RA? It also indicates that they came from the kitchen of Mrs. McKay in Duluth. Who was Mrs. McKay?
        At first, I was amazed at the simplicity of these cookies. No eggs, no milk, not much in the say of spices? Then I realized this was probably a depression-era recipe crafted to be delicious without certain luxury ingredients. I set out to make a half-batch of my cookie inheritance. Finally I would get to taste them for myself!

wpid-cimg2299-2010-10-11-20-14.jpg

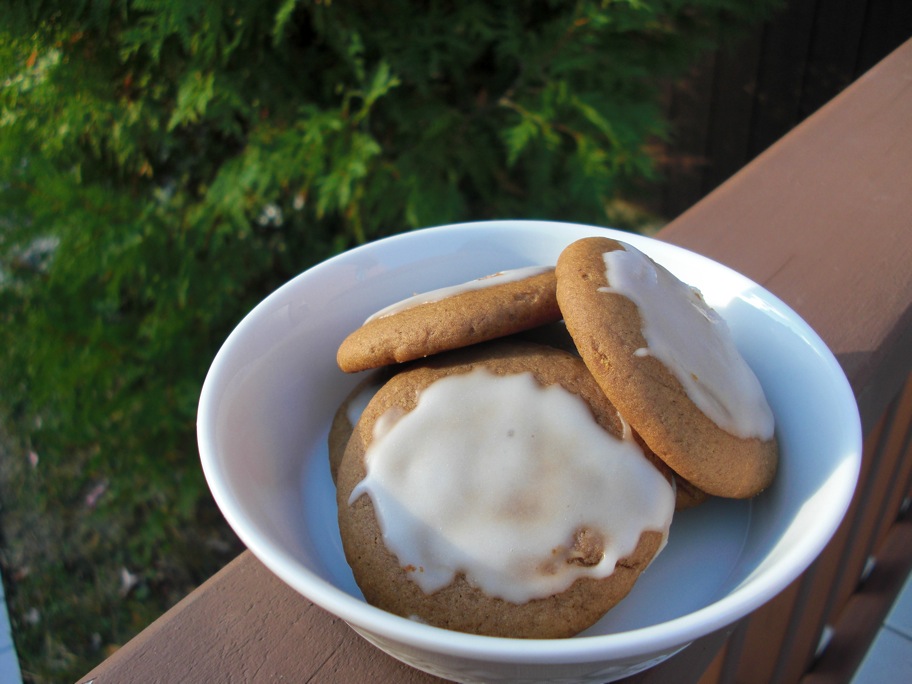
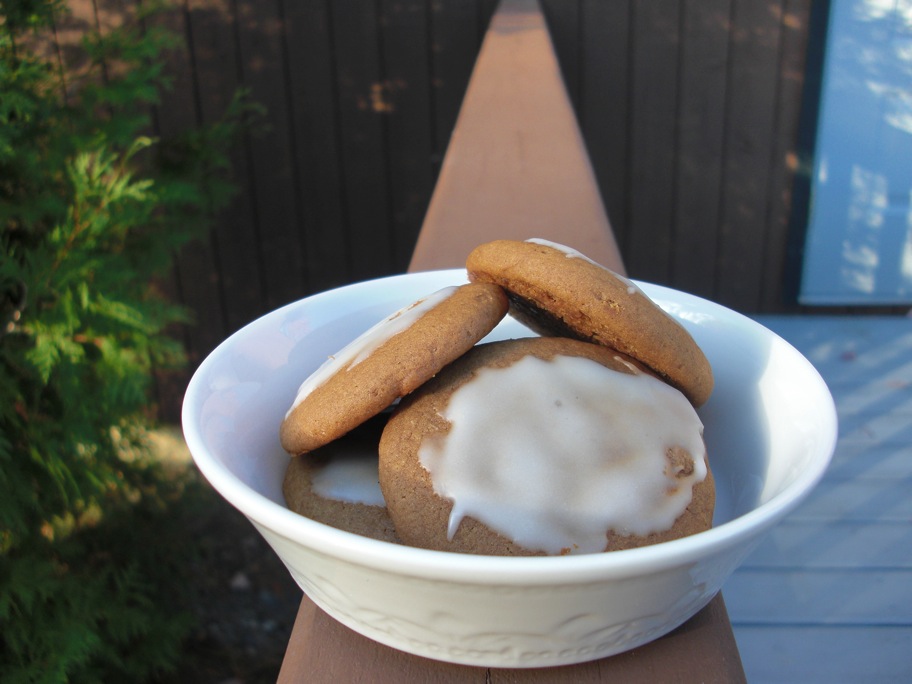
        The verdict: I must say, they are good. They’re definitely different. Lee’s dad took a bite of one with a quizzical look. He wasn’t sure what kind of cookie they were but he guessed molasses. I’d say that sums my family ginger cookies up pretty well: We call them ginger cookies but they’re not very gingery. If you had to guess, you’d say molasses. They’re soft and cake-like. There’s butter in there, and spices.
Two details I have questions about:
        First: the icing – the recipe was very vague about how to make the icing. It definitely calls for powdered sugar and it’s cooked on the stove. The card said to add vanilla and cream and that the frosting was always creamy and good. So how am I supposed to re-create this frosting? I used a simple powdered sugar and water cookie icing but it’s pretty boring.
        Second: According to the recipe I have, “grandmother” cut the cookies with an oblong cookie cutter. Oblong? I envision an oval but i’ve never seen a cookie or a cookie cutter shaped like that. Where does one find an oblong cookie cutter?
At least I have some things to work on!

wpid-cimg2297-2010-10-11-20-14.jpg

If you like ginger cookies or molasses cookies you will love these cookies. They may not be able to decide what they are but they’re certainly delicious!

Ginger Cookies (The full recipe. I made half)

1 cup lard (I used butter)
1 cup brown sugar
1 cup molasses
1 cup hot water
1 teaspoon ground ginger
1 teaspoon cinnamon
4 teaspoons baking soda
1 teaspoon salt
7 cups flour (give or take)

Preheat oven to 325 degrees F.

The recipe I received doesn’t actually include directions so I guessed on how things go together.

Cream together the butter, sugar, and molasses in a large bowl. (I had issues with this since I don’t have a mixer…woe is me!)
In a separate bowl, sift the flour, ginger, cinnamon, baking soda, and salt together.
Add the hot water to the sugar mixture.
Add the flour mixture to the sugar and water, stirring as you do.
Mix the whole thing up into a nice ball of dough.

The recipe said to roll the dough out and cut it with a cookie cutter but I opted for something simpler since I didn’t have a proper cookie cutter.

Pinch off hunks of dough, roll them between your palms to form balls (bigger than a Whopper but smaller than a ping-pong ball).
Place balls on an oiled cookie sheet or silicone mat/parchment paper covered cookie sheet.
Flatten balls with your fingers till they’re about the size you want the cookies to be. They don’t spread out much at all but the poof up.
Bake at 325 for 15 minutes.

Allow to cool slightly, then ice with your favorite cookie icing (something that hardens when it dries). I just mixed about 2 cups of powdered sugar with 3 tablespoons of water and it made way more icing than I needed. I also left a few cookies un-iced to see what they were like plain. They’re great, of course, so feel free to skip the icing!

15 Comments

Filed under Uncategorized