If you ask me what my favorite season is, I will promptly answer “Fallâ€, without a doubt. Why, then, am I resisting fall’s arrival this year? I’m still buying summer squash, stone fruit, and corn. Hey, these things stay in season a lot longer here in California. Maybe my resistance comes from San Francisco’s goofy summer weather. Our warm, sunny days just started last week and will be gone by early October. Cool, foggy mornings and brisk afternoon breezes were the norm all summer long. I don’t have a problem with that, especially after living in the oppressive Caribbean heat for several months. I just can’t get into fall until it really feels like fall.
Something about visiting the East Coast last week made me crave fall apples like nothing else. Lee and I made a last minute trip for his grandmother’s memorial service but managed to visit three states in a short amount of time. We flew into Boston, spent the night in a nearby hotel with Lee’s family, and spent the next day at the service and post-service gathering in the Connecticut. The Connecticut countryside feels almost mystical to me. The grass is so green and the little stone walls are so quaint. It’s about at foreign as landscapes get to a Californian.
The next day, my 26th birthday, we were all the way up in Maine at Lee’s parents house. We lived there for a few months last summer so it truly felt like home. I must say, Maine was having better weather than SF. It was sunny and warm. The trees had not started changing yet. Still, something in the air smelled or felt like fall.
Lee and I were driving his MGB down a winding country road when I exclaimed that it would be fun to pick apples on my birthday and it was too bad apple season hadn’t started yet. It hadn’t? The next curve we rounded brought us to the local orchard and we pulled off as soon as we saw the you-pick sign for apples.
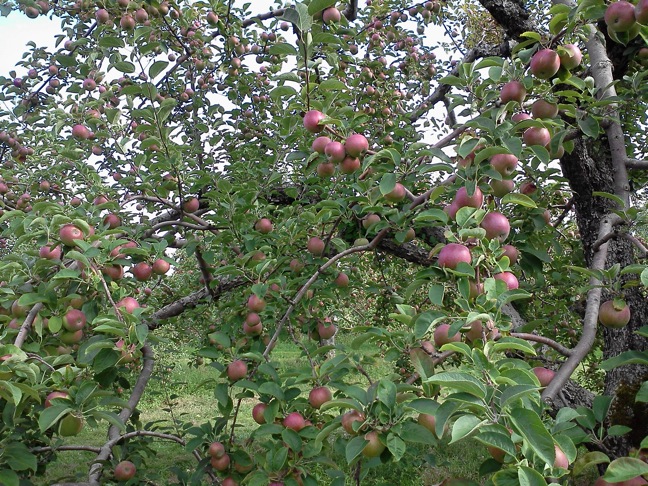
The trees were loaded. I mean loaded. The branches were heavy with apples and the air smelled sweet. The early season Macintosh and Cortland apples were a little tart but I like them that way. We tried really hard not to pick too many, knowing we’d be leaving in a couple days anyway, but it was so hard not to fill our bags. We left with 13 pounds of apples and vowed to eat as many as possible before our flight home.
One can only eat so many apples in one day. When it came time to pack our things, I just couldn’t leave our bounty behind. We boarded the plane with a bag of apples nestled in a carry-on.
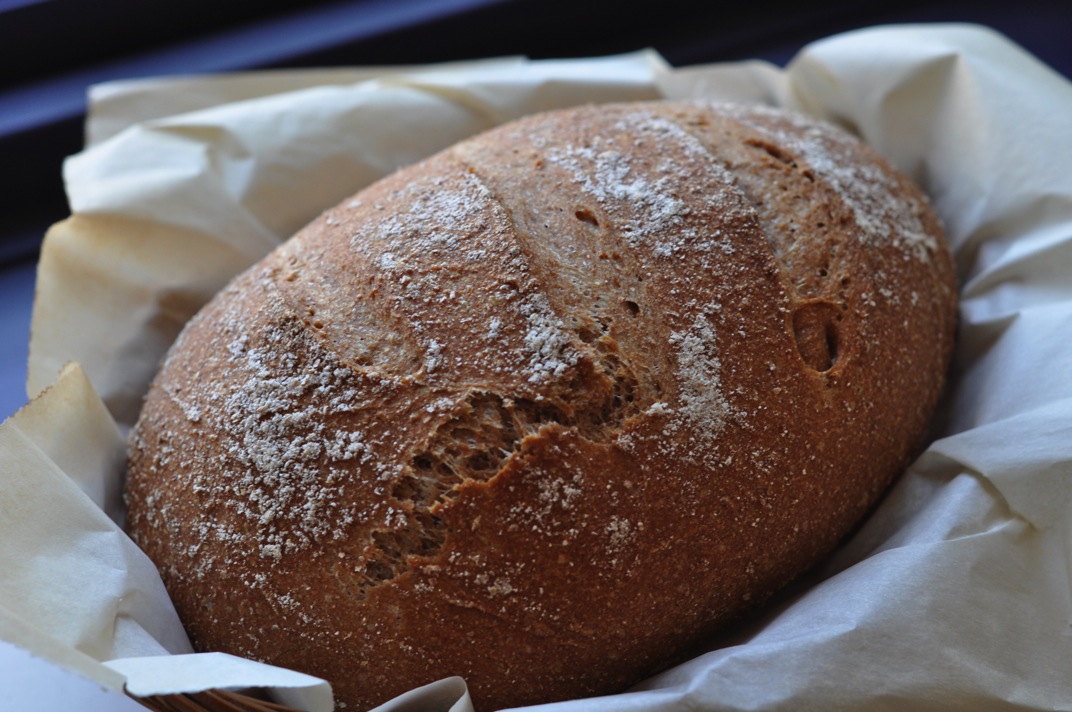
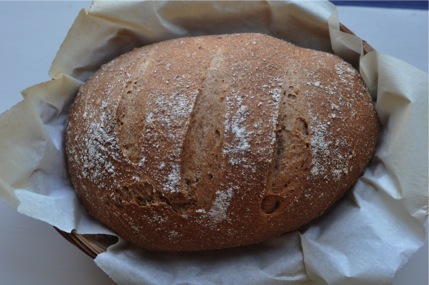
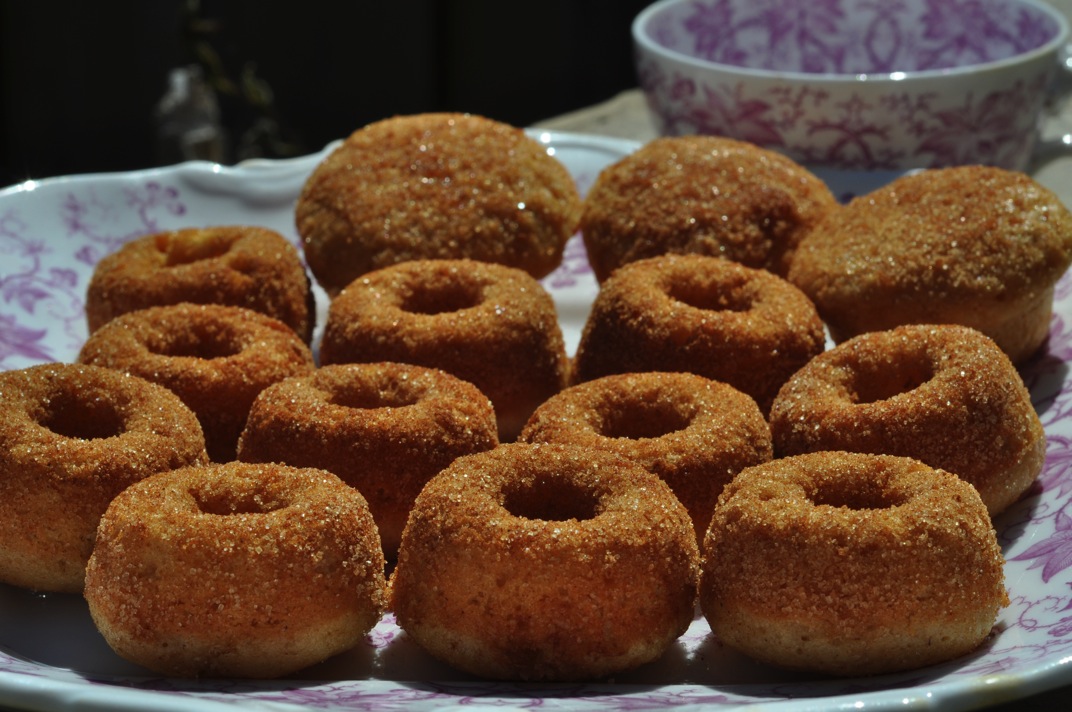
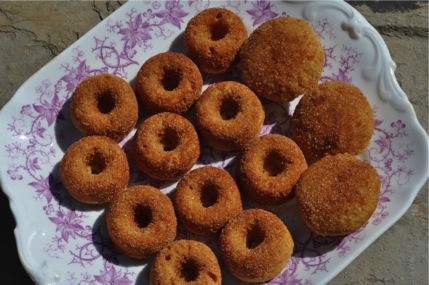
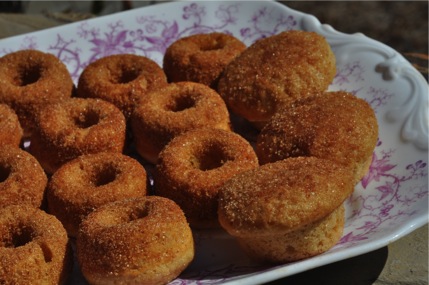
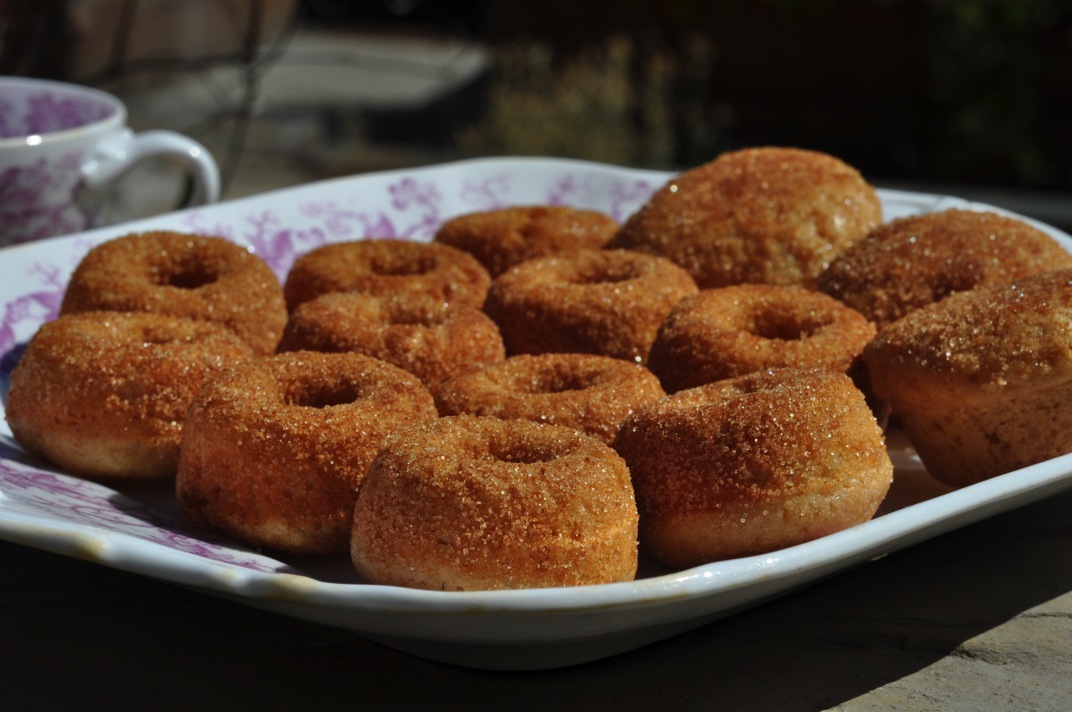
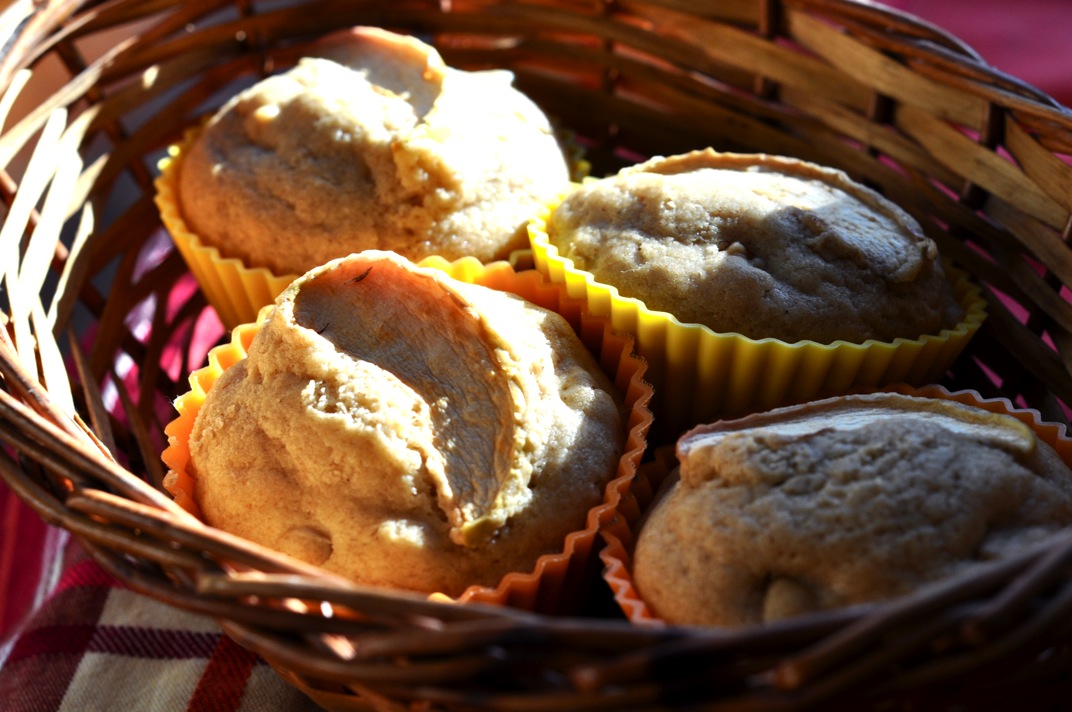
I knew I had to bake something with the country-crossing apples. I guess this is an admission that fall has arrived to some part of my being. I started with a recipe from one of my thrift store cookbooks and adapted it to suit my pantry and my laziness. The millet flour was an experiment with a happy result. I expected these muffins to turn out dense and dry because of it but they surprised me with their fluffy texture. They are a bit crumbly, almost like corn muffins, and have that sandy, grainy texture as well. The millet flavor is sweet and subtle. It goes nicely with maple, I think. All in all, I’m excited about millet flour’s prospects as an addition to my baked goods.
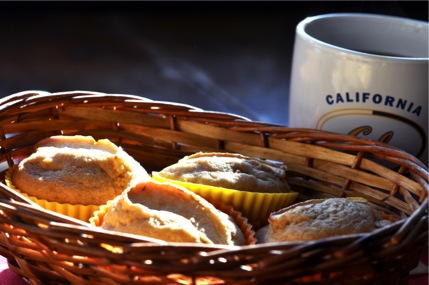
Apple Maple Muffins (With Millet Flour)
Adapted from the Better Homes and Gardens Bread Cookbook, 1963, Double-apple Fantans
1 cup whole wheat pastry flour
1 cup millet flour*
3 teaspoons baking powder
3/4 teaspoon salt
1 teaspoon cinnamon
1/2 cup finely chopped tart apple
1 beaten egg, 3/4 cup milk
1/4 cup oil or melted butter (I used coconut oil)
1/3 cup maple syrup
12 apple slivers for muffin tops
Optional coating for apple topping: 3 tablespoons sugar, 1 teaspoon cinnamon, 1/2 teaspoon nutmeg (I skipped this but will try it next time)
*I bought my millet flour at the local co-op but you can make your own by grinding the grain in a coffee grinder until you have a fine powder.
Preheat oven to 375 degrees F.
Line a muffin pan with paper or silicone liners, or coat with a little oil.
If you plan to coat apple topping with cinnamon sugar, blend those ingredients in a small bowl and set aside.
Combine flours, baking powder, salt, cinnamon, and chopped apple in a large bowl, stirring until completely mixed.
In a separate bowl, blend egg, milk, oil, and maple syrup.
Add liquids to dry mixture and stir until just combined.
Spoon batter into muffin cups.
Top each muffin with an apple sliver, either tossed in cinnamon sugar mixture or plain.
Bake at 375 for 20 minutes, or until the muffins are golden brown on top.
Remove from oven and cool on a wire rack