Monthly Archives: October 2010

Pear ricotta muffins and a little extreme baking

wpid-cimg2382-2010-10-19-20-07.jpg

        I have a confession to make: I engage in extreme baking. What is extreme baking? Well, my definition involves limited tools, only the ingredients I have on hand, confined spaces, and lots of water. When you live on a sailboat, that sort of becomes the routine. It’s a routine I’ve been out of for the past few months since Lee and I have been staying with his parents in Maine while we got our boat ready for the grand voyage South to the Caribbean. Before that though, we lived on the boat in Rhode Island all last winter, sailed down to the Chesapeake Bay in the spring and summer, and then sailed up to Maine. I know. What a life!
        I won’t go into to much detail about the whole boat thing here; this is my cooking blog and this is my sailing blog. I will, however, be cooking on the boat and blogging about it because I think it’s as much of an adventure as the sailing itself!

        Finally, on to the muffins! After 30 hours or so of high winds, bouncy seas, and really, really, really cold everything I was ready for some good food. We’d been living on cold hot dogs, apples, and PB&J sandwiches because I was afraid to heat up a pot of soup on our pitching stove. Things had calmed down a little so I went below, dug out some ingredients, and started into a recipe that had been brewing in my head.
        Pear and ricotta cheese go together like, well, peanut butter and jelly. They are perfect for each other, delicious, and simple. I often ate pears and ricotta with my lunch last fall and winter. When I saw this recipe for muffins with ricotta cheese in them I immediately thought “But why are there no pears?”. Something had to be done.
        I salvaged a few very ripe pears from the house in Maine and padded them down with scrunched up plastic bags for their boat ride. They survived nicely.
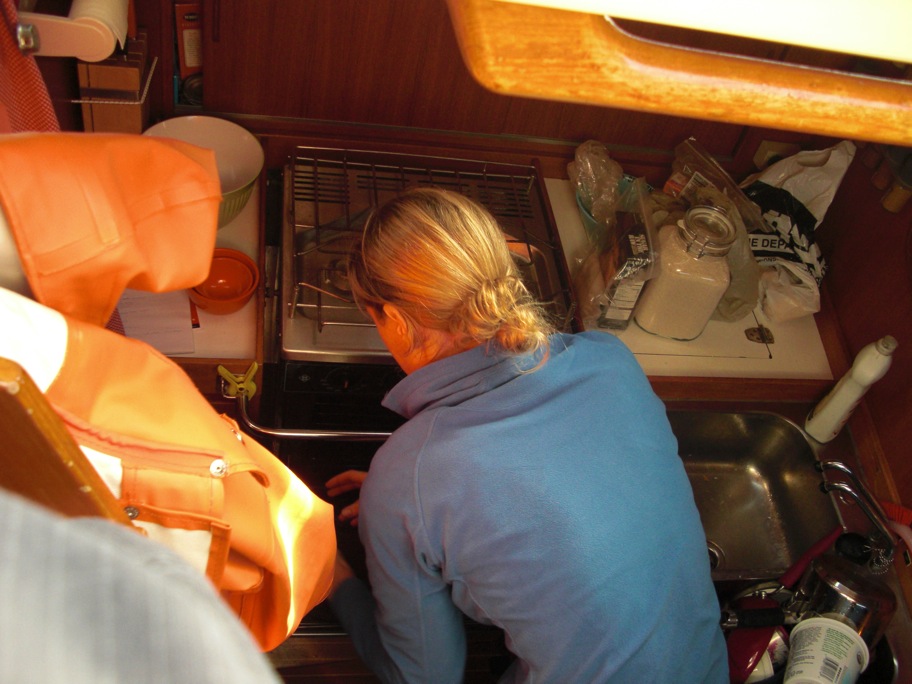
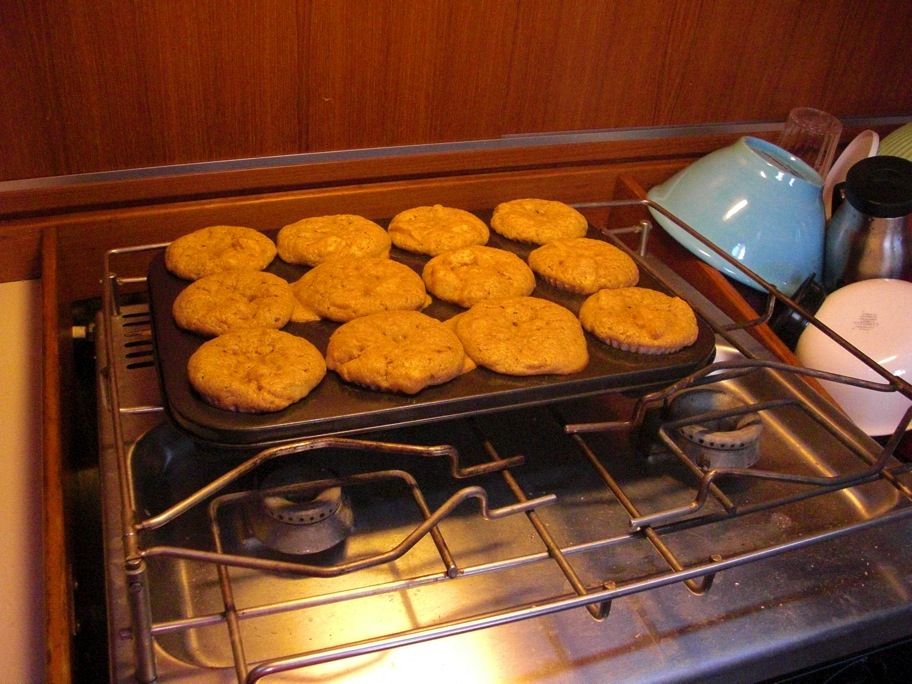
        I made a few modifications to the recipe I started with to accommodate for the pears and my healthy taste. I wish I knew how they would have turned out if everything had gone according to plan. There was, however, a little problem with the oven. The boat oven is tiny. It has one rack and a burner on the bottom that I have to light by hand. When I started working on the muffins the other day, I lit the stove and set the temperature to 176 degrees C, or 350 F (the boat is Finnish so the temperature is in Celsius). I mixed all my ingredients, poured the batter into the muffin pan, and popped it in the oven. The oven was probably preheating for 15 minutes before I put the pan in. I set a timer for 20 minutes and when I checked the muffins at the end of that time they were still liquidy!
        The only explanation is that the oven wan’t preheated when I started baking. There is no thermometer in it but I used a removable one when I first started cooking on the boat last year. After I determined that it heated up to the right temperature I stopped using the thermometer. I guess I forgot how long it takes to heat up the other day though.
        I put the muffins back in, turned up the temp just to be sure, and baked them for another 20 minutes, checking them often. Then I pretty much gave up and declared them done. They were mostly done and they solidified a bit as they cooled.
        Lesson learned? Use the oven thermometer! I also think the batter was a bit too liquidy. I will not rest till I get this recipe right! Next time I’ll use a little less buttermilk and probably less pear as well. The good news is, even with their slightly soggy centers, these muffins are DELICIOUS! They are cheesy, sweet, and protein packed. Lee’s dad, who sailed with us for this passage, loves doughy things so he really liked these.

wpid-cimg2393-2010-10-19-20-07.jpg
Lee enjoying a muffin as we approached Newport.

Sorry for the unglamorous pictures. Food photography underway will take practice.
wpid-cimg2391-2010-10-19-20-07.jpg

This is also my recipe for Fall Fest, which I am really enjoying. Visit A Way to Garden to find out more.

wpid-fall-fest-logo-ruled-2010-10-19-20-07.jpg

Pear Ricotta Muffins
Adapted from Cherry Ricotta Muffins from Mollie Katzen’s Sunlight Cafe.

1 cup part skim ricotta cheese
2 eggs
1 cup buttermilk
1 tablespoon vanilla extract
4 tablespoons pumpkin puree (or butter, melted and cooled)
2 cups flour (I used about 3/4 whole wheat pastry – all I had left – and 1/4 whole wheat)
3/4 cup brown sugar
1 1/2 teaspoons baking powder
1/8 teaspoon baking soda
1/2 teaspoon salt
1/4 teaspoon allspice
2 very ripe pears, chopped very small

Preheat oven to 350 degrees F.
In a large bowl, beat the eggs into the ricotta one at a time.
Add the buttermilk, pumpkin, sugar, and vanilla.
In a separate bowl, combine flour, baking powder, baking soda, salt, and allspice.
Slowly stir dry ingredients into wet until barely mixed.
Fold in pear.
Spoon batter into 12 muffin cups with liners or greased with a little oil. Cups will be very full (you could also make more like 16 muffins with less in each cup).
Bake at 350 for 20-25 minutes, or until the tops are brown and a toothpick inserted in the center of a muffin comes out clean.

You might want to cut down on the liquids and/or pear. Using butter instead of pumpkin might also help. As I said, I’ll be experimenting with this recipe and I’ll post an update on my success.

6 Comments

Filed under muffins

Not so sweet but nice and crunchy granola

wpid-cimg2330-2010-10-15-13-07.jpg

wpid-cimg2336-2010-10-15-13-07.jpg

        I’ve been on the hunt for a good granola recipe for a long time. Maybe it would be more accurate to say I’ve been looking for the right granola recipe for a long time. There are tons of really good ones out there but I am looking for something very specific in my granola. Of course it needs to be healthful and tasty. I prefer it to be made with the most basic, whole ingredients (homemade granola made with store-bought cereal makes very little sense to me). Nuts are good, but not too many. I’d consider dried fruit but I always add fresh fruit to my cereal when I eat it anyway. Finally, too much oil and sugar moves granola from a healthy breakfast or snack into the realm of candy.
        With all the granola recipes I’ve been wanting to make filed away for reference, I set out to come up with my own mix this morning. I was inspired by Steph Chows Mixed Berry Sucanat Granola to use applesauce as a replacement for oil. Now what about the sugar? My favorite brand of granola, Nature’s Path Hemp Plus, is hardly sweet at all. It’s lumpy, crunchy, light, and very satisfying. This morning I threw a few things in a bowl to try to recreate those characteristics. I was also just trying to use up the dregs of various ingredients in my pantry.

wpid-cimg2338-2010-10-15-13-07.jpg

Not So Sweet Granola

2 cups thick cut rolled oats
1/2 cup quick-cooking oats
2 cups wheat bran
1/4 cup flax seed meal
1/4 cup slivered almonds – or more if you’re more nutty than I am!
1/2 teaspoon cinnamon
*1 cup applesauce
optional sweetener: 1/3 cup sucanat, maple syrup, agave, or honey

Preheat oven to 325 degrees F.

Mix all the dry ingredients together in a large bowl.
Add the applesauce and optional sweetener.
Mix until all dry ingredients are coated.
Spread evenly on a cookie sheet lightly coated with oil or lined with parchment/a silicone mat. (It helps if the cookie sheet has rims around the edge so the granola doesn’t go sliding off.)
Bake at 325 for about 45 minutes, checking and stirring things around a couple times during baking.
Cool completely on the cookie sheet and then store in an airtight container, adding dried fruit at this point if you’d like.

*I used one small container of unsweetened applesauce and one of sweetened cinnamon applesauce because that’s what I had left.

wpid-cimg2324_2-2010-10-15-13-07.jpg

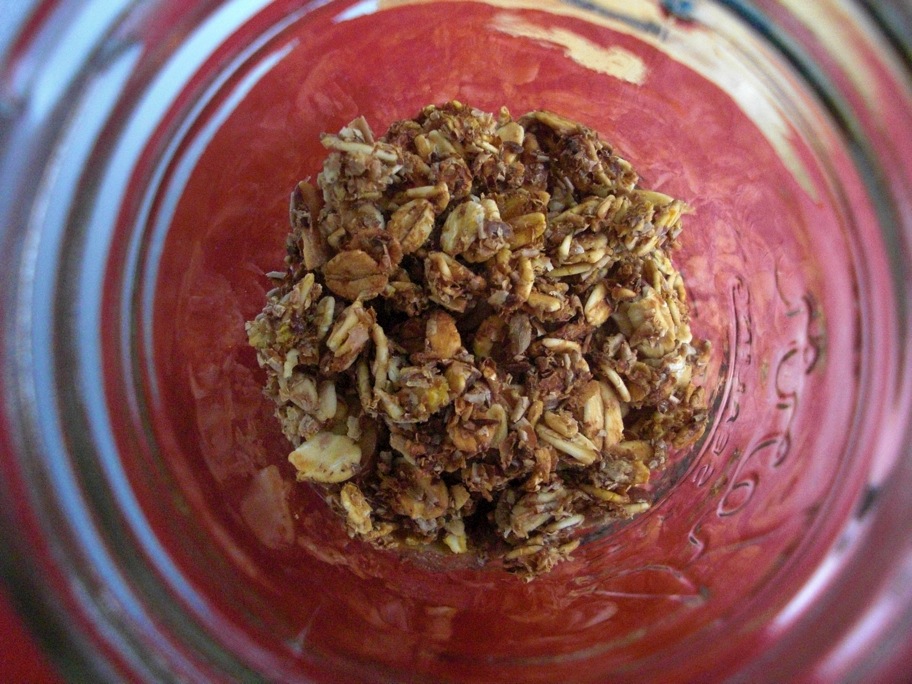
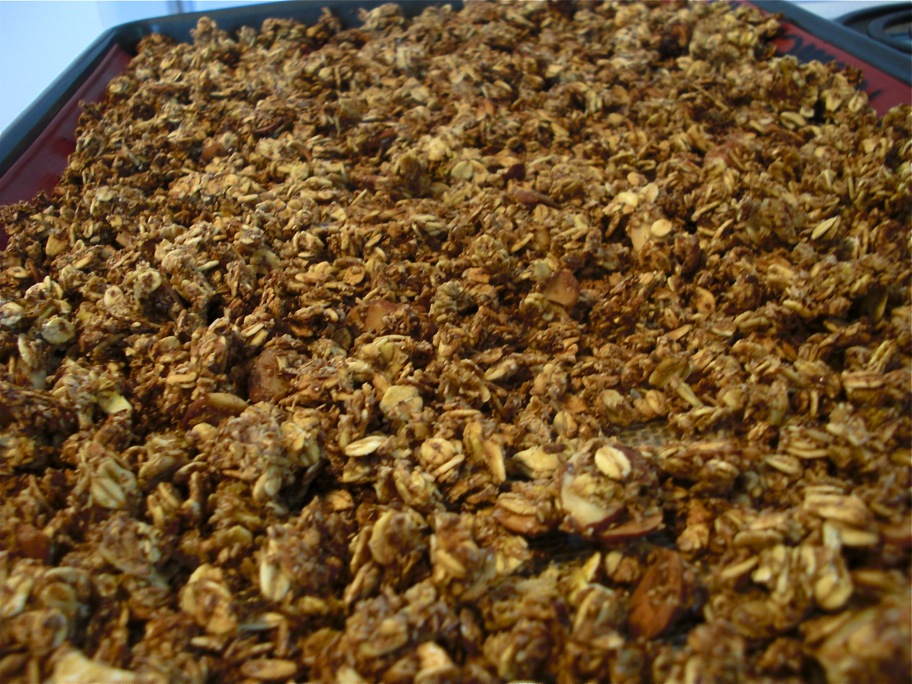
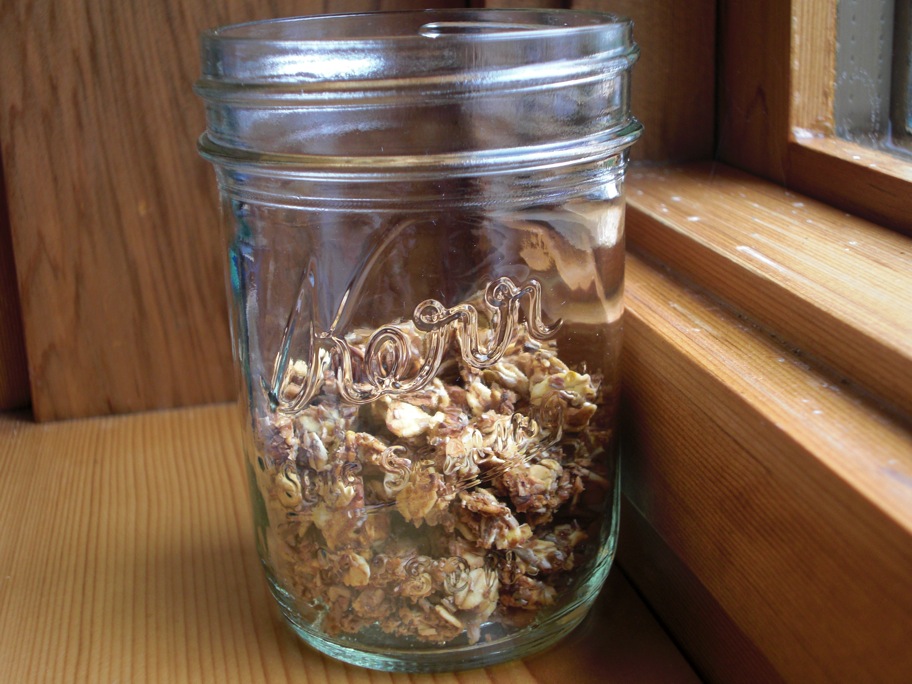
        For this batch (lets call it Granola #1) I didn’t use any sweetener. I wanted to see what granola made with just applesauce would taste like and if it would even work. Well, it worked and it tastes great! It’s not sweet at all but it tastes pleasantly nutty from the flax and almonds and it’s very crunchy. The applesauce holds everything together nicely. So far I’ve just snacked on Granola #1 plain but I’m looking forward to trying it with some vanilla greek yogurt and a banana tomorrow morning! Next time I’ll try adding some maple syrup to see how that compares.

7 Comments

Filed under other goodies

Squash Smoothie

wpid-cimg2313-2010-10-13-10-33.jpg

        Winter squash has got to be one of the most versatile vegetables out there. Sweet or savory, it pushes any dish into the extreme yumminess zone. You can roast it, puree it, chop it, stuff it, throw it in a stew, a salad, or a cake. What’s not to love?
        I’ve been putting pumpkin in my cereal for breakfast every morning for a couple weeks now. It doesn’t replace my usual banana but it adds creaminess and makes every morning really taste like fall. When I saw that this week’s Fall Fest theme was pumpkin or winter squash I immediately thought “I want to do something with squash that I’ve never done before.” Before long, inspiration came from one of my favorite newly acquired kitchen gadgets: my blender! I made smoothies like crazy all summer and have kept it up this fall. Lee and I both like protein shakes after workouts and I love experimenting with different flavor combinations.
        Originally, I wanted to use something like an Acorn squash or the cute little Delicatta squash I got from Beth’s last week. Alas, my schedule didn’t allow for a trip to Beth’s this week so I went with the only squash I had: a pie pumpkin I’ve been working up the courage to cook. I don’t think I’ve ever started with a real, whole pumpkin to cook before. The canned stuff is just too easy! This year, though, I saw a tutorial on Baking Bites on how to make your own pumpkin puree and I decided it was time to give it a try. It’s a great post if you’re thinking about taking on a pumpkin! The only part I had difficulty with was peeling. After cutting the pumpkin in half and scooping out the seeds, I found it easier to peel if I cut each half into even smaller chunks (each half into about 8 pieces).
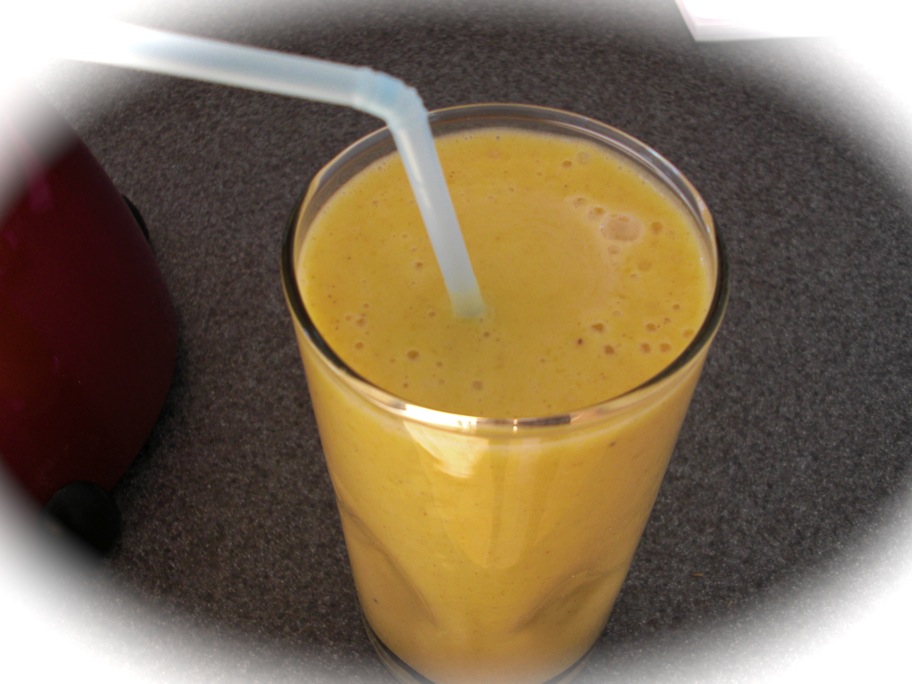
        Here it is, my Fall Fest Squash smoothie. I just caught onto fall fest a few weeks ago, For more information, visit A Way to Garden to find out more.

wpid-fall-fest-logo-ruled-2010-10-13-10-33.jpg

Squash Smoothie (serves 1)

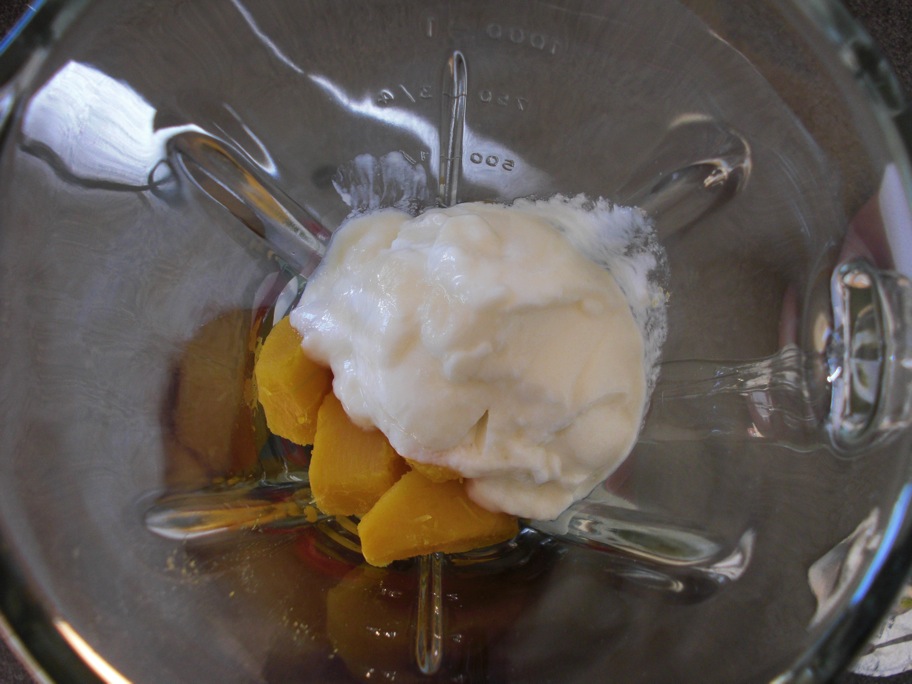
1 to 1 1/2 cups cooked squash chunks – any squash, except maybe spaghetti, works!
3/4 cup vanilla yogurt (such as a 6oz yogurt cup)
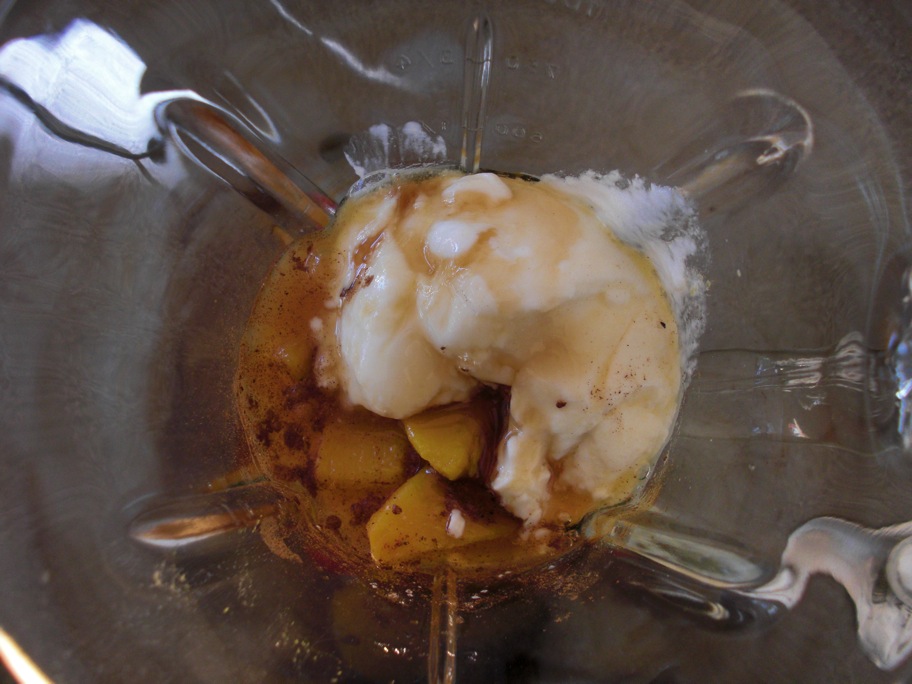
1/2 cup apple cider*
1/8 teaspoon nutmeg
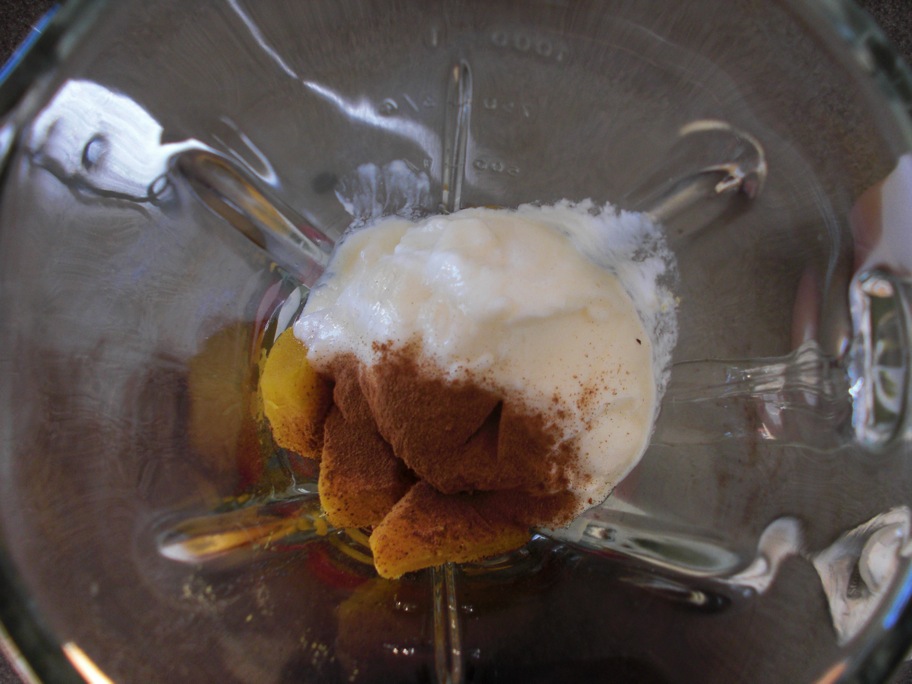
1/4 to 1/2 teaspoon cinnamon
optional: 1 teaspoon maple syrup (if you want it sweeter)

wpid-cimg2307-2010-10-13-10-33.jpg

wpid-cimg2308-2010-10-13-10-33.jpg

wpid-cimg2309-2010-10-13-10-33.jpg

wpid-cimg2310-2010-10-13-10-33.jpg

wpid-cimg2311-2010-10-13-10-33.jpg

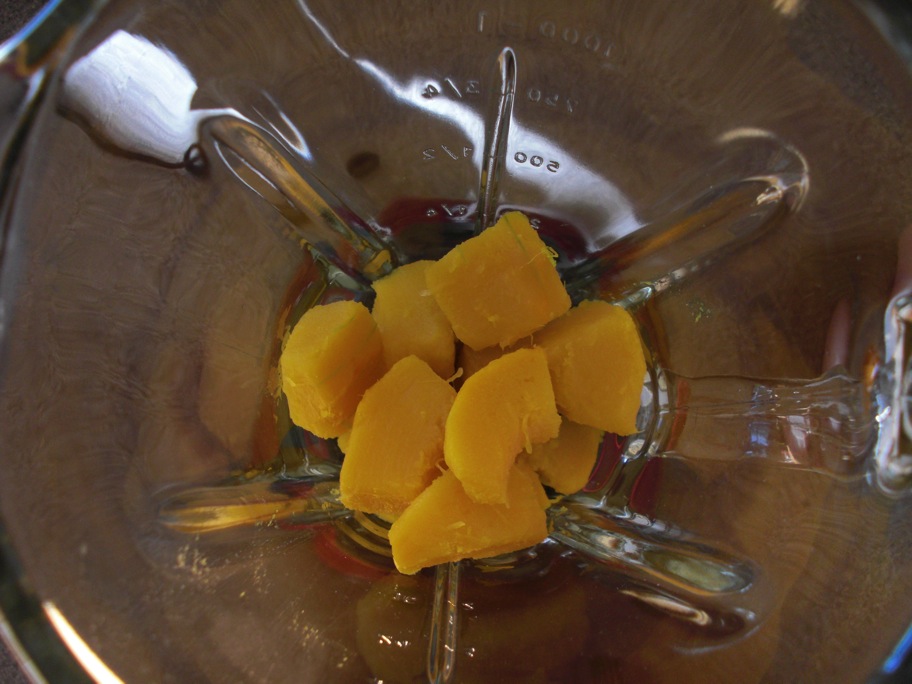
Place all ingredients in a blender. I like to start with the chunks.
Don’t forget to put the lid on the blender!
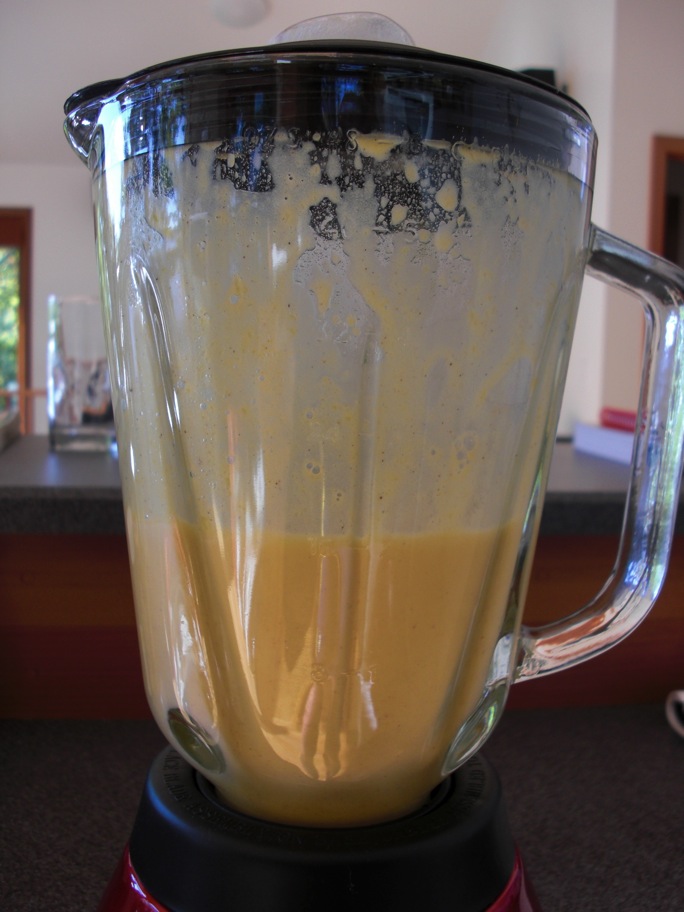
Blend on a low setting for 30-45 seconds, or until all the squash has been pulverized.
Pour into a nice, tall glass and enjoy! (I like sipping smoothies through straws)

*Use milk or your favorite non-dairy milk if you prefer more protein and creaminess. This will make the smoothie less sweet but you can always add the maple syrup! Use applesauce or soy yogurt to make this vegan.

10 Comments

Filed under Uncategorized

Grandmother's Ginger Cookies

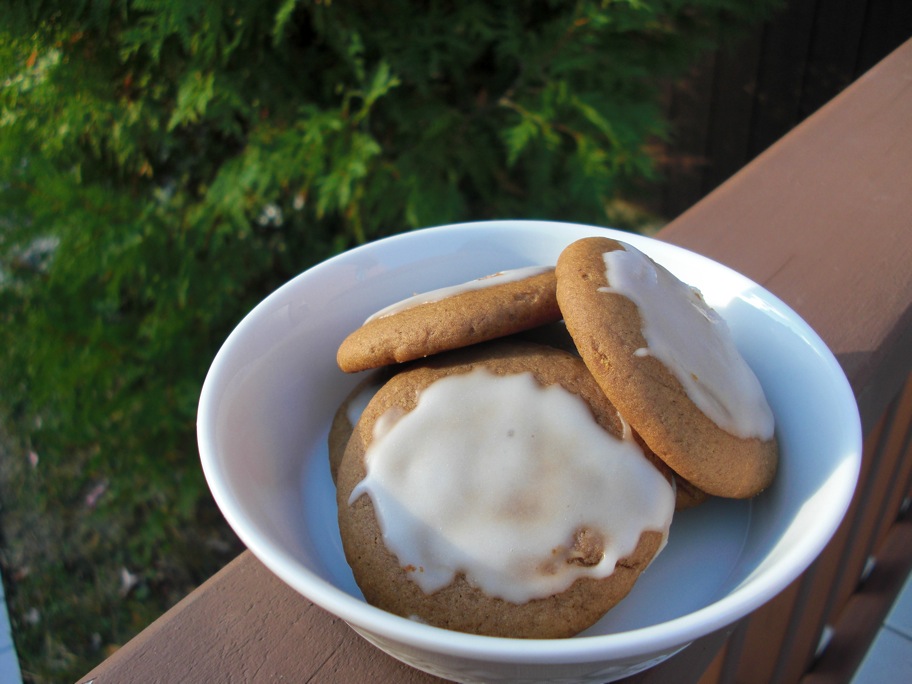
wpid-cimg2296-2010-10-11-20-14.jpg

        I love old things: old clothes, inherited jewelry, old books, pictures, letters, and of course recipes. Recipes are a special kind of inheritance. They pass among family members, across generations, and through history. Special recipes become legendary, especially when the written record is lost. The dish may acquire amazing qualities in memory that outlive it’s physical presence on the family table.
        These cookies are part of my culinary family tree. If I have my stories, grandmothers, and cookie legends right, these were my grandfather’s favorite cookies. My father and grandfather always raved about a certain ginger cookie that my great-grandmother used to make. She was quite a baker. I also hear she made seriously over-the-top amazing cinnamon rolls and the kitchen table was covered with her marble slab for candy making long after she was gone. I remember standing in that kitchen listening to my parents and grandparents try to remember what the cookies were like and figure out where the recipe was. My grandmother always swore she had it somewhere but could never find it.
        This is what they said about the cookies: They were like ginger snaps…but not snappy. They were soft. They were also like molasses cookies…but not the dense, sugary molasses cookies you would expect. The cookies had white frosting. I think I also remember my parents and grandparents saying the recipe was not my great-grandmother’s. It actually came from my grandfather’s family but his mother in law made the cookies because he liked them so much (I might be making this part up, memory’s a bit fuzzy!).
        Anyway, a cousin of my dad’s contacted me a few weeks ago and said she had some old family recipes I might want to try. Of course I wanted to try them! She copied the recipes and shipped them off the old-fashioned way. When it arrived, I opened the envelope with excited anticipation, hoping it would contain the legendary ginger cookies. They were in there, along with several gems from my great aunt and a version of my grandmother’s cornbread dressing. The recipe in question was titled “Ginger cookies from RA”. What’s RA? It also indicates that they came from the kitchen of Mrs. McKay in Duluth. Who was Mrs. McKay?
        At first, I was amazed at the simplicity of these cookies. No eggs, no milk, not much in the say of spices? Then I realized this was probably a depression-era recipe crafted to be delicious without certain luxury ingredients. I set out to make a half-batch of my cookie inheritance. Finally I would get to taste them for myself!

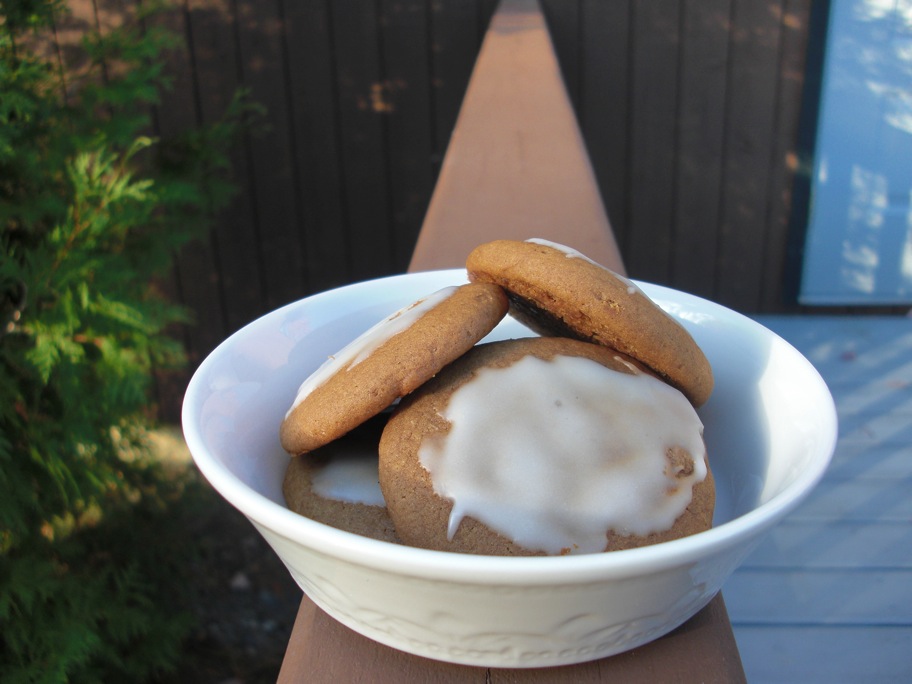
wpid-cimg2299-2010-10-11-20-14.jpg

        The verdict: I must say, they are good. They’re definitely different. Lee’s dad took a bite of one with a quizzical look. He wasn’t sure what kind of cookie they were but he guessed molasses. I’d say that sums my family ginger cookies up pretty well: We call them ginger cookies but they’re not very gingery. If you had to guess, you’d say molasses. They’re soft and cake-like. There’s butter in there, and spices.
Two details I have questions about:
        First: the icing – the recipe was very vague about how to make the icing. It definitely calls for powdered sugar and it’s cooked on the stove. The card said to add vanilla and cream and that the frosting was always creamy and good. So how am I supposed to re-create this frosting? I used a simple powdered sugar and water cookie icing but it’s pretty boring.
        Second: According to the recipe I have, “grandmother” cut the cookies with an oblong cookie cutter. Oblong? I envision an oval but i’ve never seen a cookie or a cookie cutter shaped like that. Where does one find an oblong cookie cutter?
At least I have some things to work on!

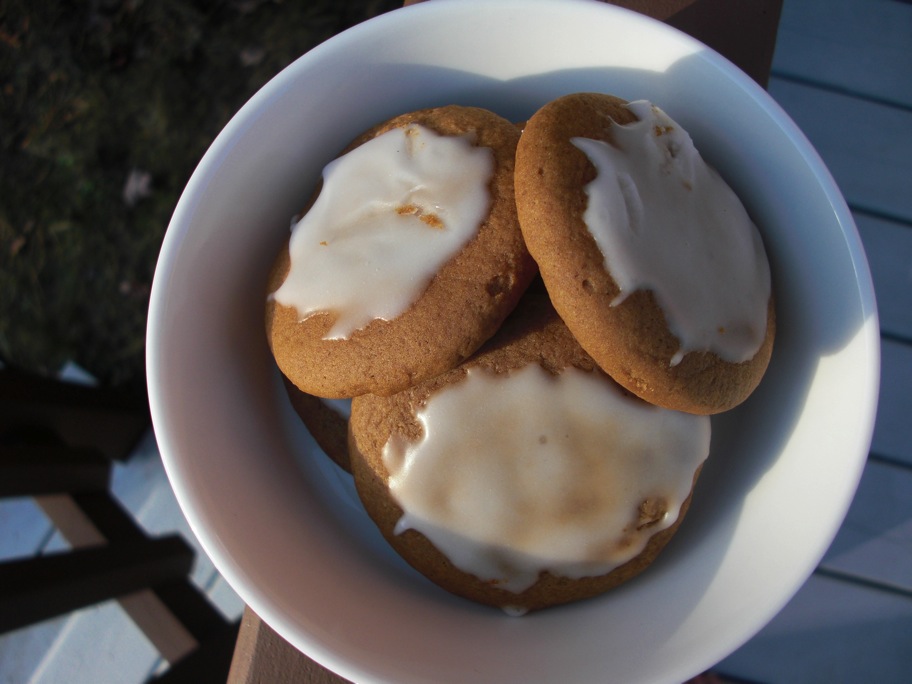
wpid-cimg2297-2010-10-11-20-14.jpg

If you like ginger cookies or molasses cookies you will love these cookies. They may not be able to decide what they are but they’re certainly delicious!

Ginger Cookies (The full recipe. I made half)

1 cup lard (I used butter)
1 cup brown sugar
1 cup molasses
1 cup hot water
1 teaspoon ground ginger
1 teaspoon cinnamon
4 teaspoons baking soda
1 teaspoon salt
7 cups flour (give or take)

Preheat oven to 325 degrees F.

The recipe I received doesn’t actually include directions so I guessed on how things go together.

Cream together the butter, sugar, and molasses in a large bowl. (I had issues with this since I don’t have a mixer…woe is me!)
In a separate bowl, sift the flour, ginger, cinnamon, baking soda, and salt together.
Add the hot water to the sugar mixture.
Add the flour mixture to the sugar and water, stirring as you do.
Mix the whole thing up into a nice ball of dough.

The recipe said to roll the dough out and cut it with a cookie cutter but I opted for something simpler since I didn’t have a proper cookie cutter.

Pinch off hunks of dough, roll them between your palms to form balls (bigger than a Whopper but smaller than a ping-pong ball).
Place balls on an oiled cookie sheet or silicone mat/parchment paper covered cookie sheet.
Flatten balls with your fingers till they’re about the size you want the cookies to be. They don’t spread out much at all but the poof up.
Bake at 325 for 15 minutes.

Allow to cool slightly, then ice with your favorite cookie icing (something that hardens when it dries). I just mixed about 2 cups of powdered sugar with 3 tablespoons of water and it made way more icing than I needed. I also left a few cookies un-iced to see what they were like plain. They’re great, of course, so feel free to skip the icing!

15 Comments

Filed under Uncategorized