Monthly Archives: October 2010

Buckwheat English Muffins

wpid-cimg2272-2010-10-10-12-48.jpg

wpid-cimg2275-2010-10-10-12-48.jpg

Again with the English muffins. I couldn’t help myself. The first batch was just so good I couldn’t help but try them again! I guess once you’ve gone homemade store bought just doesn’t cut it.
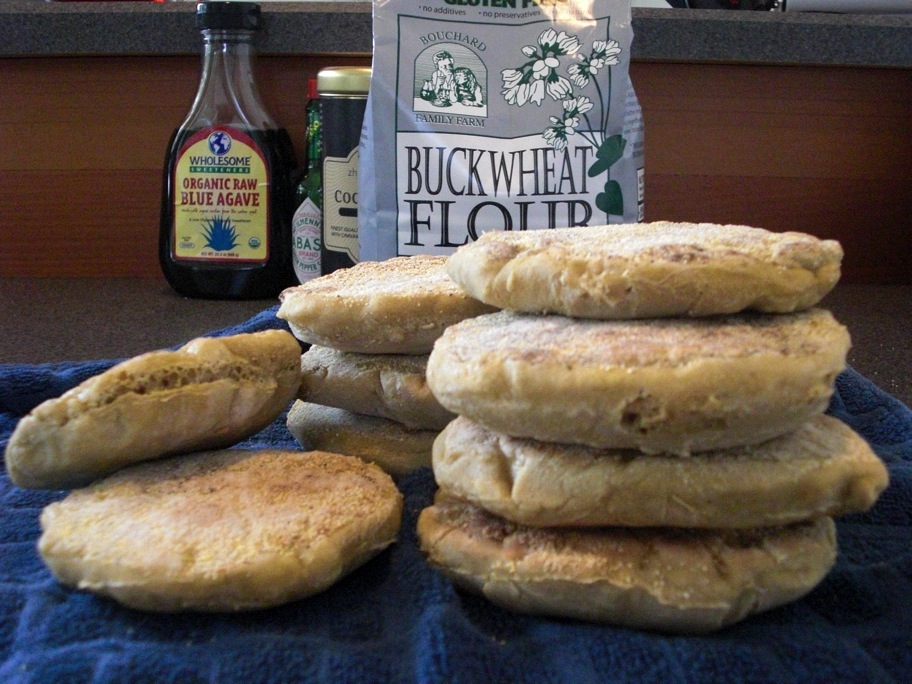
This time I opened my new bag of buckwheat flour, a new flour for me. This particular brand is produced in Maine and had some intriguing recipes on the bag (I’m saving those for later!). Never having worked with buckwheat flour before, I was surprised by the texture. It’s not…floury. It’s a yellowish color and has a sandy texture. The dough I mixed up last night was much drier than the whole wheat version and I was worried about it drying out or not rising overnight. It came out fine though. The dough surface was a little dry this morning but it had risen. It revived when I added the rest of the ingredients and popped it in a warm oven to rise again.

Things I did differently from the first time: I cut the muffins larger. They seem to shrink in circumference when they cook so make them on the big side. Last time they were almost too small for an egg! Cutting the muffins bigger meant I made less of them (11 total). I didn’t burn the first batch in the skillet this time! I made a totally new mistake! I didn’t have the cornmeal out when I was cutting out the circles so I figured I’d just put it in the skillet when I started cooking. Bad idea. First of all, the muffins stuck to the baking sheet I put them on to rise. They needed the cornmeal so they wouldn’t glue themselves down! Second, the cornmeal I put in the hot skillet right before adding my sticky muffins burned after a few minutes. It didn’t really stick to the muffins either. Oh well. I cleaned out the skillet and dusted the sticky side of the remaining muffins before cooking them.
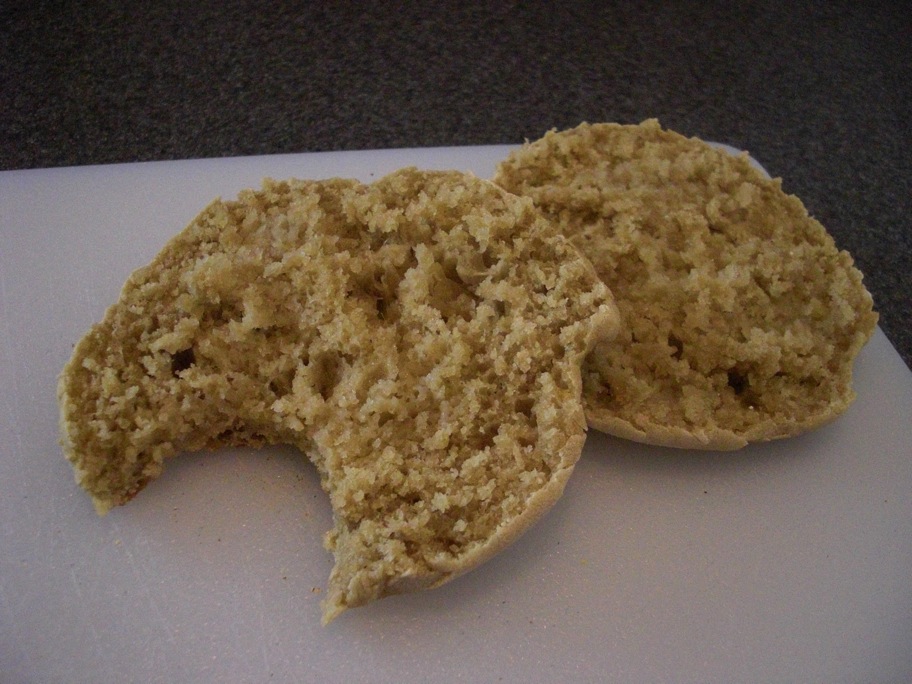
wpid-cimg2263-2010-10-10-12-48.jpg

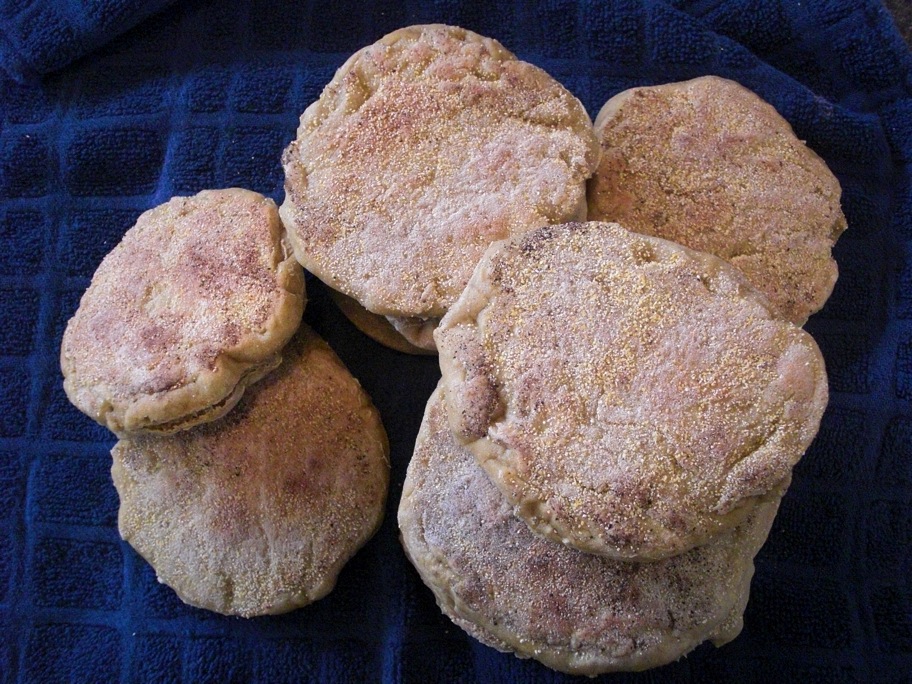
Once again, these came out slightly sour, crunchy on the outside and holey on the inside. The buckwheat worked well except it made the muffins kind of yellow. I was so starving I snatched a muffin from the first batch out of the skillet, buttered it up, and gobbled it while it was nice and hot!

I decided to submit these to YeastSpotting, which I just discovered the other day. What a treasure trove of bread!

wpid-cimg2271-2010-10-10-12-48.jpg

Buckwheat English Muffins
From Laurel’s Kitchen by Laurel Robertson, Carol Flinders, and Bronwen Godfrey

1 tablespoon active dry yeast
1/2 cup warm water
1/2 cup plain yogurt (I used nonfat greek yogurt)
1/2 cup boiling water
1 teaspoon salt
1 cup buckwheat flour
2 or more cups all-purpose flour (I used about 2 1/2 total with flour for kneading)
1/4 cup fine cornmeal
1/2 teaspoon baking soda

Dissolve yeast in warm water.
Mix yogurt and boiling water in a large bowl. Stir in the yeast mixture, then 1 cup all-purpose flour and 1 cup buckwheat flour.
Cover the bowl with a towel and it this sit in a warm place until the dough doubles in bulk, or leave it overnight (I left mine on the counter overnight). The dough is spongy and will get more sour the longer it sits.
After the dough has doubled in bulk (40-60 min. or overnight), mix in the remaining flour along with the salt and soda. Knead vigorously, adding more flour as needed until you have pliable but slightly sticky dough. Return the dough to the bowl, cover it, and let it rise for a second time (30 min. or more).
Punch the dough down and turn it onto a floured surface. Roll it out to half-inch thickness with a floured rolling pin. Cut it into circles with a four-inch cookie cutter of the end of a one-pound coffee can (my dough made 12 muffins).
Dust both side of the muffins with cornmeal and set on cookie sheets to rise until doubled in bulk (45 min. to an hour or more if the dough is cold).
*Cook on a griddle or skillet at medium-high heat for 3-5 minutes on each side.
Split with a fork, the traditional way, and spread on something yummy!

*I used a cast iron skillet and cooked 3 muffins at a time this time. I used low heat after initially heating the skillet. Watch the muffins carefully as they tend to burn. The cornmeal and seasoned skillet made oil unnecessary. The muffins puff up as they cook so they’re kinda fun to watch.

10 Comments

Filed under other goodies

What is a Brown Betty?

I certainly didn’t know until I set out in search of crisp and found a betty instead.

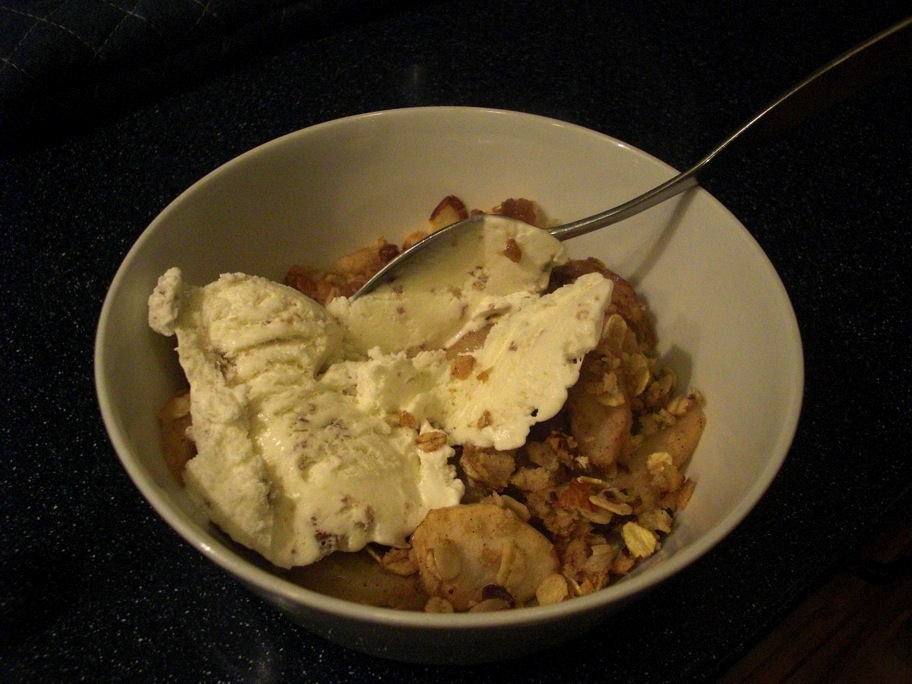
wpid-cimg2247-2010-10-7-21-271.jpg

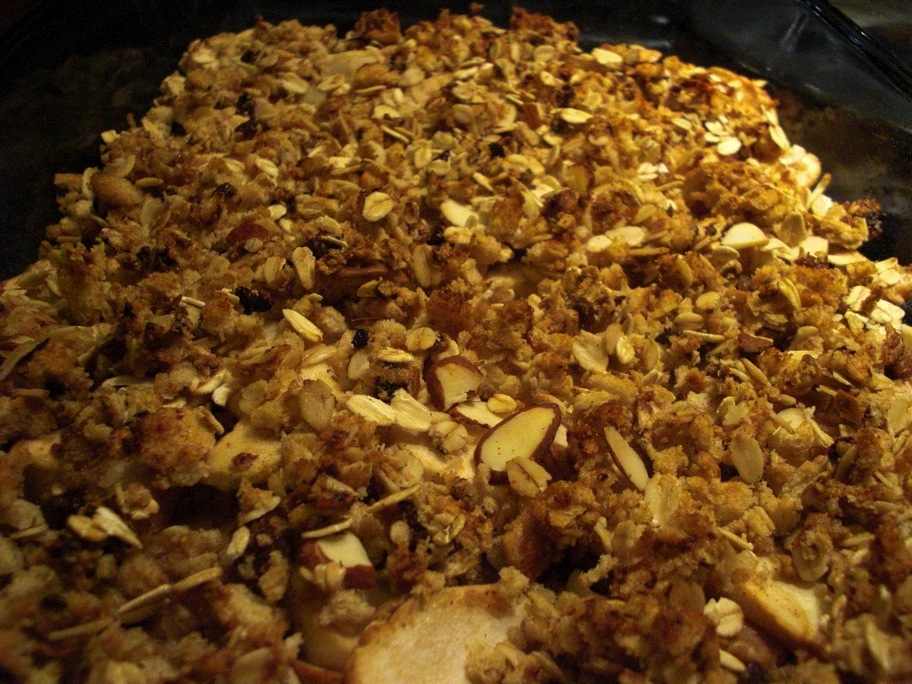
        Breadcrumbs instead of flour and oats? Is it a dessert or a breakfast? I still haven’t figured that one out. This is what Wikipedia told me about Brown Bettys. The article says it’s a dessert, usually made with apples, that originated in colonial times. Other recipes I came across said the Brown Betty is a breakfast dish with Southern roots. I love history, especially when it relates to food!
        What drew me to this recipe was the inclusion of cinnamon raisin bread. I’ve been on kind of a cinnamon raisin bread kick recently. I love PB&J on cinnamon raisin and it’s even good for egg sandwiches! Now I know it’s also a delicious addition to baked fruit.
        I made my Brown Betty for dessert but it would make a fantastic breakfast. It’s not sickeningly sweet and all the fruit is a great way to start or end the day. I added some spices and oats to the original recipe. We enjoyed ours with vanilla ice cream, although I thought about toasting a marshmallow in the fireplace and smooshing that on top!

wpid-cimg2248-2010-10-7-21-271.jpg

Gingered Pear-Apple Betty (makes 6 servings)
Adapted from Cooking Light

4 (1 oz) slices cinnamon raisin bread (I used Barowsky’s All Natural)
1/2 cup oats
2.5 cups sliced, pealed pear
2 cups sliced, peeled apple
1/3 cup brown sugar
2 tablespoons crystalized ginger, chopped
1/8 teaspoon allspice
1/4 teaspoon ground ginger
1/2 – 1 teaspoon cinnamon, depending on taste
1/4 cup water
2 tablespoons lemon juice
2 tablespoons melted butter

Preheat oven to 350 degrees F.

Tear bread into small pieces and process in food processor until finely ground.
Mix oats and bread in a large bowl.
Combine 1 cup bread/oats, pear, apple, sugar, allspice, cinnamon, and both kinds of ginger in a bowl, stirring well.
Spoon this mixture into an oiled 11 x 7 in. baking dish.
Combine remaining bread and butter. Sprinkle over the fruit mix in the dish.
Optional: sprinkled a 1/4 cup or so of sliced almonds on top.

Bake, uncovered, at 350 for 40 minutes or until bubbly.
It ends up quite crispy with little to no liquid. (If you want it juicier cover it for half the baking time, then remove cover to brown the top.)

5 Comments

Filed under Uncategorized

Rocky road cookies

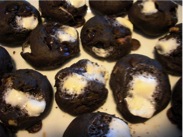
wpid-cimg2223-2010-10-6-15-281.jpg wpid-cimg2226-2010-10-6-15-281.jpg
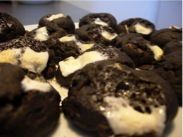
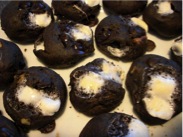
wpid-cimg2239-2010-10-6-15-281.jpg wpid-cimg2224-2010-10-6-15-281.jpg

        Everyone has a favorite ice cream flavor. As a kid, mine was rocky road. I have very vivid childhood memories of standing in front of the counter at Buster’s in South Pasadena, reaching for a rocky road-topped sugar cone. What’s not to love about chocolate ice cream studded with walnuts and tender little marshmallows? The marshmallows were my favorite part. Something about coming across one mid-lick and slurping it out of the melting ice cream made savoring a rocky road cone blissful. Nothing was better than ice cream at Buster’s followed by a romp on the railroad tracks next door. My brother and I left countless pennies to be squished by the trains and retrieved on our next family trip for ice cream.
        Sorry, I guess I’m feeling sentimental. The point is, I came across a recipe for rocky road cookies online and felt a hankering to recreate my favorite flavor combo in a cookie! The recipe I found didn’t quite translate to the rocky road I remembered. The cookies weren’t chocolate and the nuts were peanuts. I fixed the recipe up easily, though, and made a little dent in the half bag of mini marshmallows leftover from Lee’s birthday cake. I ended up with a cake-like chocolate cookie generously filled with carob chips, walnuts, and marshmallows. The marshmallows melt and toast in the oven making for some very sticky, gooey cookies. Oh, and if you use vegan marshmallows like these, my rocky road cookies are vegan!

wpid-cimg2240-2010-10-6-15-281.jpg

Rocky Road Cookies
Adapted from this recipe on VegWeb.com

1 cup all-purpose flour
1/4 cup unsweetened cocoa powder
1/2 teaspoon baking soda
1/4 teaspoon salt
1/3 cup natural turbinado sugar
2 tablespoons coconut oil (or your preferred oil/butter)
3 tablespoons applesauce
1 teaspoon vanilla extract
1 tablespoon ground flax mixed with 3 tbsp water
1/4 cup chopped walnuts
1/4 cup chocolate or carob chips
mini marshmallows

Preheat oven to 375 degrees F.

Sift together flour, cocoa powder, baking soda, and salt.
Combine flax mixture, applesauce, coconut oil, vanilla, and sugar. Mix until smooth.
Add dry ingredients to wet, mixing as you do until a dough forms.
Fold in walnuts and chocolate chips.
Place a couple marshmallows in a tablespoon, scoop up a spoonful of cookie dough, and place the ball on an oiled cookie sheet. This way the marshmallows end up on top of the cookie, don’t stick to the cookie sheet, and get all toasty! You could, of course, just mix a couple handfuls of marshmallows right into the dough.
I got all the cookies on one sheet. They don’t spread out so it you want them to be flatter, press down on the top of each cookie a bit with the back of a spoon.
Bake at 375 for 8-10 minutes.

If these cookies weren’t gone, I’d try crumbling a few into some chocolate ice cream for a real rocky road experience!

1 Comment

Filed under desserts

Sweet and spicy curried egg sandwich

wpid-cimg2238-2010-10-5-11-07.jpg

        It was always my intention to make this blog about whatever I feel inspired to cook, with and emphasis on baked goods, especially breakfast ones’s since those are my favorite! I realized yesterday that I’ve been grossly neglecting egg sandwiches. I make them for Lee almost every day and they’ve only made a couple of appearances here!
        When I ask Lee what he wants for breakfast in the morning I usually give him a few choices: Oatmeal? Smoothie? Eggs? His answer, usually: Eggs. What kind of Eggs: Omelet? One-eyed bandits? Egg sandwiches? Lee chooses egg sandwiches 75% of the time. You’d think the same old breakfast would get boring but I make sure that doesn’t happen. I’ll admit, sometimes I fall into a fried egg with green tabasco on an english muffin rut. I often add variety by incorporating last night’s leftovers or the dregs of whatever jarred condiment I want to use up. This makes for some very interesting sandwiches!
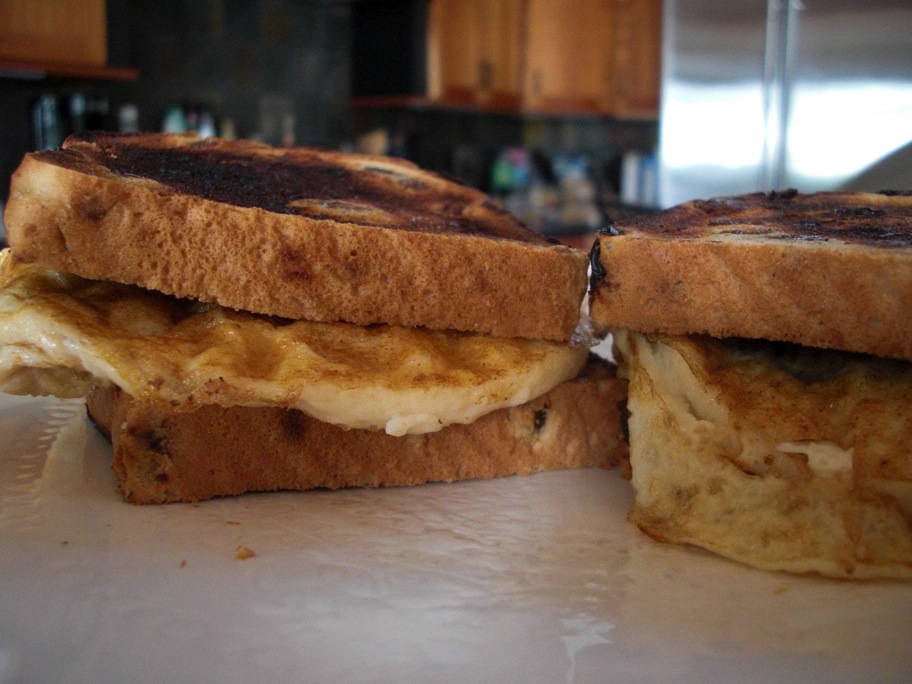
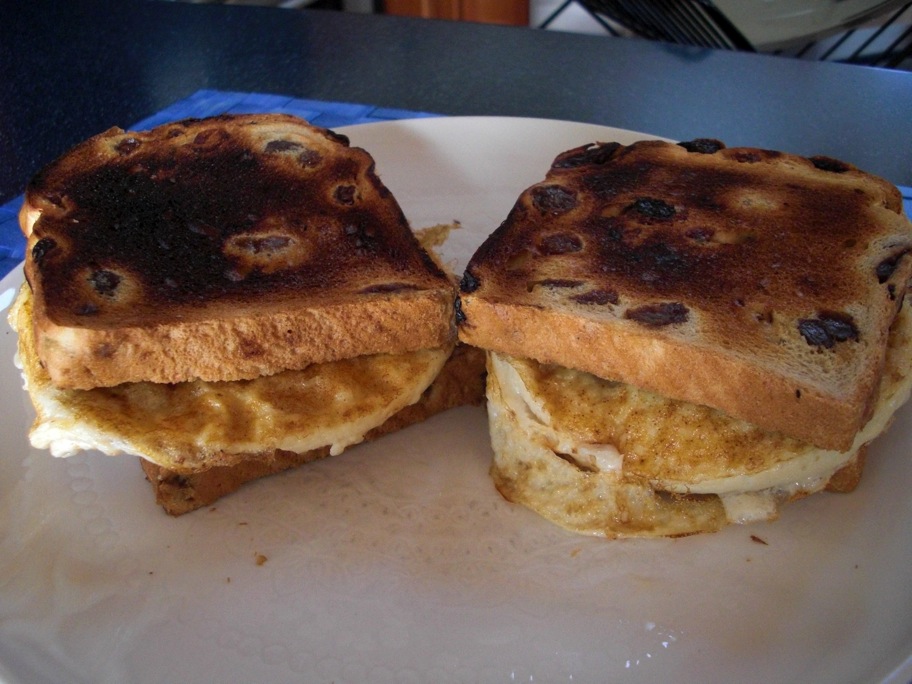
        This week, I’ve been making egg sandwiches on cinnamon raisin bread. This combination may sound weird – why put an egg on sweet bread? Well, it’s delicious. While I was doing yoga this morning I had an idea for a fabulous raisin bread combination: curry spices. Raisins and cinnamon are both common curry ingredients. Something about the warm curry spices and bites of fruit and onions really works.
        When I was done with yoga I asked Lee what he wanted for breakfast (you know what his answer was) and pulled out my sandwich arsenal: large skillet, silicon pancake/egg rings (you laugh but they’re awesome!), bowl, spatula, and whisk.

wpid-cimg2237-2010-10-5-11-07.jpg

Curried Egg Sandwiches (makes 2)

2 eggs (or whatever egg/egg white combination suits you)
4 slices cinnamon raisin bread
1/2 teaspoon curry powder
Pinch of cumin
Pinch of paprika
Pinch of cinnamon
2 tablespoons chopped onions (optional)
2 tablespoons chopped apple (optional)
Chutney (optional)
Oil or butter for the skillet

Heat skillet over medium heat.
Break eggs into a bowl and beat in curry, cumin, paprika, cinnamon and onions+apples if using. Beat with whisk until eggs are well scrambled.
Get started toasting your bread, especially if the slices have to take turns in a pop-up toaster.
Spread a little oil or butter in the skillet and place the egg rings on it (if using).
Pour egg mixture into rings or straight into the skillet if you’re not using rings.
Without rings: scramble eggs like you would normally scramble eggs. I cover the pan to heat things up a bit, then stir the mixture around in the pan till everything is cooked.
For rings: fold down the handles and cover the skillet for a couple minutes. Then check to see if the eggs have firmed up enough to remove the rings. Remove rings when ready and flip the eggs. Cook briefly on the other side till eggs are fully cooked.
Plop each egg round, or half of your scramble, on a piece of toast. Top it with some chutney if you’d like, and cover with a second piece of toast.
Enjoy as part of a balanced breakfast with fruit and maybe some coffee or tea with milk!

Also, enjoy explaining what you’re cooking to the next person who enters the kitchen and says “It smells good in here!”

1 Comment

Filed under egg sandwiches