Monthly Archives: July 2011

Peanut Butter Cookies (From the File)

wpid-DSC_0052-2011-07-28-14-46.jpg

I don’t think I’ve ever made peanut butter cookies before. How said is that? Sure, I’ve made cookies and various other treats with peanut butter in them but I’ve never made a straight-up peanut butter cookie. That’s right, I’ve never had the pleasure of smooshing fork marks into the top of thick, rich, peanutty dough balls. Truthfully, I’ve always been a little put off my recipes calling for peanut butter and butter in PB cookies. Why do they need both?

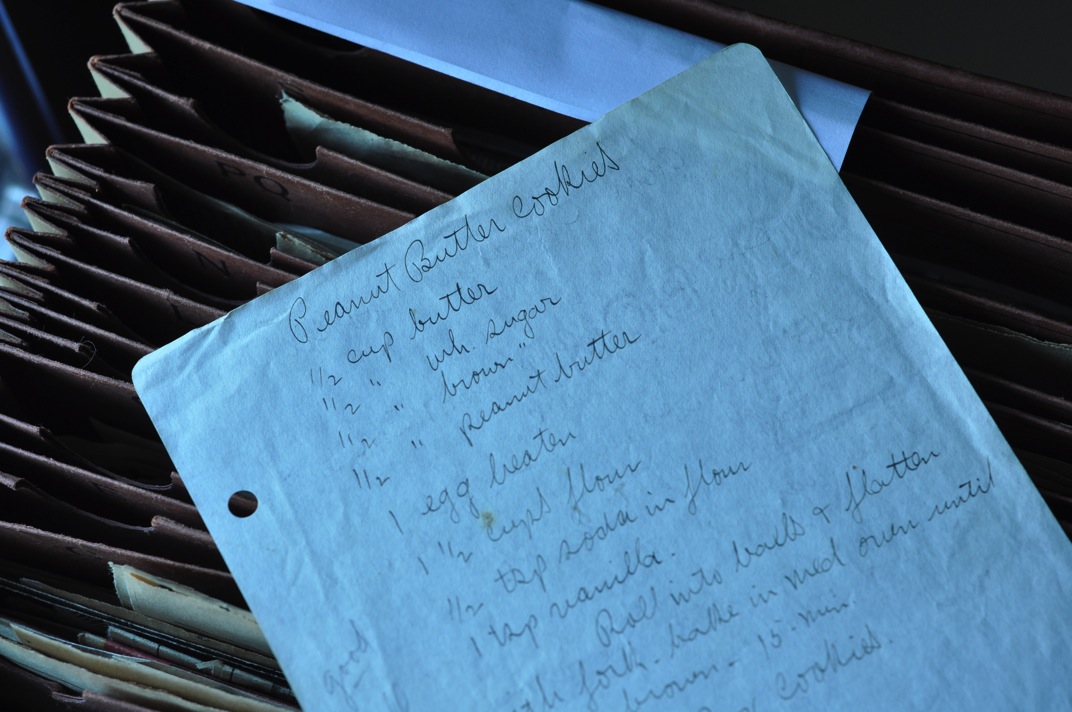
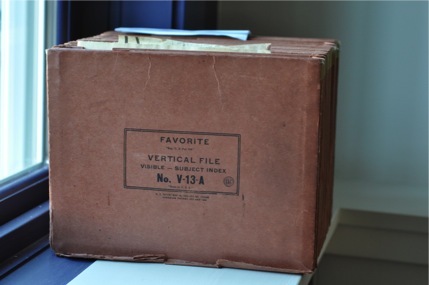
It’s only fair to give this standard recipe a try before declaring it ridiculous. it just so happens that my grandmother’s recipe file (let’s just call it The File) contains such a peanut butter cookie recipe. It’s on a leaf of notepaper that fell out of The File’s torn bottom back at my dad’s house. Peanut butter cookies are at the top of the page and below is a recipe for Icebox Cookies, followed by Coconut Haystacks on the back. There are little notes in the margins next to each recipe, one noting that the PB cookies are a nice, small recipe. The icebox cookies are also described as a small recipe and a note says “better double it”. I love these little voices from past kitchens. I don’t know whose they are, since the handwriting doesn’t really look like my grandmother’s. I’m guessing that my great-grandmother (G.B.) wrote these lines. She was the queen in the sweets department. I can picture her planning a day of cookie baking for some special occasion.

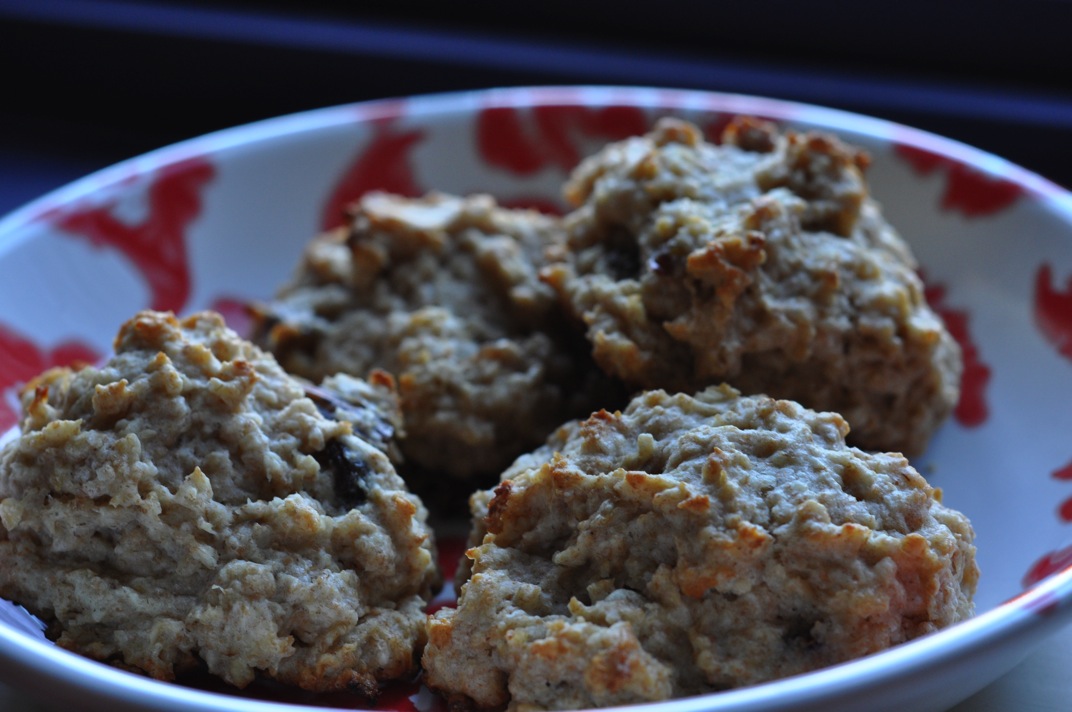
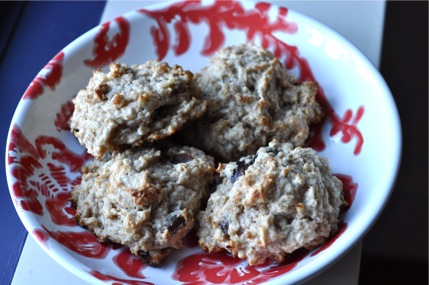
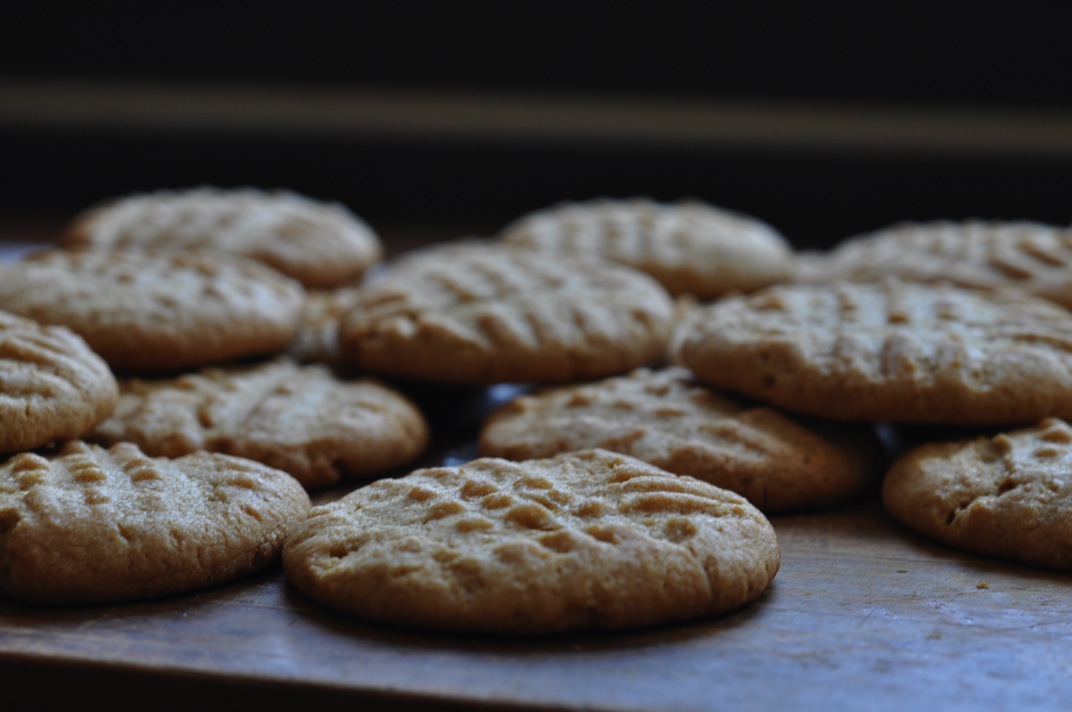
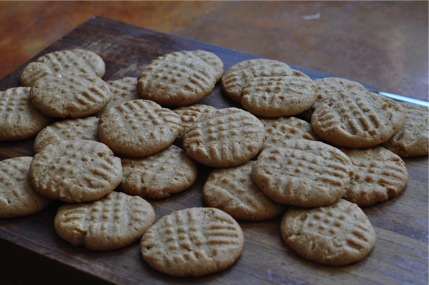
Here they are, plain-old peanut butter cookies. They’re far from a secret family recipe but as my first peanut butter cookies, I’m quite proud of them. I’m also proud of myself for hustling them out of the house as soon as I baked them. I took these cookies (along with some lovely chocolate chip cherry cookies I made yesterday) to Lee’s work this morning. Giving away baked goods is always more satisfying than eating all of them yourself. I assure you, though, I tested these cookies and they are good!

wpid-DSC_0050-2011-07-28-14-46.jpg

Peanut Butter Cookies
From The File

1/2 cup room-temperature butter
1/2 cup granulated sugar
1/2 cup brown sugar
1/2 cup peanut butter
1 1/2 cups flour
1/2 teaspoon baking soda
1 teaspoon vanilla extract
1 egg, beaten

Combine the flour and baking soda in a medium bowl.
In the bowl of a stand mixer (or by hand if you’re buff like me), cream together the butter and sugar. Add the peanut butter and blend thoroughly.
Add the beaten egg and vanilla extract
Add the flour mixture, one cup at a time, to the wet ingredients. Mix until you have a smooth dough.
Cover dough with plastic wrap and refrigerate for as long as you can wait to make your cookies (not part of the original recipe).

Preheat oven to 375 degrees F (a “medium oven”, as the recipe says).
Spoon dough onto parchment, Silpat, or oil-coated cookie sheets (I ended up with 22 cookies).
Smoosh the tops of the balls with the bottom of a fork in perpendicular directions.
Bake for 12 minutes or until cookies smell yummy and you can’t wait to eat one!

4 Comments

Filed under desserts, inspiration and musings

The Recipe File Project

Ever since Lee and I moved into our San Francisco apartment a few weeks ago, I’ve been sitting next to a very important presence in our home. A paper shopping bag against the wall next to my seat at the kitchen table holds my grandmothers recipe file. A cardboard box next to it holds some of her cookbooks.

wpid-DSC_0046-2011-07-26-16-07.jpg

When I first came across the file, bursting at the seams from all the paper crammed into it, I realized that my grandmother and I had more in common than I thought. It is clear from her collection that Helen maniacally clipped articles and recipes from any newspaper food section or food magazine she got her hands on. I remember my bringing her the entire Los Angeles Times food section when we visited my grandparents in Colorado. Helen devoured food writing as nourishment for her gourmet brain.

I like to think that I’m developing a similar habit in the vast world of online food discourse. I spend more hours a week than is healthy reading blogs, commenting, saving recipes, and clipping restaurant reviews or food-related articles from the Chronicle on my Kindle (yes, you can do that!). The cookbook section in bookstores is a deadly trap that often waylays me for much too long.

If my grandmother was alive now would she be a food blogger? Would she read blogs on her computer and email me recipes that she wanted to try? I think so.

wpid-DSC_0039-2011-07-26-16-07.jpg

The recipe file has not gone untouched. I have glanced at letters A-D and thumbed through most of the cookbooks in the box. What I have seen so far has inspired me to do a thorough sort and inspection of my grandmother’s recipes. The mix of newspaper clippings and ingredients scrawled on the backs of envelopes begs to be curated. Of course I’ll have to cook from the file as I sort through it! I will be posting recipes I test and telling whatever stories go along with them.

Step 1: A new file! (The bottom is ripping off of the old one and clippings are spilling out all over the place!)

5 Comments

Filed under inspiration and musings

Buttery Buttermilk Scones and Sourdough Disasters

wpid-DSC_0033-2011-07-21-11-52.jpg

Given the choice, I usually like to start with the bad news. I won’t bore you with my sad story, though, so today I’ll start with the good stuff!

See those little brown peaks on the surface of these scones? Those are crispy mountains of buttery flavor and beneath them are melt-in-your-mouth soft, crumbly centers. All that texture and flavor came from only a small amount of butter and a generous glug of buttermilk!

I don’t know what inspired me to buy buttermilk the other day but once it was in the fridge I had to find something to do with it. While scones may not be the obvious application I think they are my new reason to buy buttermilk. As a bath for chew oats and the main liquid ingredient in the scone batter, buttermilk is a winner with all it’s tangy richness.

This was a totally spontaneous baking foray and I’m very happy with how it turned out. I think I’ll be making these scones over and over again with different mix-in combinations. Cherry chocolate chip is on the horizon!

wpid-DSC_0032-2011-07-21-11-52.jpg

Buttermilk Scones with Dates

3/4 cup all purpose flour
1 cup whole wheat flour
1 cup rolled oats
2 tablespoons baking powder
1/4 teaspoon salt
1/3 cup butter, softened
1 1/4 cup buttermilk
2-4 tablespoons agave nectar
About 6 medjool dates, chopped

Combine oats and buttermilk in a medium-sized bowl and leave in the fridge for at least one hour.

Preheat oven to 425 degrees F.
Thoroughly mix dry ingredients in a large bowl.
Add butter in small pieces and cut it into the flour mixture using a pastry blender (two knives or a wire whisk work too).
Stir chopped dates and agave (to taste, for desired sweetness) into the buttermilk and oats (you could also add the dates at the beginning of the soak time to soften them up).
Add liquid ingredients to dry ingredients and stir until just blended. You might need to add a splash of milk to moisten things up (I did).
Spoon the batter onto a greased cookie sheet.
Bake at 425 F. for 12-15 minutes, or until your scones have little brown peaks on top.

I highly recommend eating one of these as soon as you take them out of the oven for the maximum buttery goodness!

And now for the tragedy.

wpid-DSC_0027-2011-07-21-11-52.jpg

I had a major screw up in my baking few mornings ago. I blame it on the 6 am body pump class that exhausted me to the point that I could not function normally for the rest of the day. I returned from class, ate a hearty cereal, yogurt, and fruit breakfast (of course there was coffee involved too), and prepared to make something with my happy, well-fed sourdough starter.

I have been feeding my starter the night before baking with it. I mix up the sour contents of the jar in the back of my fridge and pour them into the GIANT bowl (with quite a history that I’ll get to later). Then, per my starter’s parent’s directions, I add a cup of all-purpose flour and a cup of water. After mixing thoroughly with a whisk, plastic wrap and a tea towel go on top of the bowl and I stash it away in a corner of the kitchen for the night. In the morning a cup of this mixture goes towards baking and the rest (or whatever fits in the jar) goes back in the fridge. This method has been working well for me.

I fed my starter properly on the night before the incident but the next morning I skipped a step. I was so absorbed in weighing my flour and testing the water temperature that I completely forgot to remove all but one cup of the starter to save for future baking. My entire batch of starter was half-blended with white, wheat, and rye flour plus a dash of olive oil and some water before I realized what I’d done. It’s a good thing no one was around to hear me cry.

wpid-DSC_0030-2011-07-21-11-52.jpg

I woefully slopped some dough in my starter jar, just in case it was salvageable. So far, that dough hunk’s future looks promising. I fed it a cup of water and half a cup of all purpose flour, then filled my jar and used the rest to make pizza crust last night. The crust rose beautifully and tasted fantastic! I’m crossing my fingers for my starter’s future.

3 Comments

Filed under Bread, other goodies

Chocolate Chip Carrot Muffins

I need to learn to wear an apron. I have one. It’s colorfully striped and my mom gave it to me several years ago. Do I ever think to put it on when I’m about to make a huge mess in the kitchen? No. It sits in a drawer right in front of me while oil spatters on my shirt an little flecks of tomato sauce make their way onto anything white that I might be wearing. I should really wear the apron while I’m eating, for that matter, since balsamic vinegar and pasta sauce rarely make it to my mouth without leaving a drop here and there.

wpid-DSC_0017-2011-07-15-16-34.jpg

When I started grating the carrots for this recipe I remembered my apron, got it out of the drawer, and put it on. No carrot juice left it’s mark on me!

Now for the muffins. It’s been a while since I’ve baked my favorite treat. The time was right for muffins this morning. I was craving chocolate after breakfast (who doesn’t?) so I shuffled through some cookbooks and my recipe box for a chocolate chip vehicle. A recipe for Carrot Cake Bars came up as the winner. I’ve made these bars many times before and they always satisfy my craving for carrot cake without making me feel too guilty if I eat several a day.

How did bars become muffins, you ask? I don’t have the right pan to make bars and muffins come pre-portioned. I swapped out raisins with chocolate chips and made the recipe vegan, since Lee ate the last eggs this morning. Necessity is the mother of invention!

Hot from the oven with melting chocolate chips in every bite, these satisfied my chocolate craving. I love how oats give muffins crunchy tops and chewy centers!

wpid-DSC_0018-2011-07-15-16-34.jpg

C is for carrot. C is for chocolate: Muffins on a cute little plate from my grandmother.

Chocolate Chip Carrot Muffins

Adapted from Cooking Light

2/3 cup brown sugar
2 tablespoons softened butter or vegetable oil*
3/4 cup milk or non-dairy milk*
1 tablespoon vanilla extract
2 tablespoons ground flax seed + 1/4 cup water
3/4 cup whole wheat flour
1 cup rolled oats
1/2 cup wheat germ
2 teaspoons baking powder
1 teaspoon cinnamon (or pumpkin pie spice, because it’s yummy)
1/4 teaspoon salt
1 cup grated carrot
Handful semi-sweet chocolate chips

Preheat oven to 350 degrees F.

In a small bowl, combine ground flax seed with water. Set aside.
In a medium bowl or in the bowl of a stand mixer, beat together sugar and butter (or oil).
Add the milk, flax mixture, and vanilla.
In a separate bowl, combine flour, oats, wheat germ, baking powder, salt, and cinnamon.
Add dry ingredients to wet ingredients, stirring gently until just combined.
Fold in grated carrot and chocolate chips.
Spoon into muffin pan lined with paper or silicone liners or into silicone liners on a baking sheet. (I filled 10 silicone cups about 3/4 full and the batter rose just to the tops of the cups when baked.)

Bake at 350 F. for 25-30 minutes or until the tops are crispy and brown.

Next up: The sourdough loaf I’ve been baking but still haven’t captured on film? ICE CREAM in my new ice cream maker? I know, maybe some sourdough waffles in my untested waffle iron. I’m sure all these things will make it to the blog eventually!

5 Comments

Filed under muffins